
Dear friend,
A simple technique we can integrate into our photography — let us draw imaginary red arrows whichever direction our subjects are looking, or the direction they are walking!
Vectors:

Essentially what we are doing is creating vectors— little arrows that point in different directions.
Vectors are interesting because they show us which direction to look, and vectors are dynamic– they have force and power!
Vectors and eye direction

This is the interesting and fun thing:
When we look at a photograph, our eyes track the direction in which the subject of the photo is looking at.
For example, if I have a picture of Cindy looking upwards in the photo, my eyes (the viewer) will also look upwards.

And what we can do is draw an imaginary vector — a red arrow which goes the same direction as the eyes of Cindy.
Vectors and three-dimensional reality

Vectors start getting tricky when we deal with three-dimensions. For example in this photo below, we have a picture of a poster looking directly at us, with a woman looking to the bottom-left of the frame:

But if we draw in the red arrow of the eye looking directly at us– we cannot really show (in three dimensions) that the face in the background is actually looking directly at us.

It is very difficult for me to try to illustrate in three-dimensions the depth between the woman in the foreground and the poster in the background. In a future essay I will address this.
A video I attempted to make to demonstrate three-dimensionality of the two subjects in Adobe Dimension:


What do you want your viewer to look at?

So there is the subject of the photo (the person you are photographing), and there is the viewer of the photograph (the person looking at the photo). The reason why eye direction is essential is because it informs us (the viewer) what to look at in a photo!
For example in this photo of this airline pilot, he was holding money. I took a photo the moment the pilot was looking down at the money, and thus the viewer also looks at the money:

Negative space

Another effective way to use eye direction:
Use it to highlight negative space.
For example, in this picture I shot of Cindy in an elevator, there is a lot of negative space on top of the frame. Thus, I asked her to look up, and thus the viewer’s eyes track the same direction as Cindy– looking up in the frame:

Another example — a boy on top of the frame, looking to the right side of the frame (negative space):


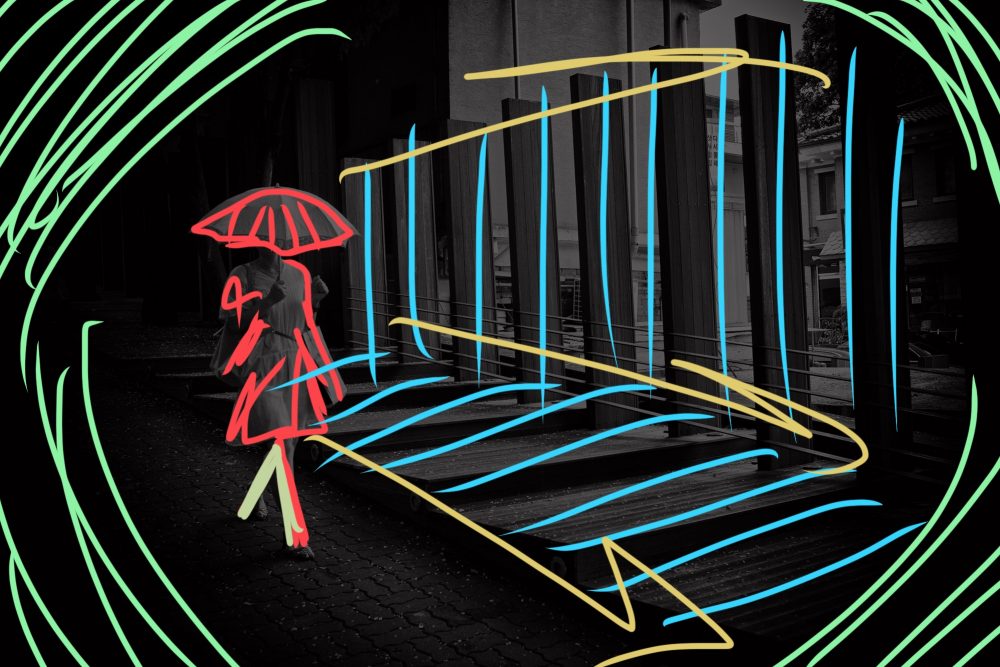
Walking directions

Another simple concept– to create more three-dimensionality in your photos, have your subjects walking different directions, and looking different directions:

Takeaways
1. Leading lines

Leading lines is simple: look for lines and arrows in the streets, and wait until your subject enters the frame, and shoot your photos the exact moment when your subject is in front of the arrow. For example this picture, I saw an arrow on the street, and waited for someone to enter. A minute or two later a man in a bicycle was riding by, and I shot the photo at the “decisive moment” that the man was at the end of the arrow:

Another example:


2. Eye contact

Photos in which the subject of the photo is looking directly at you are intimate. It feels as if the subject in the photo is directly looking at you (the viewer). Most of my best photos demonstrate this– in which the subjects of my photos are looking directly at you.
Why is this effective?
- First of all, it makes the viewer feel like they’re really there. It puts the viewers in the shoes of the photographer.
- It makes the viewer more emotionally connected to the picture, because they feel some sort of fright or emotional impact (having the subject of the photo looking directly at you). In real life, a lot of us humans get social anxiety from making eye contact with strangers. Perhaps we get the same effect when looking at photos (which are also looking back at us).


3. Ask your subject to look different directions
Ask your subject to look up, down, left, right, or different directions (when shooting street portraits or portraits with permission):


Photography Composition 101 >

Master composition for yourself:
Photography Composition Tips
- Photography Composition: Which Direction is Your Subject Looking?
- Blocking Technique in Photography
- How to Shoot a Triangle Photography Composition
- How to shoot a golden triangle composition in street photography
- 8 Simple Curve Composition Tips
- 5 Simple Henri Cartier-Bresson Composition Tips
- Foot Zoom
- Photography Composition: Light and Dark
- Street Photography Composition Lesson #16: Scale
- Shape, Arrangement, Position (S.A.P.) and Contour, Inter-Contact, Position (C.I.A.) in Photography
- 10 Tips How to Fill the Frame in Photography
- Look Up! 16 Photography Composition Perspective Tips
- 5 Simple Street Photography Composition Tips
- Depth Perception
- Golden Angle Composition in Street Photography
- Photographer as an “Arranging Artist”
- Dynamic Off-Center Street Photography Compositions
- 5 Essential Composition Tips in Photography
Color Theory

- Red and Green Composition Color Theory For Photographers
- The Ultimate Beginner’s Guide to Color Photography
- Opponent Process Color Theory For Photographers
- Color Theory For Photographers
- Color Manual
- How to Shoot Color Street Photography
Learn From the Masters of Composition

- 10 Lessons Matisse Can Teach You About Art and Life
- Henri Cartier-Bresson Composition
- 10 Timeless Lessons Edward Weston Can Teach You About Photography
- 10 Inspirational Sergio Larrain Compositions
- 5 Henri Cartier-Bresson Photography Composition Lessons
Dynamic Photography Composition 101

- Introduction to Dynamic Photography Composition
- How to Visually Analyze Your Photography Compositions
- Dynamic Tension: Opponent Based Theory For Photography
- Opponent Process Color Theory For Photographers
- Dynamic Photography Composition 101: Figure to Ground
Painting Compositions

Dynamic Photography Composition Tips

- 7 Simple Photography Composition Tips
- How to Make Aggressive Photography Compositions
- 10 Dynamic Photography Composition Tips
- How to Make More Dynamic Picture Compositions
- Unorthodox Photography Composition Techniques
- Deconstructed: Saigon Eric Kim Photos
Composition Theory

Take your composition to the next level:
- Gestalt Theory
- Juxtaposition
- Center Eye
- Low-Angle
- Dutch Angle
- Deep Depth
- Spacing
- Silhouette
- Leading Lines
- Figure to Ground
- Fibonacci Spiral
- Cropping
- Emotion
- Composition by Eric Kim
Street Photography Composition 101

For distilled lessons on composition, read the free ebook: “The Street Photography Composition Manual.”
Further articles to improve your compositions in photography:
- Composition Lesson #1: Triangles
- Composition Lesson #2: Figure-to-ground
- Composition Lesson #3: Diagonals
- Composition Lesson #4: Leading Lines
- Composition Lesson #5: Depth
- Composition Lesson #6: Framing
- Composition Lesson #7: Perspective
- Composition Lesson #8: Curves
- Composition Lesson #9: Self-Portraits
- Composition Lesson #10: Urban Landscapes
- Composition Lesson #11: “Spot the notâ€
- Composition Lesson #12: Color Theory
- Composition Lesson #13: Multiple-Subjects
- Composition Lesson #14: Square Format
Composition Theory

Learn compositional theory:
- Why is Composition Important?
- Don’t Think About Composition When You’re Shooting Street Photography
- How to Use Negative Space
- Street Photography Composition 101
- The Theory of Composition in Street Photography: 7 Lessons from Henri Cartier-Bresson
Compositional lessons from the masters of art
Composition lectures
Composition pictures/grids


Golden Diagonal Composition


