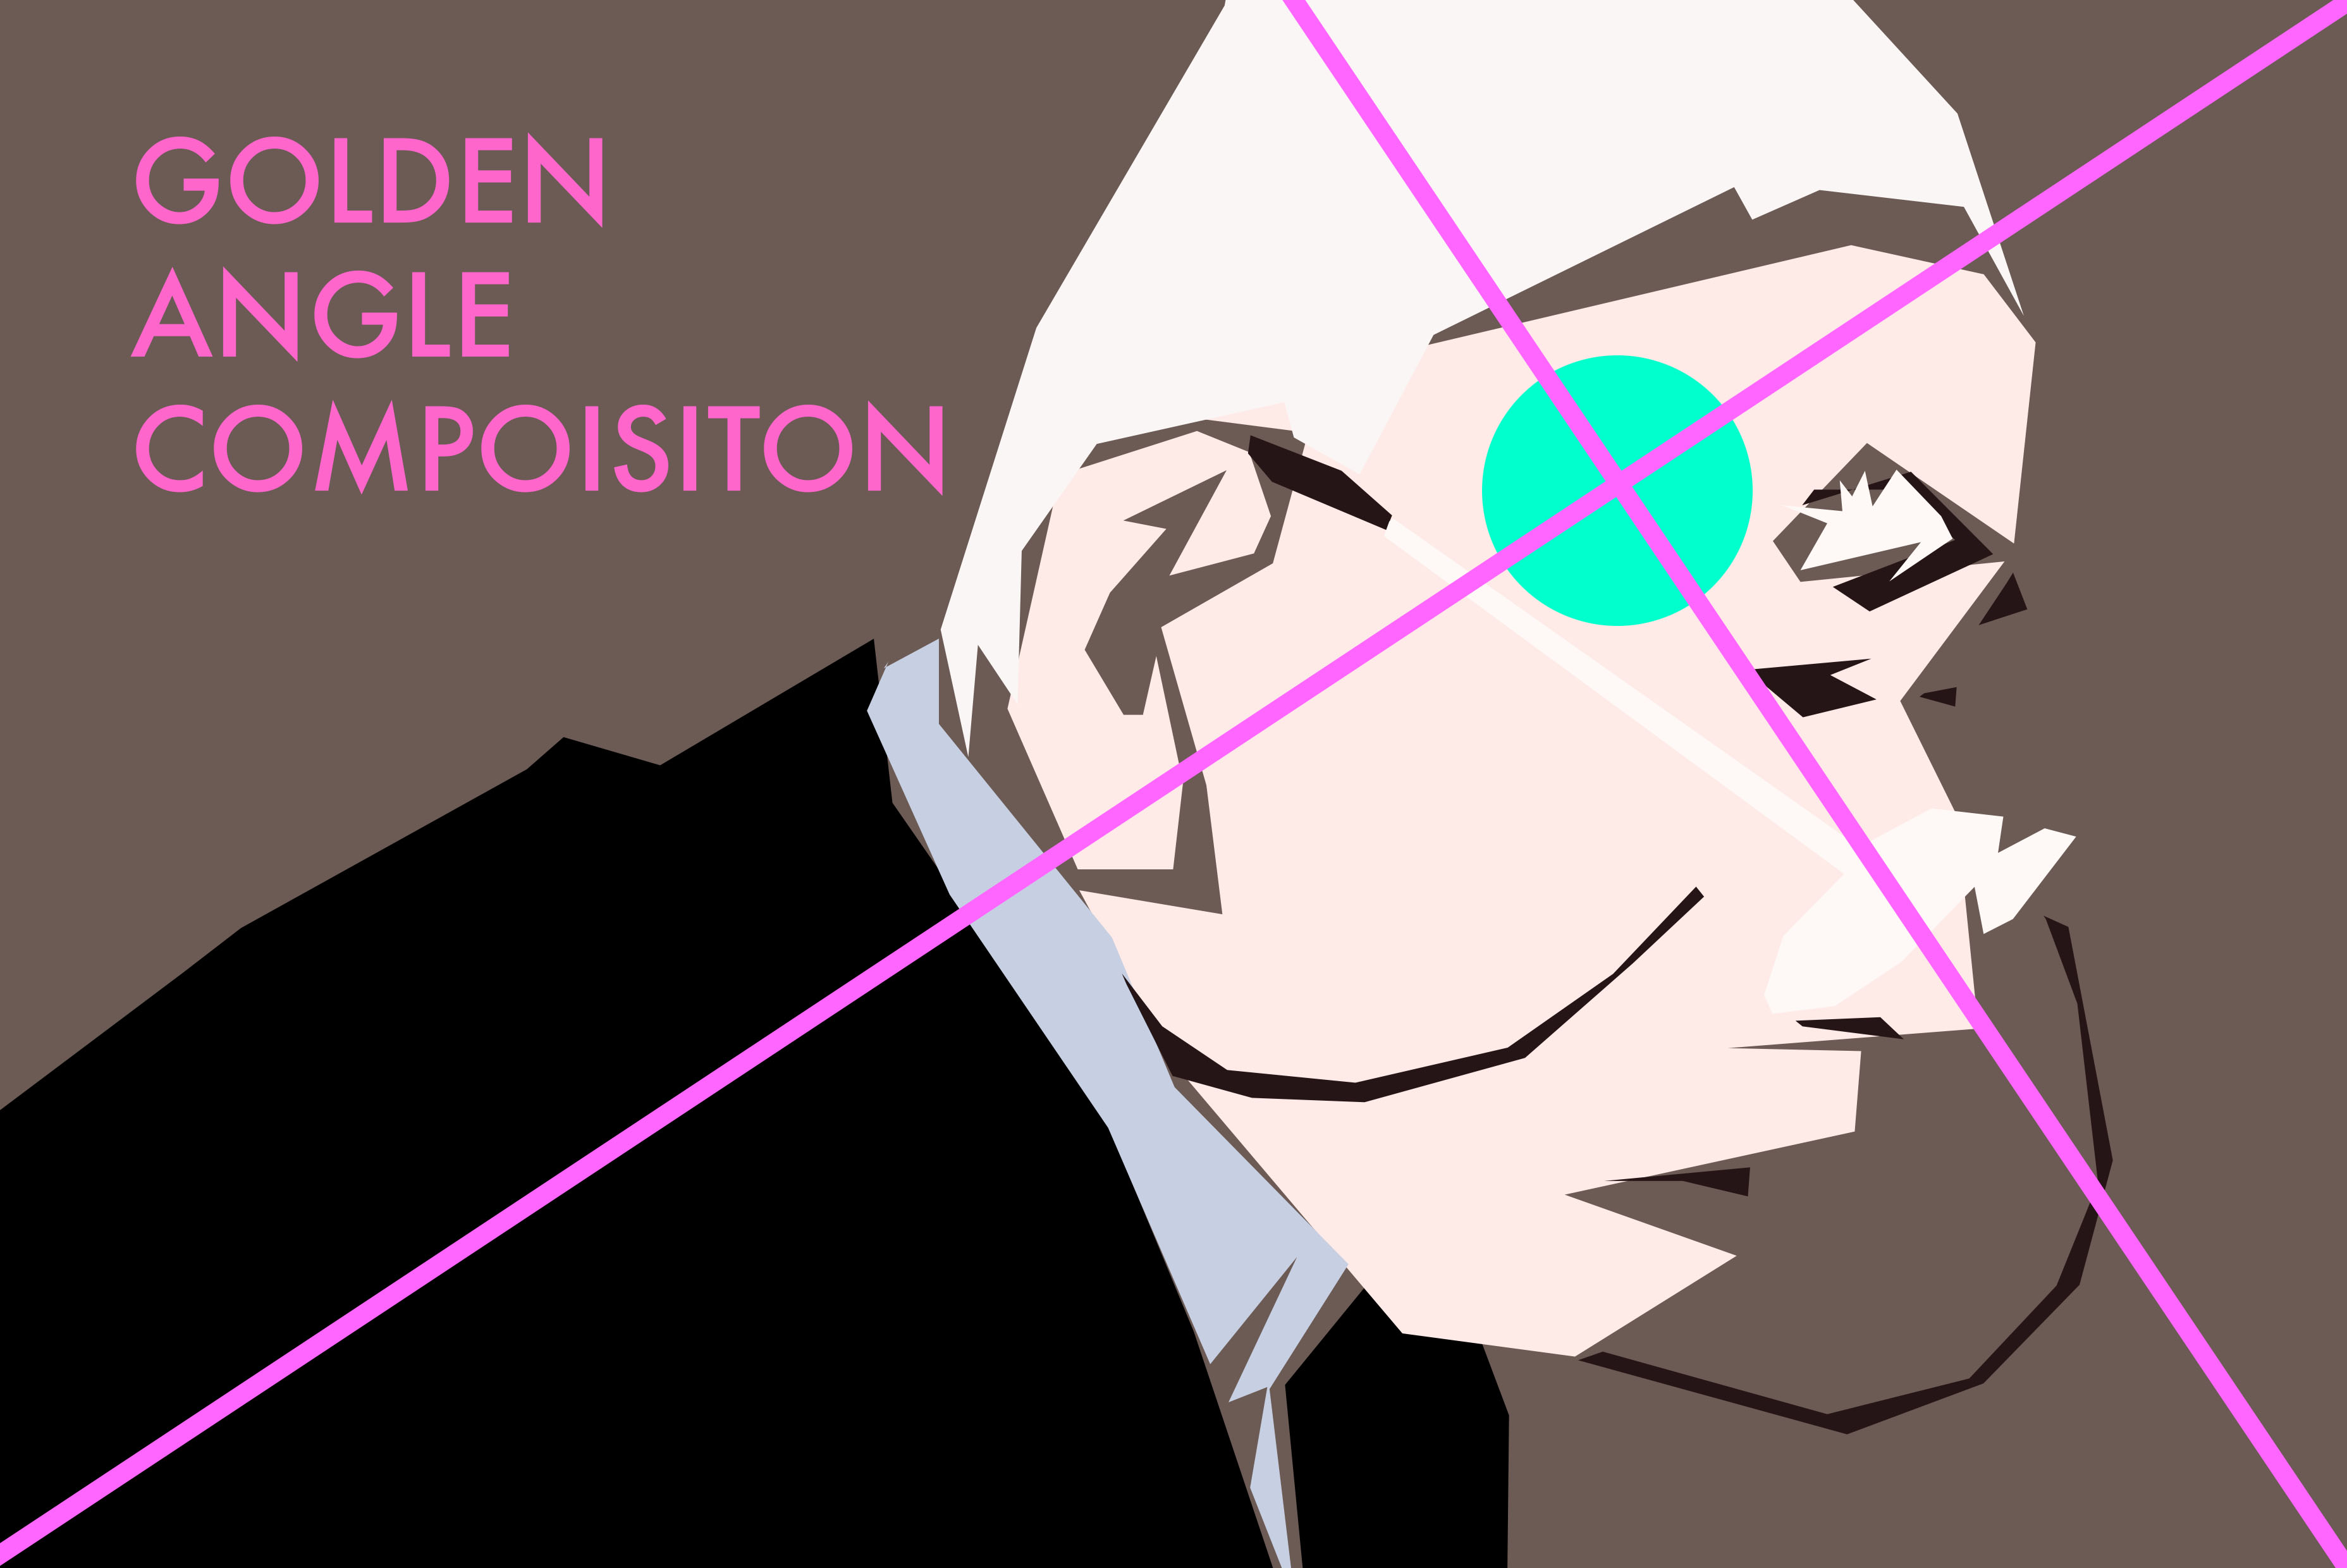
The golden angle is one of the most dynamic street photography techniques/compositions we can apply to our photos:
Download PSD (Photoshop) file:
To play with the photoshop PSD file, use the link below:
Also you can access/download all of the JPEG files here on Dropbox >
What is the golden angle?

There are a ton of words/phrases that relate to the ‘golden angle’, for example:
- The golden section
- The fibonacci spiral
- The golden rectangle
- The golden triangle
- etc…
For simplification, I will just start referring to this compositional technique as the “GOLDEN ANGLE”.

The basic principle is this:
- Draw a diagonal from one corner of the frame to the other.
- Draw a perpendicular diagonal line that intersects the original diagonal line.
- Your eye is drawn to the intersection between both the diagonal lines.
Things to note:
- You’re not always going to “see” or think about the golden angle when you’re shooting on the streets. My tip is this: When you’re shooting on the streets, think diagonals, try to get close to your subjects, and photograph your subjects as they are exiting your frame.
- Use the golden angle as a tool to analyze your photos “after the fact” (as a post-mortem examination) to decide which of your photos to keep/ditch. If you’re not sure whether to keep/ditch a photo, upload it to ARSBETA.COM for feedback.
- The point isn’t to make your photos fit the grid of the golden angle. Rather, the purpose is trying to create more DYNAMIC/AGGRESSIVE compositions which are more interesting to look at.
Where your eye is drawn

The intersecting points of the diagonals (see cyan dot) is where your eye is drawn.

Case study 2: Woman with phone and tilted head

Another example: I saw this woman, shot a bunch of photos of her, and discovered the golden angle composition AFTERWARDS.
More behind-the-scenes.

The golden angle deconstructed:


Case study 3: Golden Diagonal Composition
Another example of the “golden diagonal” composition below:


Learn more: Photography Composition 101 >

