One of the practical tips I have about composition is to establish a strong ‘figure-to-ground.’ Pretty much that means to have a good contrast between your subject and background.

That means, have a dark figure against a light background. Or a light subject against a dark background.
You can start off by starting with a white wall, and adding a darker subject to it. Or starting off with a dark wall, and adding a light subject to it.
One way you can create a strong ‘figure-to-ground’ in your photograph is to shoot a silhouette of a subject, and have the white space around it all white.
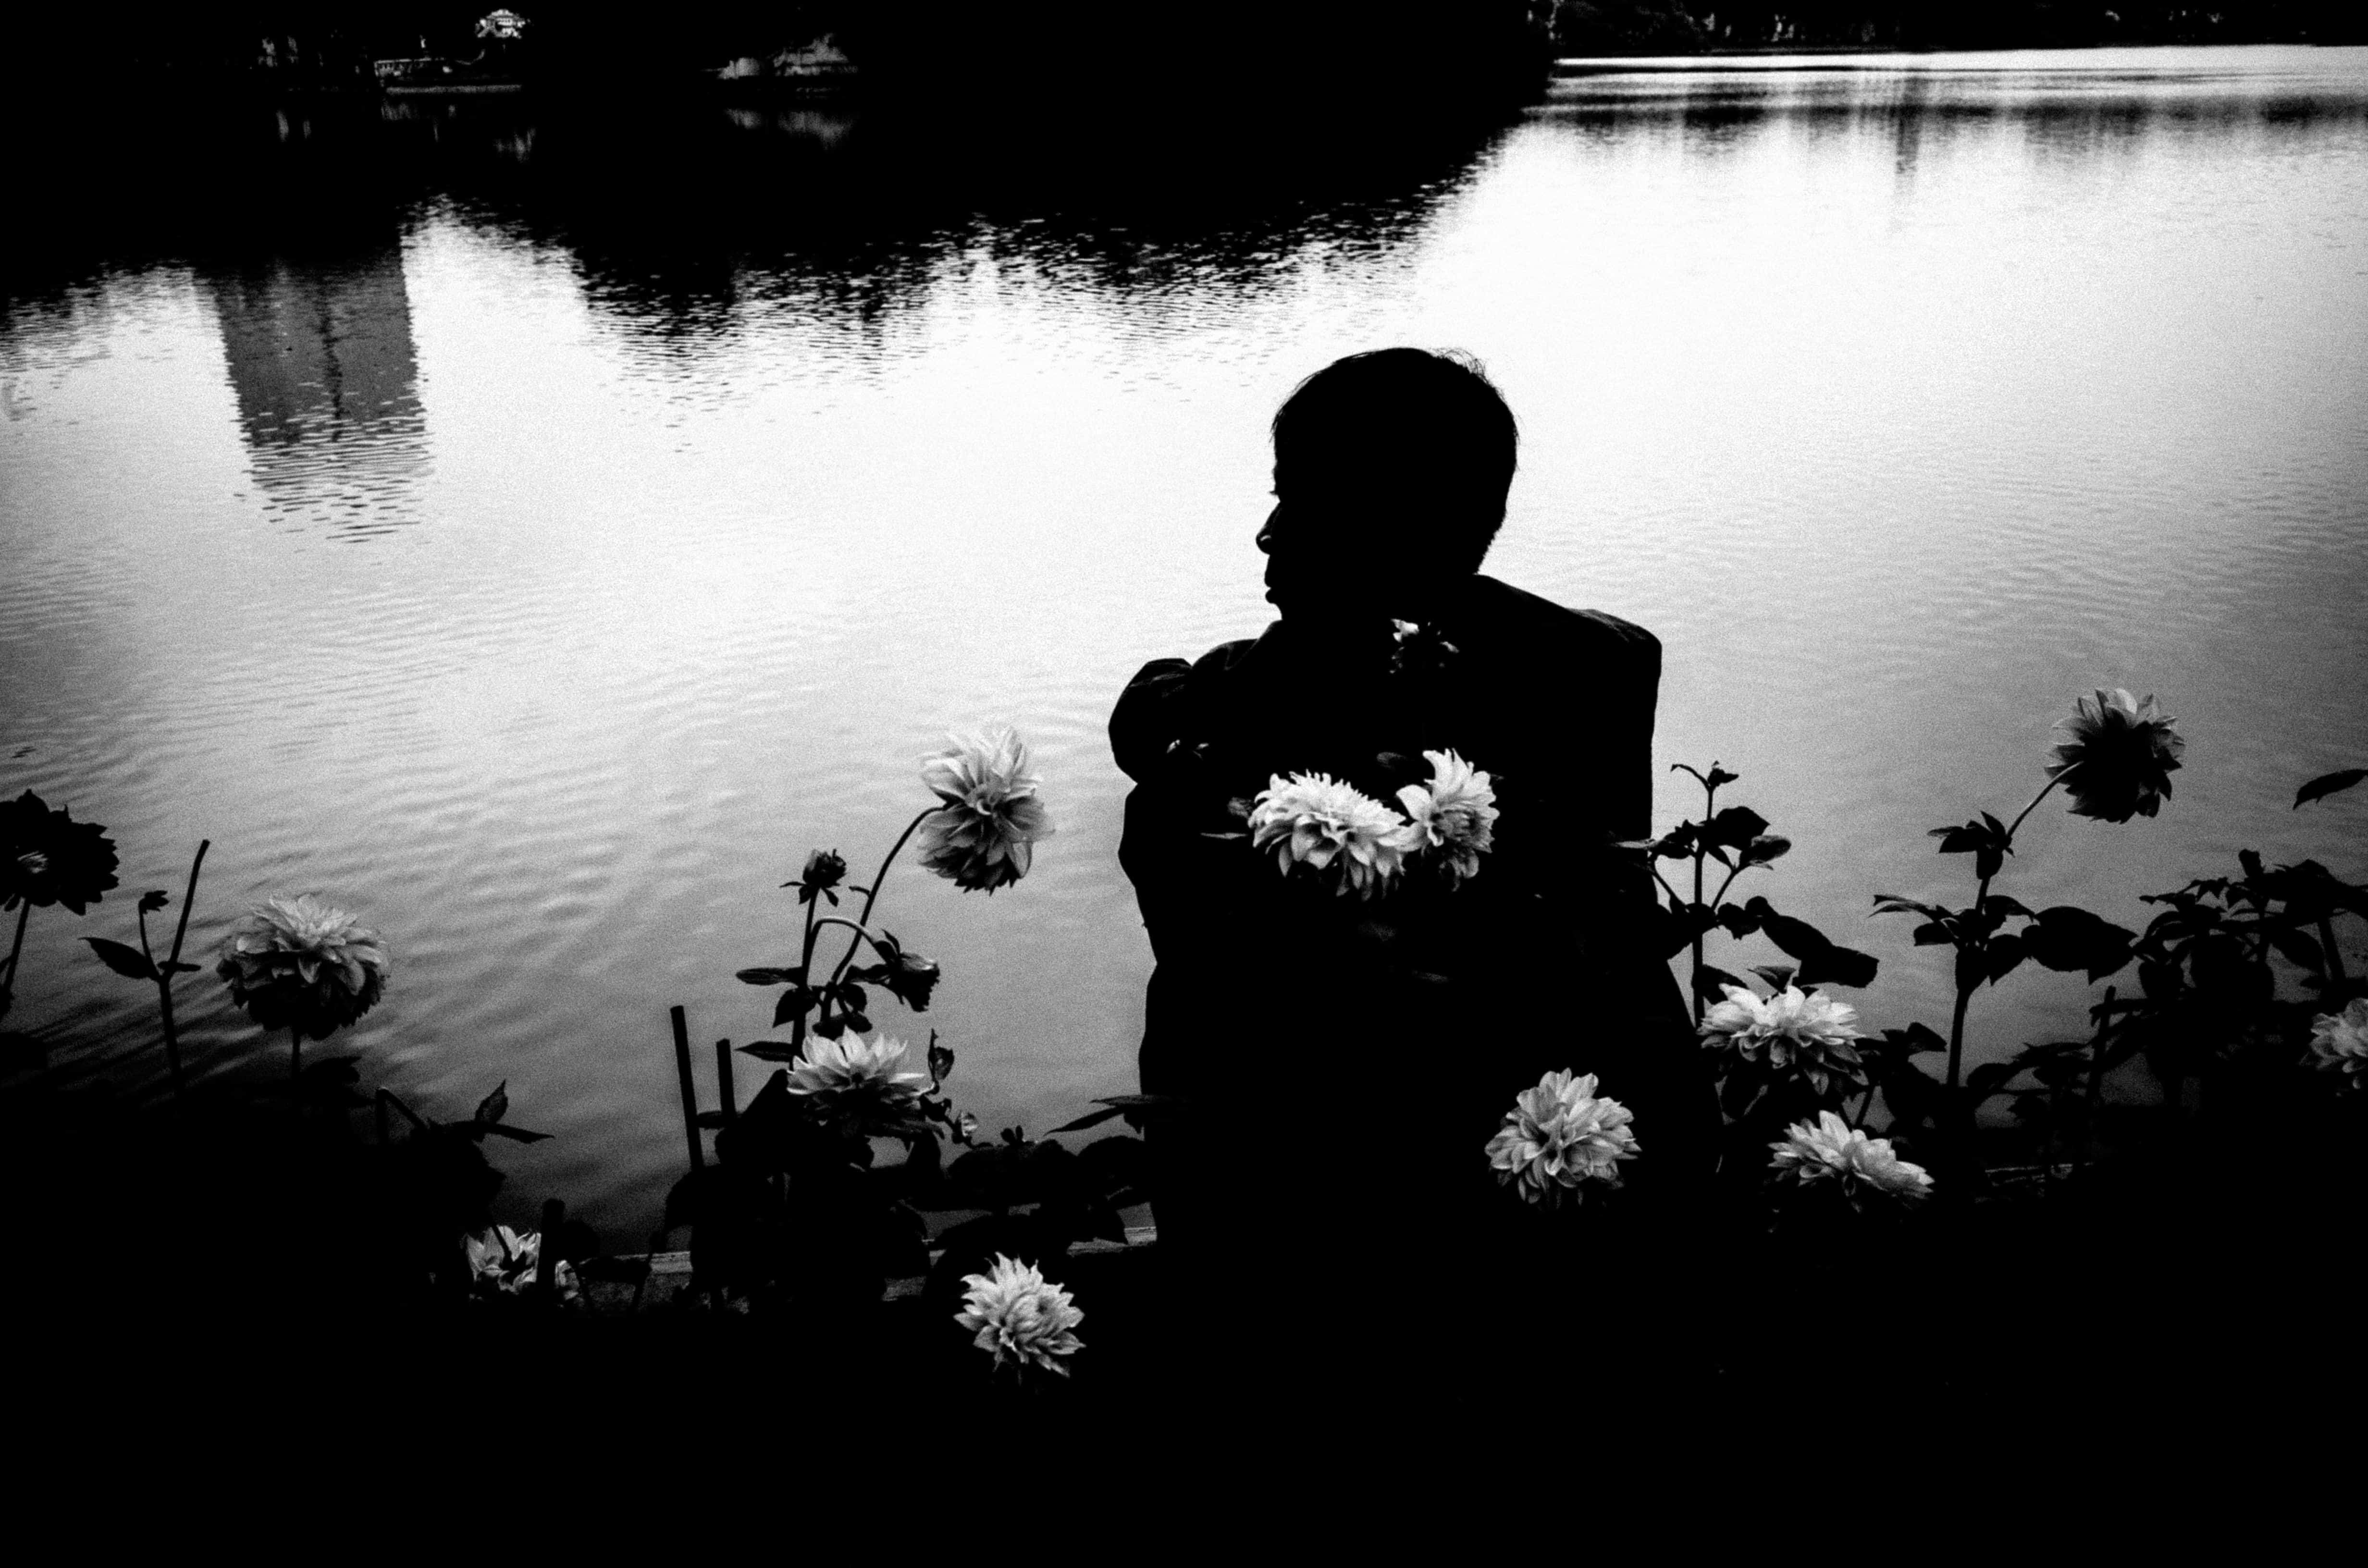
As an example, note this photograph I shot in Hanoi. What I think makes this a great photo is the mood. The strong silhouette, the mood of nostalgia, and in terms of composition — it has a strong ‘figure-to-ground.’

To analyze this photo, I have applied a ‘gaussian blur’ in Photoshop, to see even if the image is blurry, you can still see the silhouette quite well:

To analyze the image further, here is an outline of the man’s head:

And you can see there is good separation between his head and the top of the frame:

Also what I love about this photo is that if you zoom in, you can see the silhouette of the side of his face, in which you can see his eyelash, and his profile:

Outlined in red:

Once again, the importance of ‘figure to ground’ in this image can be seen between the separation of his head from the top element. If his black head was connected with the black background, you couldn’t see his head:

The point I want to make about composition is this: to get a good ‘figure-to-ground’ (or anything else), you need to make a lot of photos and ‘work the scene’. Because when you’re in the zone of making photos, you can rarely see all these details. Often you notice these details after you’ve made the photos, and once you go home.
For example, to make this one image, I had to click the shutter 32 times. And the best photo was the last photo:

You can see a few photos before, there was too much negative space between the man’s head and the top of the frame:

Outlined in red:

Compare this to the best image, where there is ‘just enough’ negative space. In my eyes, there is no science, it just feels like there is enough space:

Also an interesting thing to note about figure-to-ground, use a flash to make a stronger figure-to-ground.
Even though I made this photograph during the day (bright sunlight) I used a flash (built into the camera), in “P” mode at ISO 1600, on the Ricoh GR II. The camera used a shutter-speed of 1/750, and f/5.6.
You can see two photos I shot, the first photo without a flash, and the other with a flash.
Without flash:
So the main takeaway points about getting a better ‘figure-to-ground’ in your photos:
1. ‘Work the scene’:
Take as many photos you possibly can in a scene. For example, if I didn’t shoot 32 photos, I wouldn’t have got a good photo. The best photo was the end. I didn’t know it would be a good photo before-hand.
2. Don’t overlap figures:
The reason why the ‘figure to ground’ of this photo was good was that the man’s head didn’t overlap with the black background on top of the frame. There was a little bit of ‘white space’ in-between. This white-space is crucial. So when you’re shooting a scene, leave a little bit of negative space between your subject and the background.
3. Shoot in high-contrast black and white preview:
The benefit of shooting with a high-contrast black and white preview is you can better see the separation between your subject and the background. I set my Ricoh GR II to high contrast black and white preview, to better see the world in black and white.
4. Use a flash:
Using a flash helps darken the background (even when shooting in the day), and create more separation between your subject and background.
Learn more: Composition >