Practical workflow tips for Lightroom:
How to Speed Up Your Adobe Lightroom Workflow, Editing, Post-Processing, and Image-Selection
Processing vs editing

Color jpeg 
Processed into monochrome
Processing your photos is different from editing.
- Editing is the art of choosing your best photos (image selection)
- Processing is the art of changing the aesthetics of your photos.
Unfortunately when people say “edit” their photos, they mean to say “process”.
In Praise of Presets

The best processing tool is currently Lightroom, because of the ability to create and import Presets.
Here are my current free LR presets:
You can see all my presets here.
Presets are great, because they expedite your processing of your photos.
I generally recommend this:
Apply presets to your photos, then do more subtle processing afterwards.
Also, there is no such thing as a “perfect” aesthetic. Thus, my tip is to process your photos to look “80% good enough”, then just export your photos.
JPEG or RAW?
You can process both JPEG and RAW photos.
If you want more control over white balance for color photos, RAW is the best. Otherwise, I nowadays recommend just shooting JPEG to simplify your workflow.

All of the photos in this post were shot in Fujifilm XF10, SR+ mode, JPEG, then processed with my presets in Lightroom Classic CC.
Experiment with presets and sliders
The only way to learn how to process your photos is by experimenting.
This is what I recommend doing:
- Apply a preset to a photo
- Drag all the sliders in the “Develop” module to the left and right, to understand what they do.
- Figure out what kind of aesthetic look you prefer. I prefer an extreme processing look, but this is just personal. It is up to you to determine what aesthetic you like in your processing.
My current Lightroom Workflow

This is what I generally do now:
- Import JPEG photos into Lightroom
- Look through my photos (in reverse chronological order), and press “P” on your keyboard to Pick your photos you like.
- After viewing all my photos, I filter my photos based on “Flagged” (all the photos I picked)
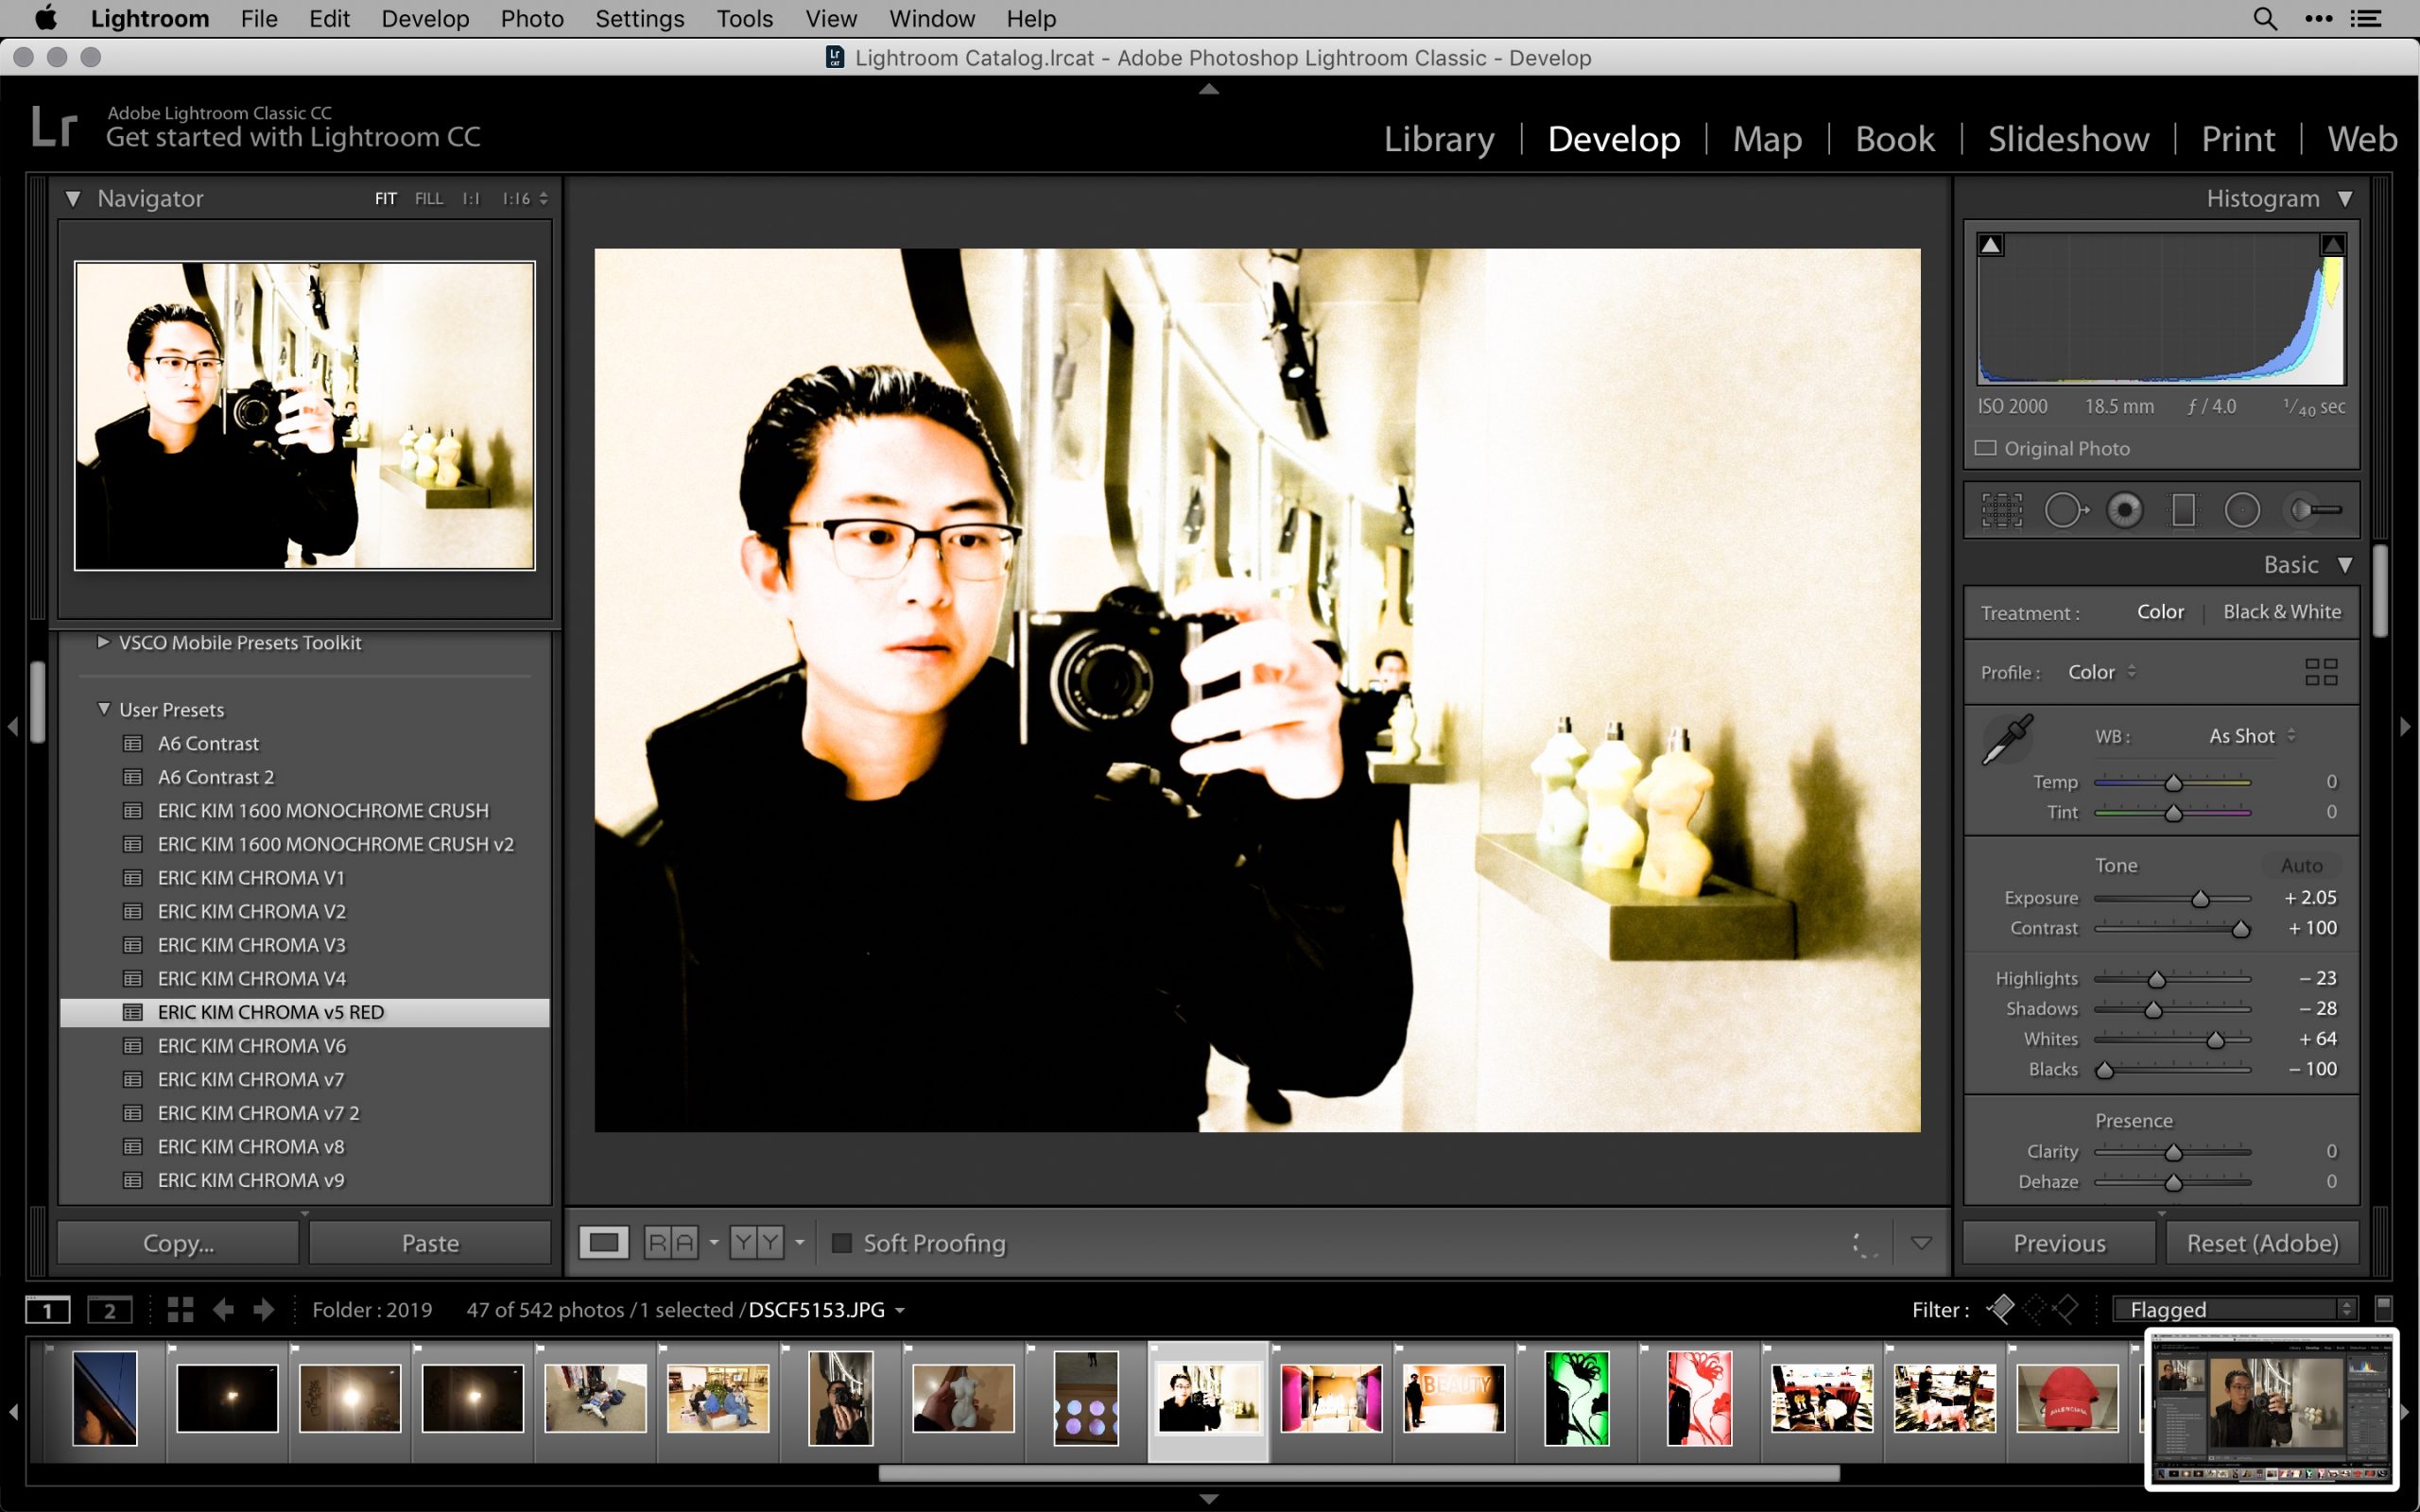
- Go into Develop module, and apply presets to photos. Choose a preset which looks good to me.
- Once done processing all my pictures, select all, then export into Dropbox folder.
Screenshots from my workflow process:
Final processed photos
Monochrome photos processed from JPEG color photos
Keep cultivating your personal aesthetics
Technology in photography is constantly evolving. Keep integrating new processing styles and tools into your workflow (like using iPad and VSCO).
Above all, have fun processing your photos!
If you don’t enjoy processing your photos, just shoot JPEG with a preset on your camera you like, and then JUST SHOOT IT!
ERIC
-
 ERIC KIM WALLET$ 499
 -
 MUSE BY KIM$ 1,535
 -
Product on sale
 ERIC KIM NECK STRAP MARK IIOriginal price was: $ 770.$ 149Current price is: $ 149.
 -
Product on sale
 HENRI NECK STRAP MARK IV$ 499
 -
Product on sale
 ERIC KIM WRIST STRAP MARK IIOriginal price was: $ 850.$ 99Current price is: $ 99.
 -
Product on sale
 HENRI WRIST STRAP (PRO)Original price was: $ 350.$ 99Current price is: $ 99.
 -
Product on sale
 ERIC KIM PORTFOLIO BAGOriginal price was: $ 400.$ 199Current price is: $ 199.
 -
Product on sale
 HENRI SHOULDER STRAP$ 399 – $ 799
 -
Product on sale
 Henri Wrist Strap CHROMA LIMITED EDITION$ 69 – $ 290
- The Spartan Way
- Search Eric Kim on the Iliad
- Eric Kim economic theory
- ERIC KIM PODCAST
- Eric Kim on Leonardo da vinci
-
 TRAVEL NOTES: Photography Assignments & Inspiration Manual$ 19
 -
Product on sale
 My First Photography Book Limited Edition Hardcover + Free Mobile BonusOriginal price was: $ 49.$ 29Current price is: $ 29.
 -
 STREET HUNT: Street Photography Field Assignments Manual Print Edition$ 19
 -
 CREATIVE EVERY DAY PRINT$ 49
 -
 LAUGHING LADY: Collector’s Edition Artist Proof Print$ 18,320
 -
 MASTERS VOLUME 1 PRINT$ 79
 -
 STREET NOTES (Print Edition)$ 19
 -
 FILM NOTES Print Edition$ 19
 -
 PHOTO JOURNAL (PRINT EDITION)$ 19


