Some practical tips on iPad Photography workflow:
Simpler is better

First of all, why use iPad for your workflow?
Some reasons:
- Cheap: You can buy a new iPad for very cheap; cheaper than laptop.
- More fun: Something fun about editing photos on an iPad, something that is lacking on laptop.
- Feels more traditional: Editing photos on iPad reminds me of looking at contact sheet strips on a light box.
- Quicker: iPad with Photos, and VSCO seems to work much faster than Lightroom on laptop.
SD CARD ADAPTER

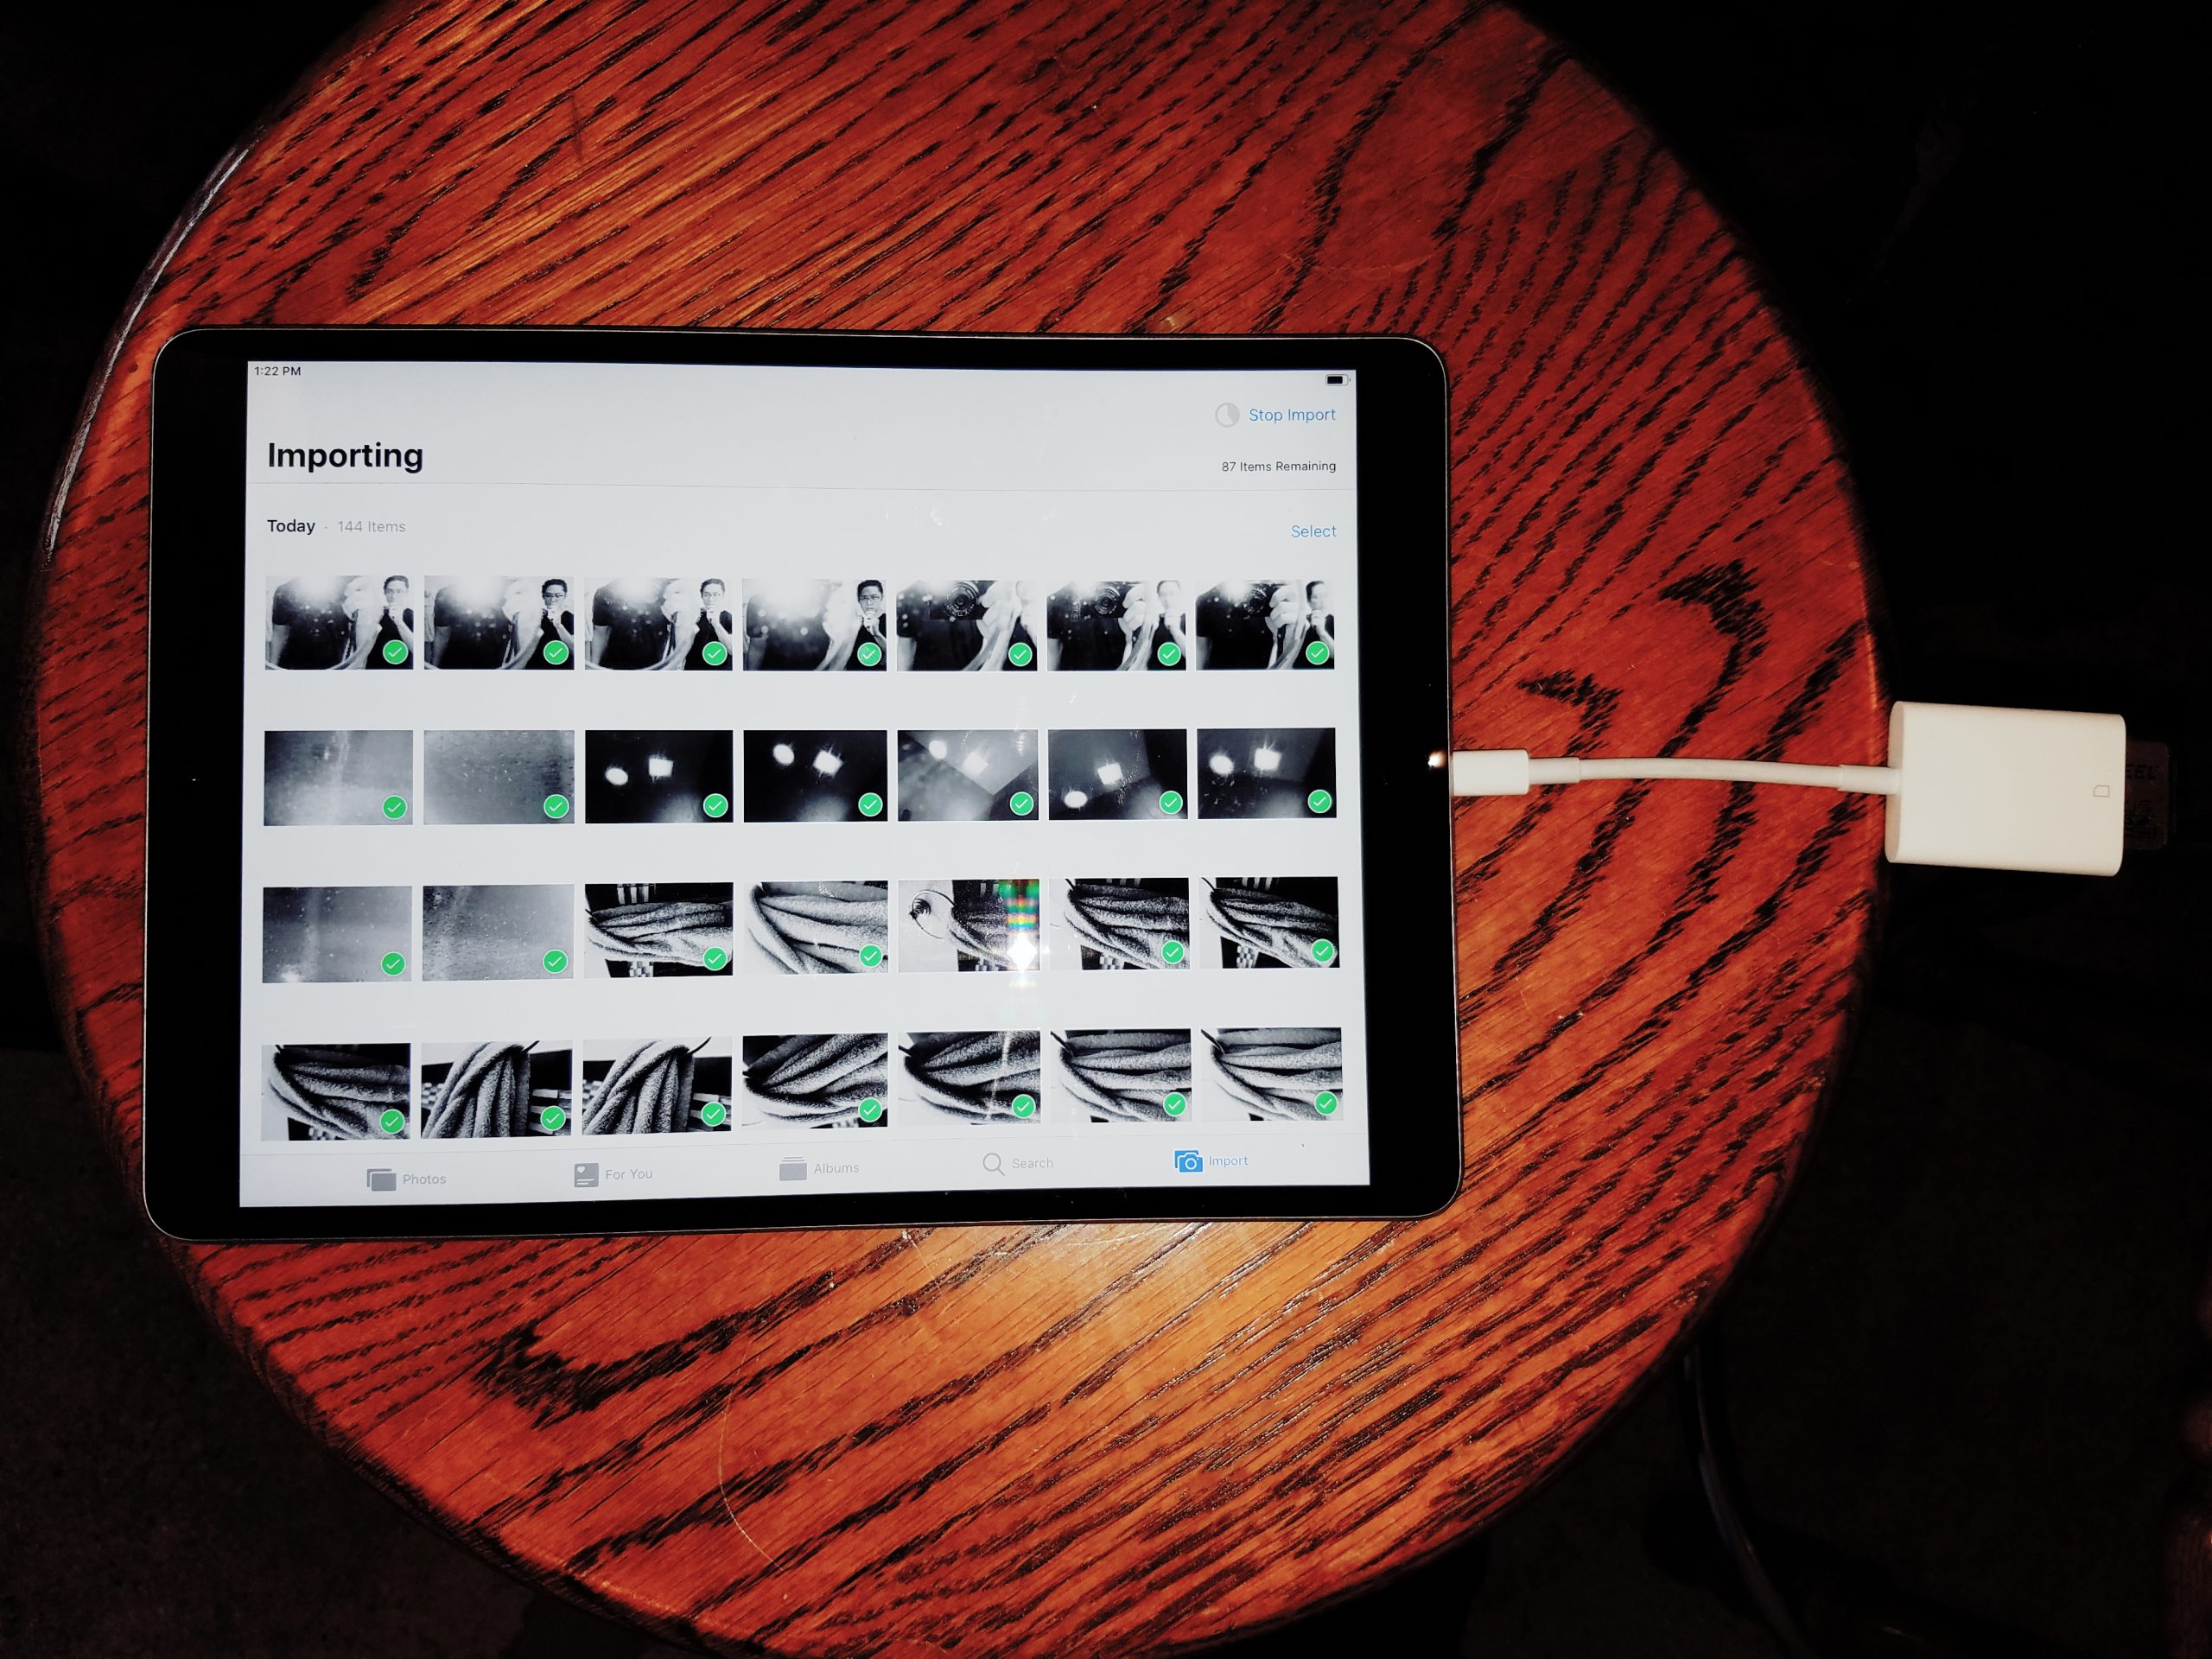
I don’t like using WiFi to sync photos. Not as seamless or fast as using the iPad Lightning SD CARD adapter.
Importing

When you stick in the SD CARD into the adapter into the iPad, this import module will show up.

Click “import all” to start importing.

To keep it organized, add your photos to a new album.
Wait for it to finish:

Import photos into VSCO

Open the VSCO app, then click the top right corner to import your photos.
Then select the photos from your camera roll you want to import.

Then, Open the photo and click the adjustment button:

Then choose the presets you want to apply:


How to favorite a preset. Click and hold a preset, then swipe upwards to Star it. 
Favorite presets 
Distortia preset 


Processed with VSCO with d1 preset 

And the final photo I processed:

Some screenshots for another photo:

Basically you import other photos, then process them, and save them to your camera roll.


Processed with VSCO with x1 preset
Keep it simple.

Honestly there isn’t a perfect workflow. Just keep working to simplify it.
More thoughts to come.
ERIC
-
Sale!

DOWNTOWN LA CONQUER YOUR FEARS WORKSHOP (November 16, 2024)
Original price was: $ 999.$ 499Current price is: $ 499. Add to cart -
Sale!

SF CONQUER YOUR FEARS WORKSHOP October 26th, 2024 (Saturday 11am-4pm)
Original price was: $ 1,250.$ 699Current price is: $ 699. Add to cart -
Sale!

ERIC KIM OMAKASE COFFEE
Original price was: $ 550.$ 99Current price is: $ 99. Add to cart -

HAPTIC ARMOR
$ 199 Read more -

ERIC KIM WALLET
$ 499 Add to cart -

MUSE BY KIM
$ 1,535 Add to cart -

TRAVEL NOTES: Mobile Edition
$ 50 Add to cart -

TRAVEL NOTES: Photography Assignments & Inspiration Manual
$ 19 Add to cart -
Sale!

ERIC KIM NECK STRAP MARK II
Original price was: $ 770.$ 149Current price is: $ 149. Add to cart -
Sale!

HENRI NECK STRAP MARK IV
$ 499 Select options This product has multiple variants. The options may be chosen on the product page -
Sale!

My First Photography Book Limited Edition Hardcover + Free Mobile Bonus
Original price was: $ 49.$ 29Current price is: $ 29. Select options This product has multiple variants. The options may be chosen on the product page -
Sale!

ERIC KIM WRIST STRAP MARK II
Original price was: $ 850.$ 99Current price is: $ 99. Add to cart

