Here is a general overview of my Lightroom (desktop) workflow currently looks like:
Download free ERIC KIM PRESETS, to play along!
Lightroom Workflow Tips
Some basic tips:
- Keep your workflow as simple as possible. Lately, I’ve just been shooting in JPEG with Fujifilm XF10 in SR+ mode to simplify my photographic workflow, which has been great. Faster importing of photos, smaller file sizes, and quicker image-selection process (photos are quicker to load)
- Don’t just share photos to Facebook or Instagram: Upload your own photos (first) to your own blog (preferably your own self-hosted WordPress.org blog — you can use bluehost.com to signup).
- Also keep your photos synced in Dropbox (I use Dropbox pro, for 1 TB of cloud storage). Syncs far better than Google Drive or Apple Drive, and also can be used across all devices (Android, iOs, etc).
- Use Presets to speed up your workflow, and then after applying presets, just adjust the exposure and contrast a bit.
- There is no perfect workflow; don’t seek to “improve” your workflow, seek to SIMPLIFY your photographic workflow. Enjoy the experience of processing your photos, and keep shooting!
Keep experimenting with Lightroom, have fun, and keep it super super simple!
ERIC
Screenshots of my Lightroom Desktop Workflow
An overview of my current workflow process (Fujifilm XF10 on SR+ mode in JPEG)

Import photos 
Importing Fujifilm XF10 (JPEG) photos shot in SR+ mode 
Start from the last photo, and look at my photos in reverse chronological order 
Press “E” to enlarge photo 
Press “L” once to turn off the lights 
Press “L” one more time to turn off the lights completely 
Shift+Tab hotkey to collapse side windows 
Press “L” twice to turn off lights completely 
When I like a photo, press “P” to Pick the photo 
Pressing <- on keyboard, looking through photos, and “Picking” (P) photos I like 


Applying different presets in Develop (hotkey “D”) mode 
Before preset 
After Eric Kim MONOCHROME 1600 v2 preset 
Before preset (JPEG) 
After preset (Eric Kim CHROMA v12) 
Before preset 
After Eric Kim Monochrome 1600 v3 Preset 
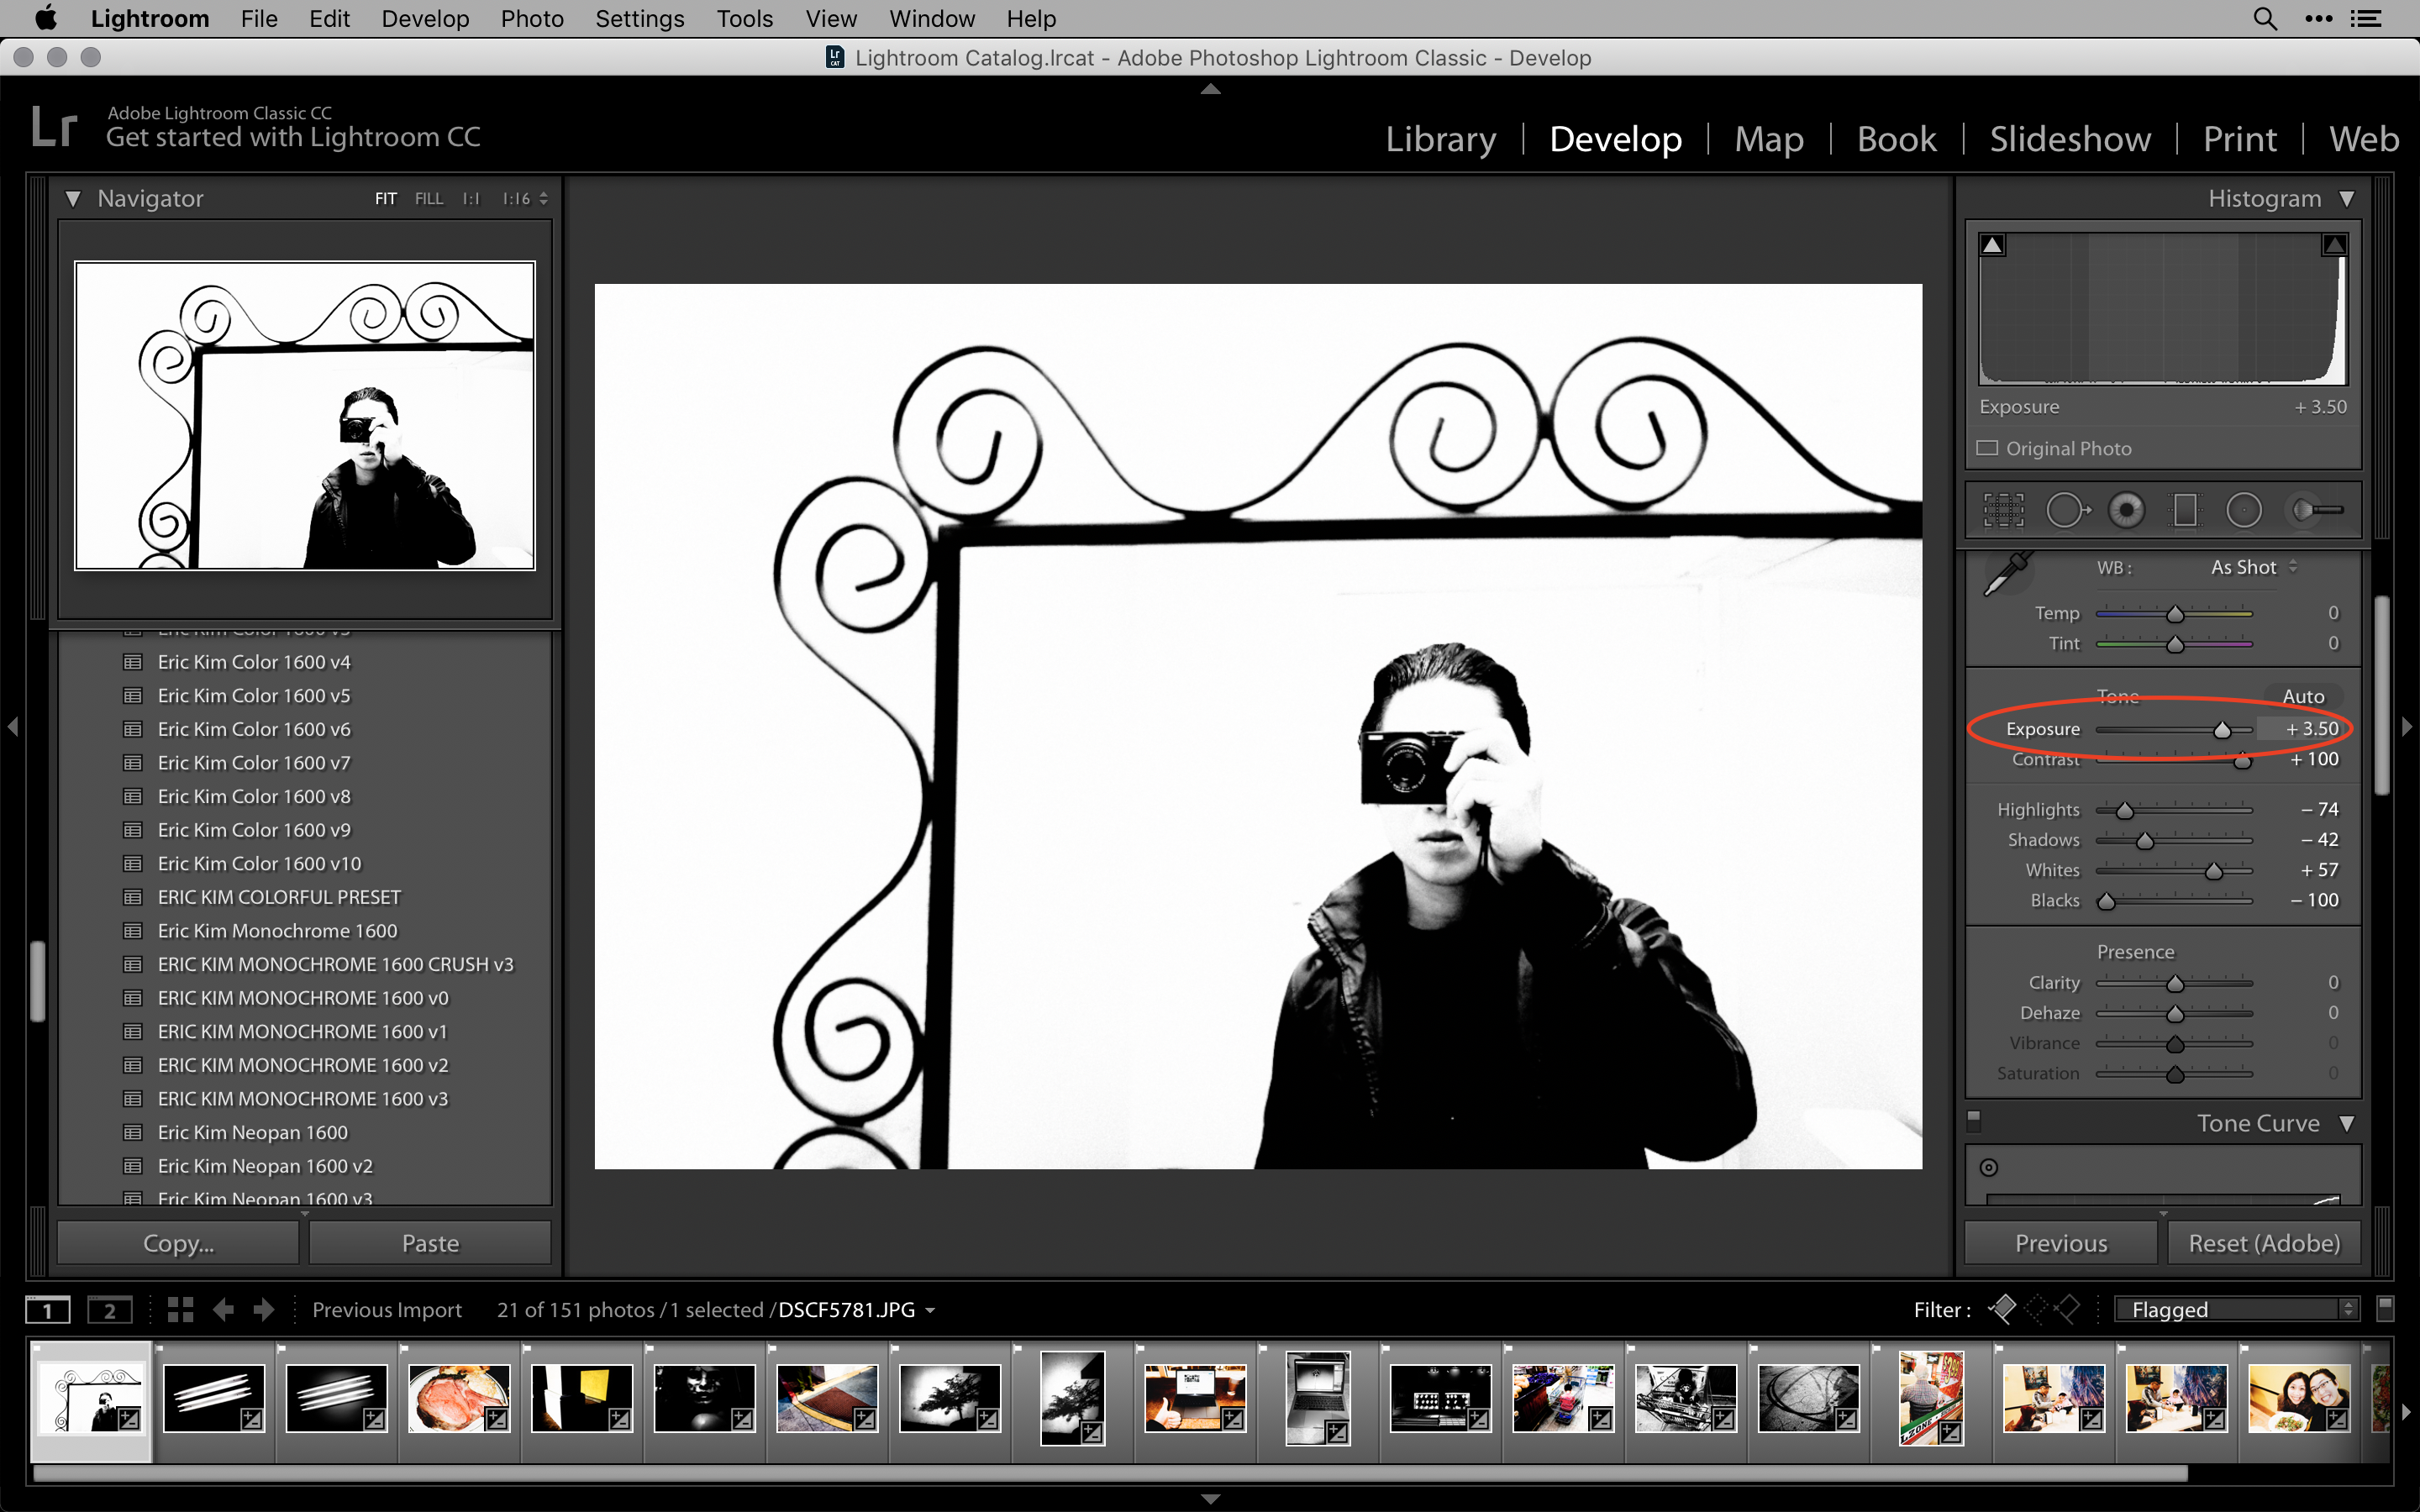
Before preset 
After preset, while also increasing exposure 
Filter your photos based on ‘flagged’ 
Command+A (to select all) 
Export photos, and rename file names 
Scroll down, and make sure that after exporting, it ‘shows in finder’
Then after exporting all the photos, I upload them to my WordPress Blog:

Command+A (to select all), then drop the photos into my ‘Upload New Media’ section, for ‘Add New’ 
Photos start to upload; simply wait.
Exported JPEG photos:
Here are the photos I exported:


Adobe Lightroom Workflow, Editing, and Post-Processing Articles
FREE ERIC KIM Lightroom Classic CC Workflow PDF Visualization
 DOWNLOAD PDF: Eric Kim Lightroom Classic CC Workflow Visualization by Eric Kim Annette Kim HAPTIC
Learn more Lightroom Workflow Hacks
 For more Lightroom workflow hacks, enroll in my Udemy course: “Ultimate Beginner’s Guide to Mastering Photography“.
How I keep a photograph in Lightroom (OSAKA EDITION)
How to Use Lightroom in 10 Minutes For Beginners
Lightroom is one of those pieces of software in which you only need to know how to use 10% of it for 90% of the functions. If you’re a newbie to Lightroom, don’t get overwhelmed. Here is an easy 10-minute start to Lightroom. To start, I recommend using hotkeys. It will save you a lot of time down the line. Here are the hotkeys:Lightroom Hotkeys
- Shift + Tab : Collapse all side windows
- F: Full screen
- G: Gallery/Grid View (whatever you want to remember by)
- E: Enlarge
- D: Develop
- L: Turn off the “Lightsâ€
- Command (or Ctrl) + [ ] : Rotate the image Left or Right
My Lightroom workflow
This is my basic Lightroom workflow:- Insert SD Card
- Click ‘Import’
- Apply Eric Kim Preset upon import (Eric Kim 1600 Monochrome)
- Press Shift+Tab to collapse side columns
- Press “L†twice (to turn off the lights)
- Scroll through images with trackpad to look for favorite photos
- Press “P†to Pick my favorite photos
- In the bottom-right corner, turn Filter into “Flaggedâ€
- Press “D†to Develop the photo, and make basic edits
- Press “G†to go back to the Gallery view
- Press “Export†button in bottom-left corner
- Choose folder to extract image, and make JPEG 80%.
- Find JPEG image, and upload to social media/website/etc.
How do I know what my best photos are?
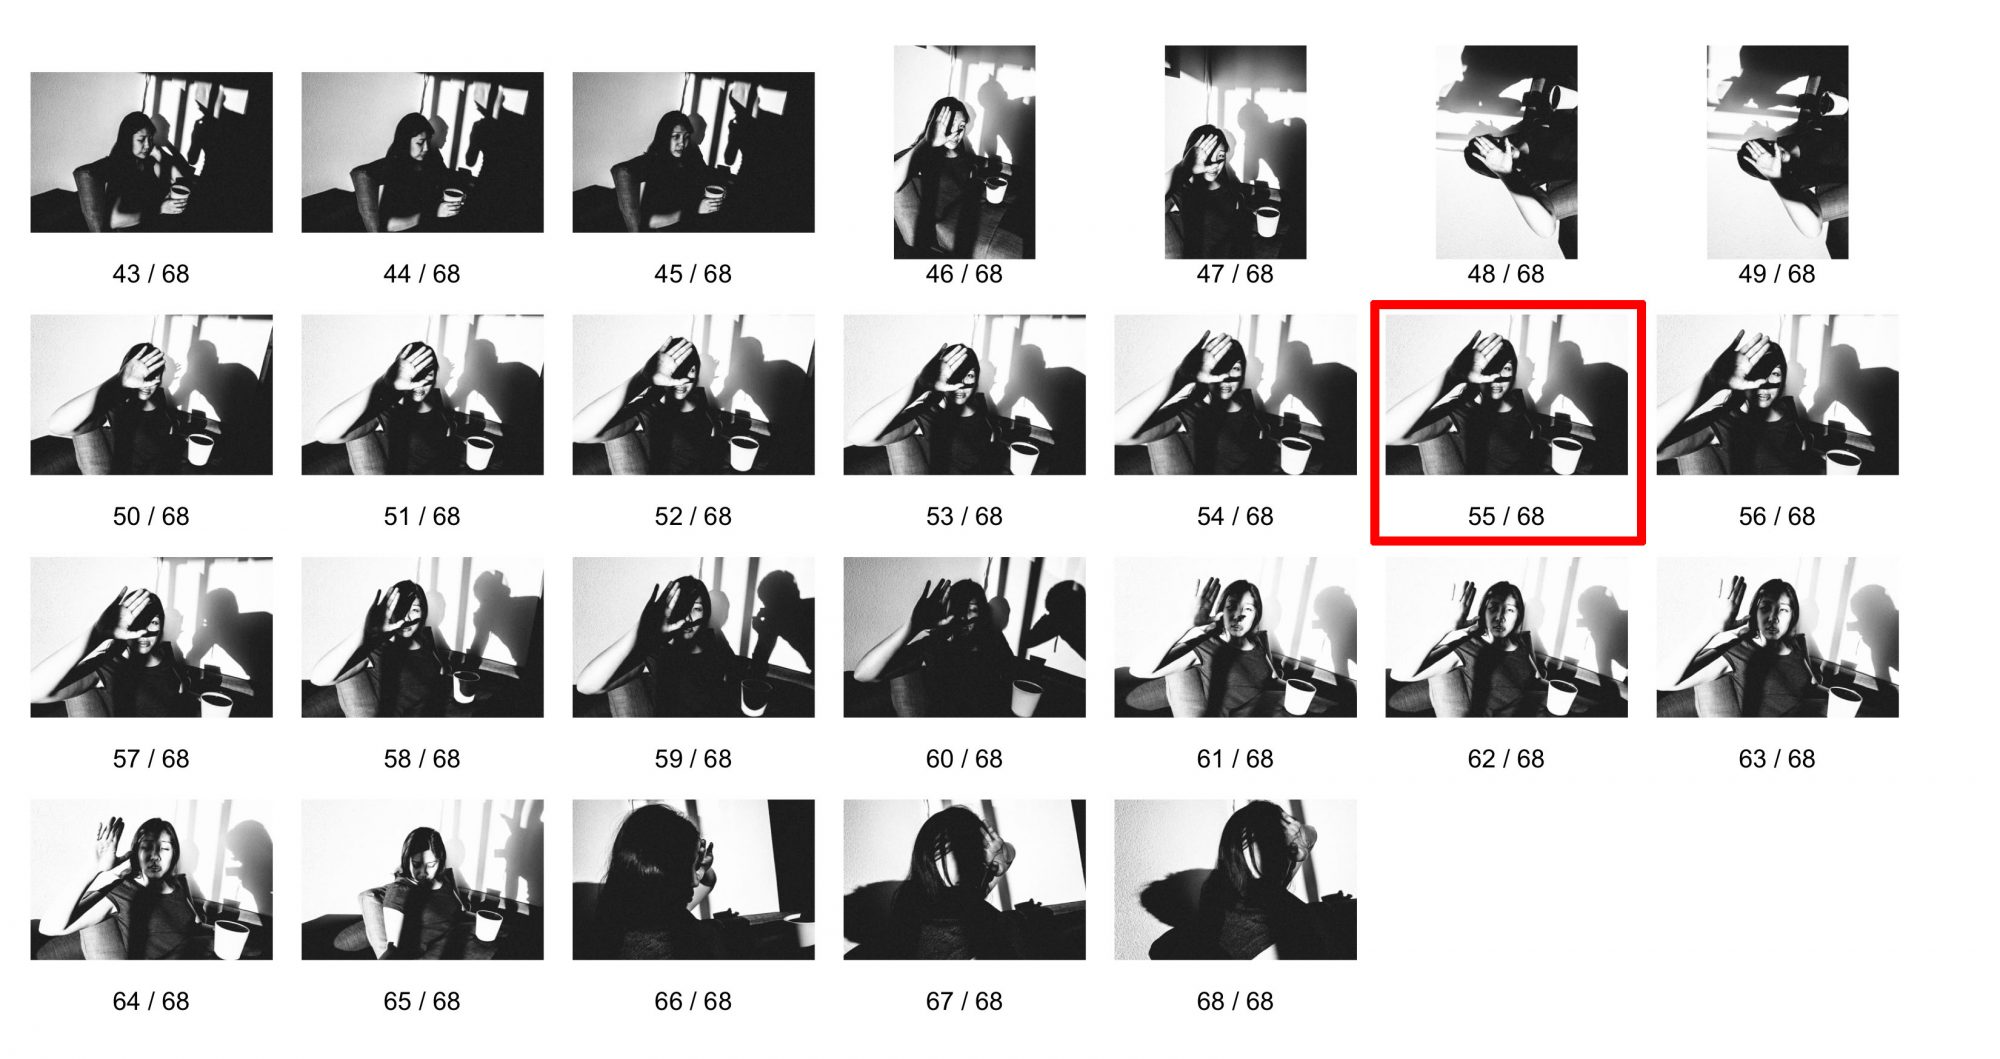 Learn how to choose your best photos:
- How to Choose Your Best Photos
- Be Your Own Harshest Critic
- Nobody Wants to Look at Your Photos
- 15 Tips How to Choose Your Best Photos