Post processing as also fun, creative and an art:
How to do it

Everyone has a different recipe. It’s like cooking. But with post processing, especially digitally … it is always in flux and changing. The cameras and sensors are changing, the file formats are changing, the post processing algorithms are changing, etc. My pragmatic suggestion:
Process your photos with your gut.
Process your photos until they look beautiful to your eyes, and when it looks about 80-90% “good enough†in your eyes, stop. Like a good chef… you don’t want to over-season your foods! Or a lesson I’ve learned when cooking steak or eggs:
Stop cooking eggs or steak a little before when you think it’s “readyâ€.
Iterate.


Difficult to know which version of post processing is best. So you must keep iterating. To iterate means:
Keep experimenting, keep trying new methods and processes.


When to *not* post-process your photos?
You don’t always gotta post process your photos. If you just shoot with an in-camera JPEG filter you like, you can just shoot it, and “set it and forget itâ€! And the only thing you must do is change the exposure compensation while you’re shooting. For example these photos I’ve shot RICOH GR III in high contrast black and white filter, and while I’m shooting I look at the LCD screen, and I just adjust the exposure of the photos while I’m shooting. To accentuate some of the details and blacks, I’ll shoot -1 exposure compensation. To increase the highlights, I’ll shoot +1 exposure compensation.
New recipes
A new experiment: shooting the HDR JPEG filter on RICOH GR III, then converting and processing it in monochrome for a more dramatic effect with textures and abstracts:


What are you trying to achieve through post processing?


I say the purpose of post processing is to enhance your artistic vision and expression. To enhance what you see beautiful and want to bring out, and to hide or to de-enhance what you consider uninteresting.
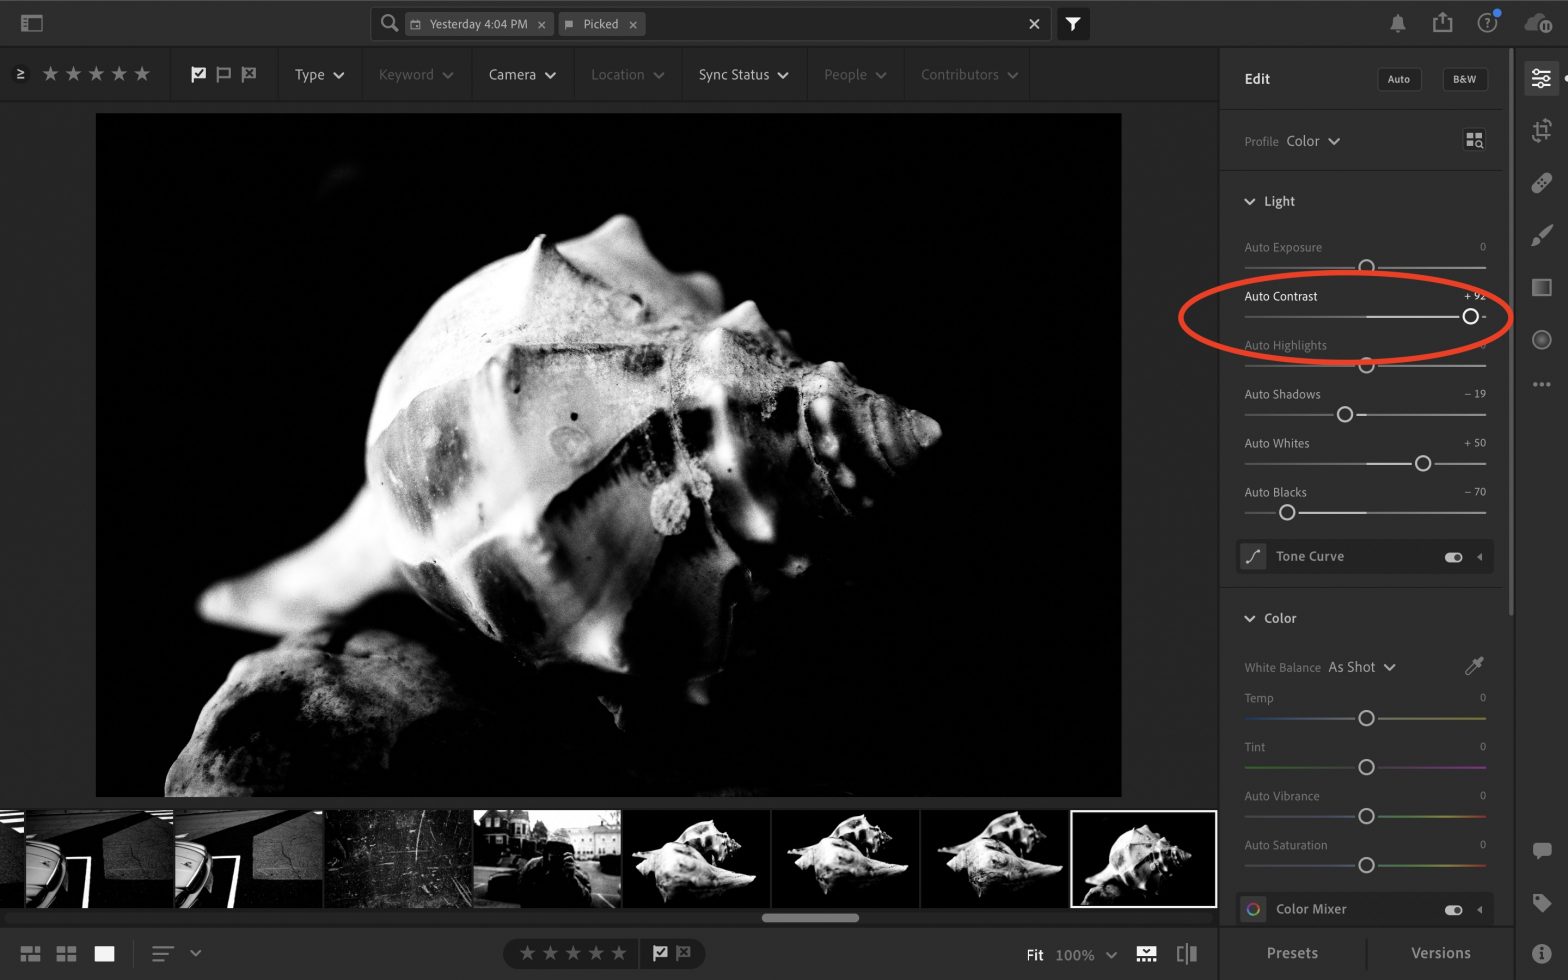
New Lightroom CC Presets

Apply these to monochrome JPEG photos (to add even more contrast).
Download: ERIC KIM High Contrast Presets (Lightroom CC) 2019
Monochrome Presets

Download: ERIC KIM MONOCHROME PRESETS 2018
ALL ERIC KIM PRESETS

Dear friend,
As a present, here are some new ERIC KIM LIGHTROOM CLASSIC CC PRESETS 2018 for you!
Also check out my new Tokyo CHROMA Lightroom Presets.
What’s new?
With the new Adobe Lightroom Classic CC, they have a new .xmp format for the presets. The new ERIC KIM LIGHTROOM CLASSIC CC PRESETS 2018 are all in .xmp format.
You can also download TOKIO CHROMA PRESETS .ZIP
Download Older Lightroom Versions
If you have older versions of Lightroom, you can download my older Eric Kim Chroma Kyoto JPEG Presets 2017 and Eric Kim Lightroom Presets 2017.
How to use the presets
My recommendation: Play around with the presets (on both RAW or JPEG files) and find a look that is 80% “good enough” to you. Then, edit the presets, remix them, and make them your own.
What are my favorite presets?
- For RICOH GR II RAW files, use the “ERIC KIM MONOCHROME 1600” preset.
- For JPEG color photos, use Eric Kim Color 1600 v10
How to install presets

- Open up Lightroom
- Go in the “Develop†module (hotkey “Dâ€)
- Under the “Presets†drop-down menu (bottom-left) right-click (or on Mac, control+click) and click “Import…†and then select your presets from your “Downloads†folder
- Apply to your image
Lightroom and Editing Tutorials
Editing: The art of choosing your best photos (not to be confused with post-processing).
Lightroom Tutorials
If you’re new to Lightroom, here are some tutorials that can help you:
- How to Edit a Photography Project in Lightroom
- How I Edit My Photos in Lightroom
- How to Use Lightroom in 10 Minutes For Beginners
- Eric Kim Lightroom Presets
Editing Articles
Learn how to choose your best photos:
- How to Choose Your Best Photos
- Be Your Own Harshest Critic
- Nobody Wants to Look at Your Photos
- 15 Tips How to Choose Your Best Photos
Also you can learn more on how to choose your best photos with Contact Sheets
