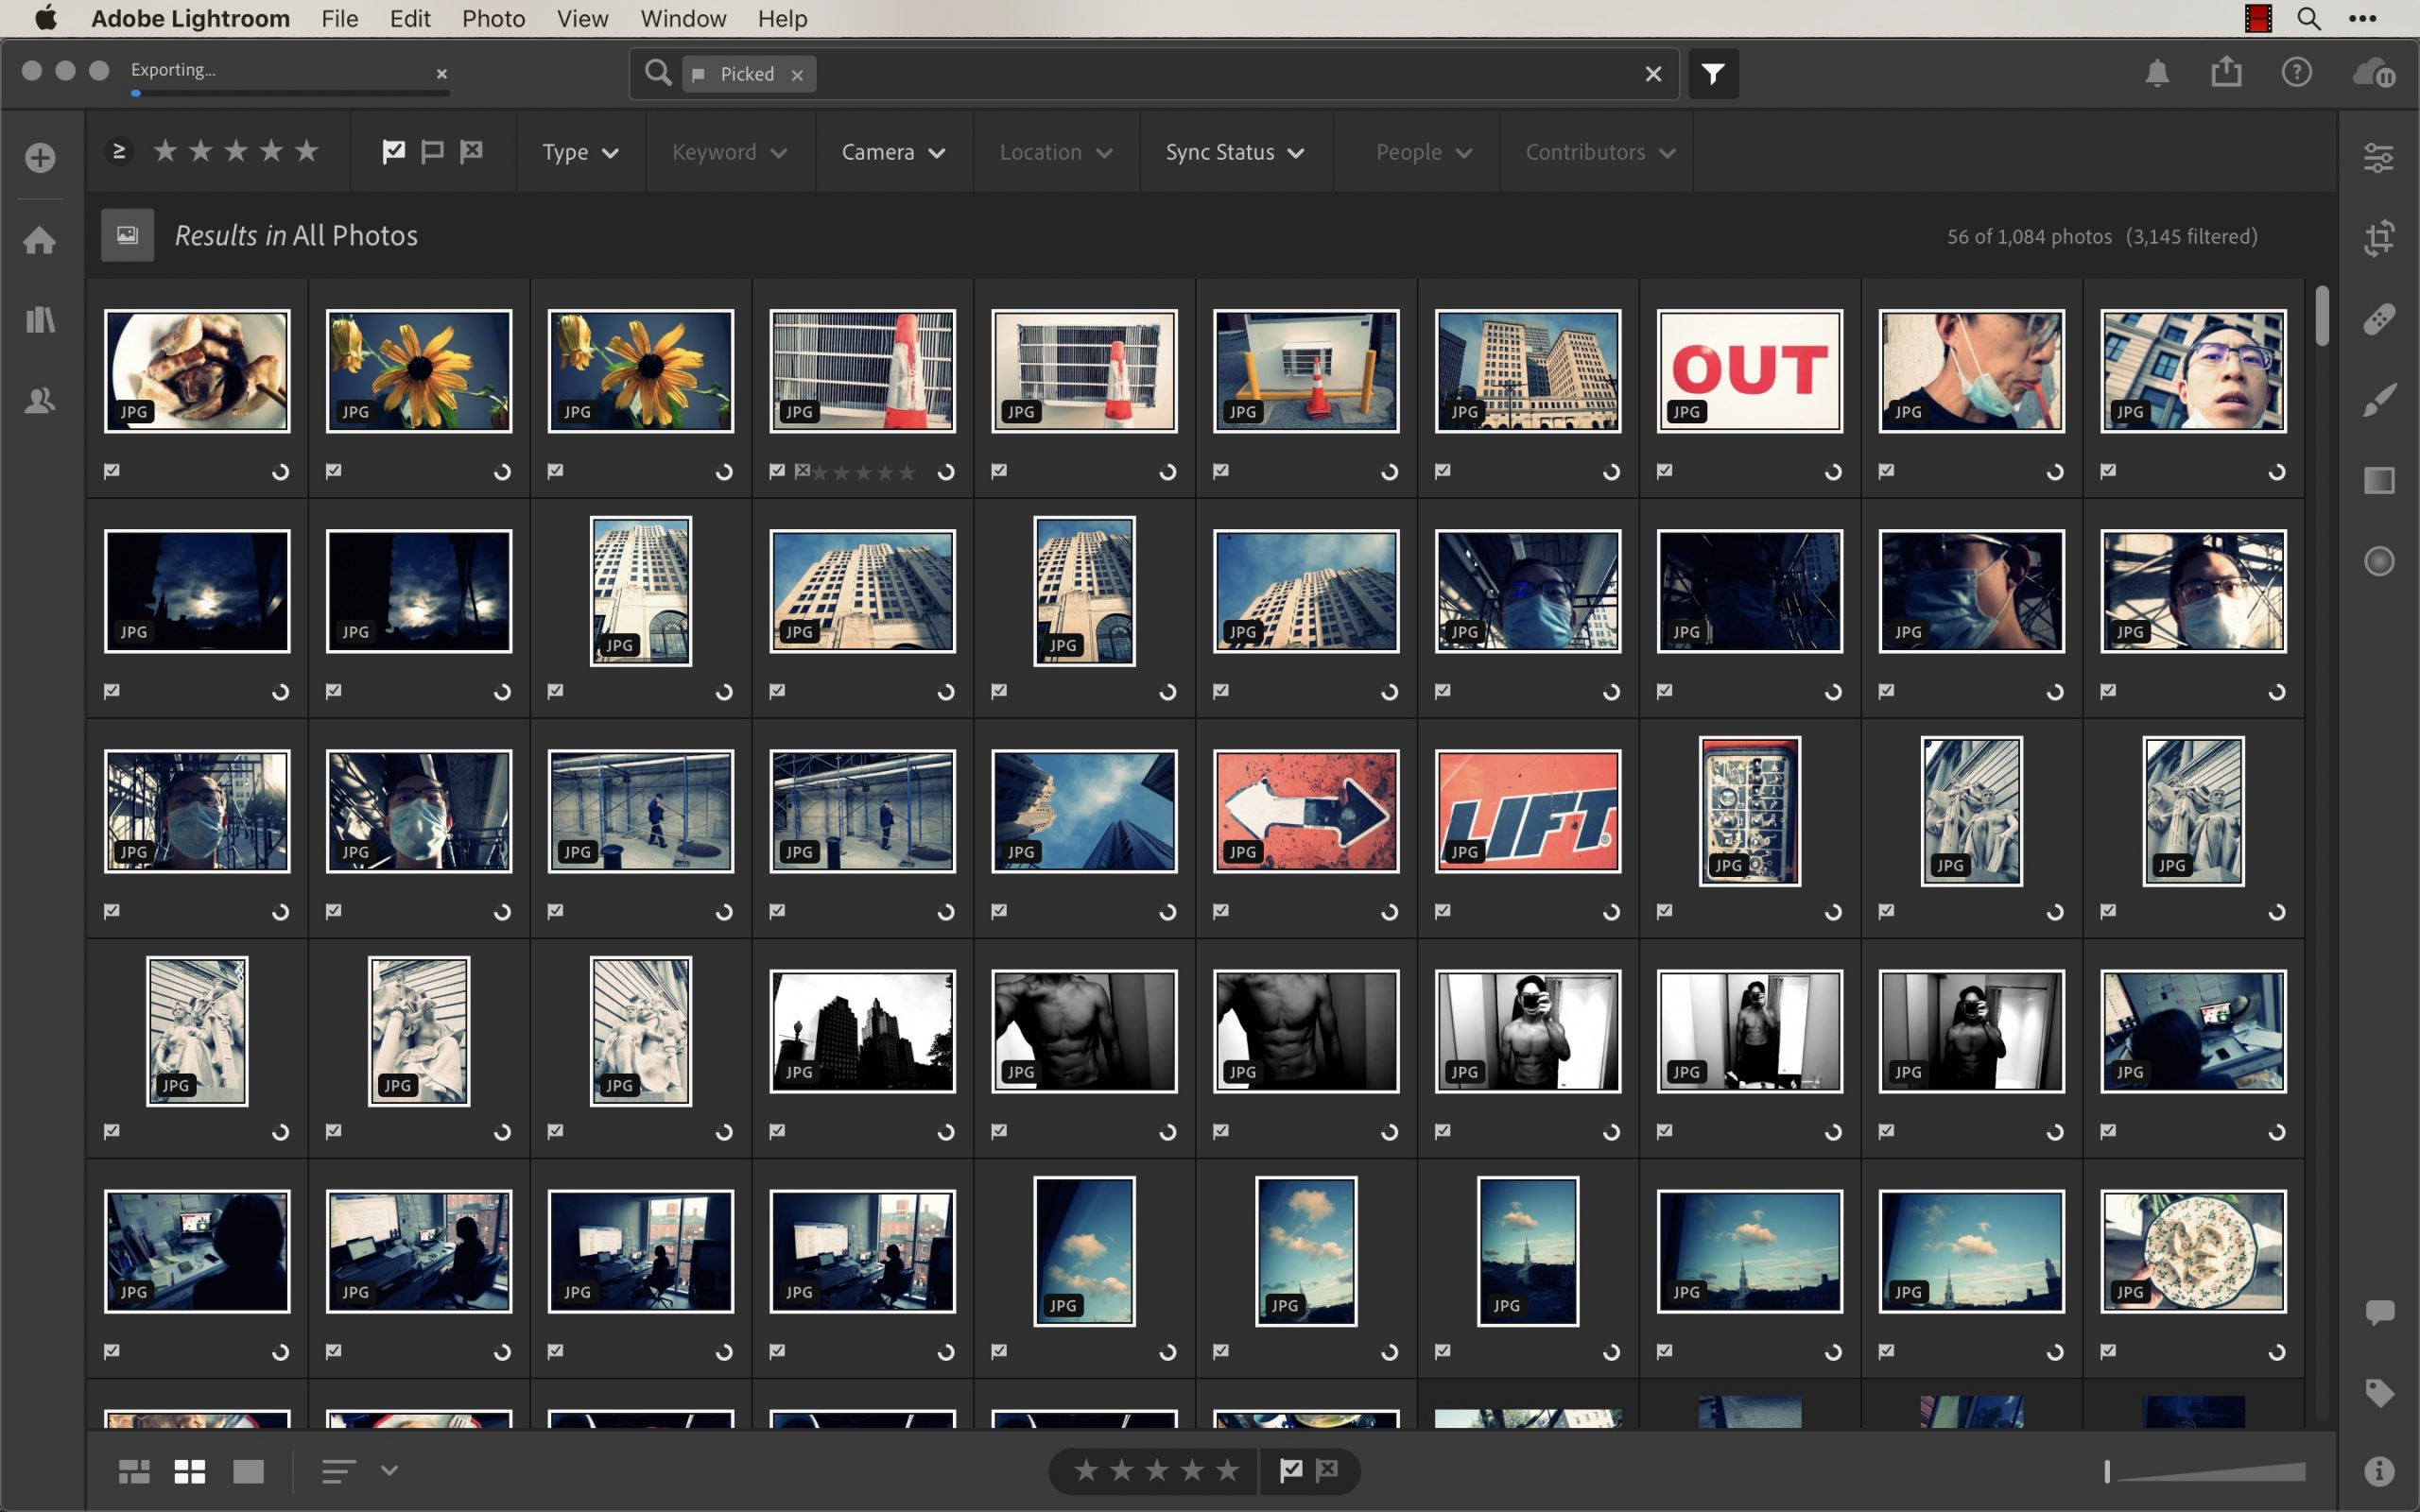
The new Lightroom CC (Creative Cloud) Desktop App is really good. Why? Much faster on desktop (on my MacBook Pro Laptop) than even the classic Lightroom. I am not a huge fan of the subscription model, but it certainly is a superior product!
Reasons why:
- Faster than Classic
- Simplified UI/UX
- Built brand-new from the bottom up.
Downsides
- Files aren’t organized on your hard drive like Classic Lightroom
- You are a slave to the subscription model
- Classic Lightroom is still more robust in terms of functionality
But I would say, give the new Adobe Lightroom Creative Cloud CC a go!
FREE: ERIC KIM ADOBE LIGHTROOM PRESETS 2020
FREE ERIC KIM LIGHTROOM PRESETS HERE:
Direct .ZIP Download: ERIC KIM ADOBE LIGHTROOM PRESETS 2020Download
FREE ERIC KIM Lightroom Classic CC Workflow PDF Visualization

DOWNLOAD PDF: Eric Kim Lightroom Classic CC Workflow Visualization by Eric Kim Annette Kim HAPTIC
Learn more Lightroom Workflow Hacks

For more Lightroom workflow hacks, enroll in my Udemy course: “Ultimate Beginner’s Guide to Mastering Photography“.
Lightroom Tips

- How I Edit My Photos in Lightroom
- 5 Tips to Simplify Your Photography Workflow in Adobe Lightroom (Desktop)
How I keep a photograph in Lightroom (OSAKA EDITION)
How to Use Lightroom in 10 Minutes For Beginners
Lightroom is one of those pieces of software in which you only need to know how to use 10% of it for 90% of the functions. If you’re a newbie to Lightroom, don’t get overwhelmed.
Here is an easy 10-minute start to Lightroom.
To start, I recommend using hotkeys. It will save you a lot of time down the line. Here are the hotkeys:
Lightroom Hotkeys
- Shift + Tab : Collapse all side windows
- F: Full screen
- G: Gallery/Grid View (whatever you want to remember by)
- E: Enlarge
- D: Develop
- L: Turn off the “Lights”
- Command (or Ctrl) + [ ] : Rotate the image Left or Right
There are a lot more hotkeys, if you want to see them all while you have Lightroom open, press Command (or Ctrl) + ?. Or Google: “Lightroom Hotkeys.”
My Lightroom workflow
This is my basic Lightroom workflow:
- Insert SD Card
- Click ‘Import’
- Apply Eric Kim Preset upon import (Eric Kim 1600 Monochrome)
- Press Shift+Tab to collapse side columns
- Press “L” twice (to turn off the lights)
- Scroll through images with trackpad to look for favorite photos
- Press “P” to Pick my favorite photos
- In the bottom-right corner, turn Filter into “Flagged”
- Press “D” to Develop the photo, and make basic edits
- Press “G” to go back to the Gallery view
- Press “Export” button in bottom-left corner
- Choose folder to extract image, and make JPEG 80%.
- Find JPEG image, and upload to social media/website/etc.
How do I know what my best photos are?

Learn how to choose your best photos:
- How to Choose Your Best Photos
- Be Your Own Harshest Critic
- Nobody Wants to Look at Your Photos
- 15 Tips How to Choose Your Best Photos
1-hour Lightroom Tutorial
New Lightroom CC Presets

Apply these to monochrome JPEG photos (to add even more contrast).
Download: ERIC KIM High Contrast Presets (Lightroom CC) 2019
Monochrome Presets

Download: ERIC KIM MONOCHROME PRESETS 2018
ALL ERIC KIM PRESETS

Dear friend,
As a present, here are some new ERIC KIM LIGHTROOM CLASSIC CC PRESETS 2018 for you!
Also check out my new Tokyo CHROMA Lightroom Presets.
What’s new?
With the new Adobe Lightroom Classic CC, they have a new .xmp format for the presets. The new ERIC KIM LIGHTROOM CLASSIC CC PRESETS 2018 are all in .xmp format.
You can also download TOKIO CHROMA PRESETS .ZIP
Download Older Lightroom Versions
If you have older versions of Lightroom, you can download my older Eric Kim Chroma Kyoto JPEG Presets 2017 and Eric Kim Lightroom Presets 2017.
How to use the presets
My recommendation: Play around with the presets (on both RAW or JPEG files) and find a look that is 80% “good enough” to you. Then, edit the presets, remix them, and make them your own.
What are my favorite presets?
- For RICOH GR II RAW files, use the “ERIC KIM MONOCHROME 1600” preset.
- For JPEG color photos, use Eric Kim Color 1600 v10
How to install presets

- Open up Lightroom
- Go in the “Develop” module (hotkey “D”)
- Under the “Presets” drop-down menu (bottom-left) right-click (or on Mac, control+click) and click “Import…” and then select your presets from your “Downloads” folder
- Apply to your image
Lightroom and Editing Tutorials
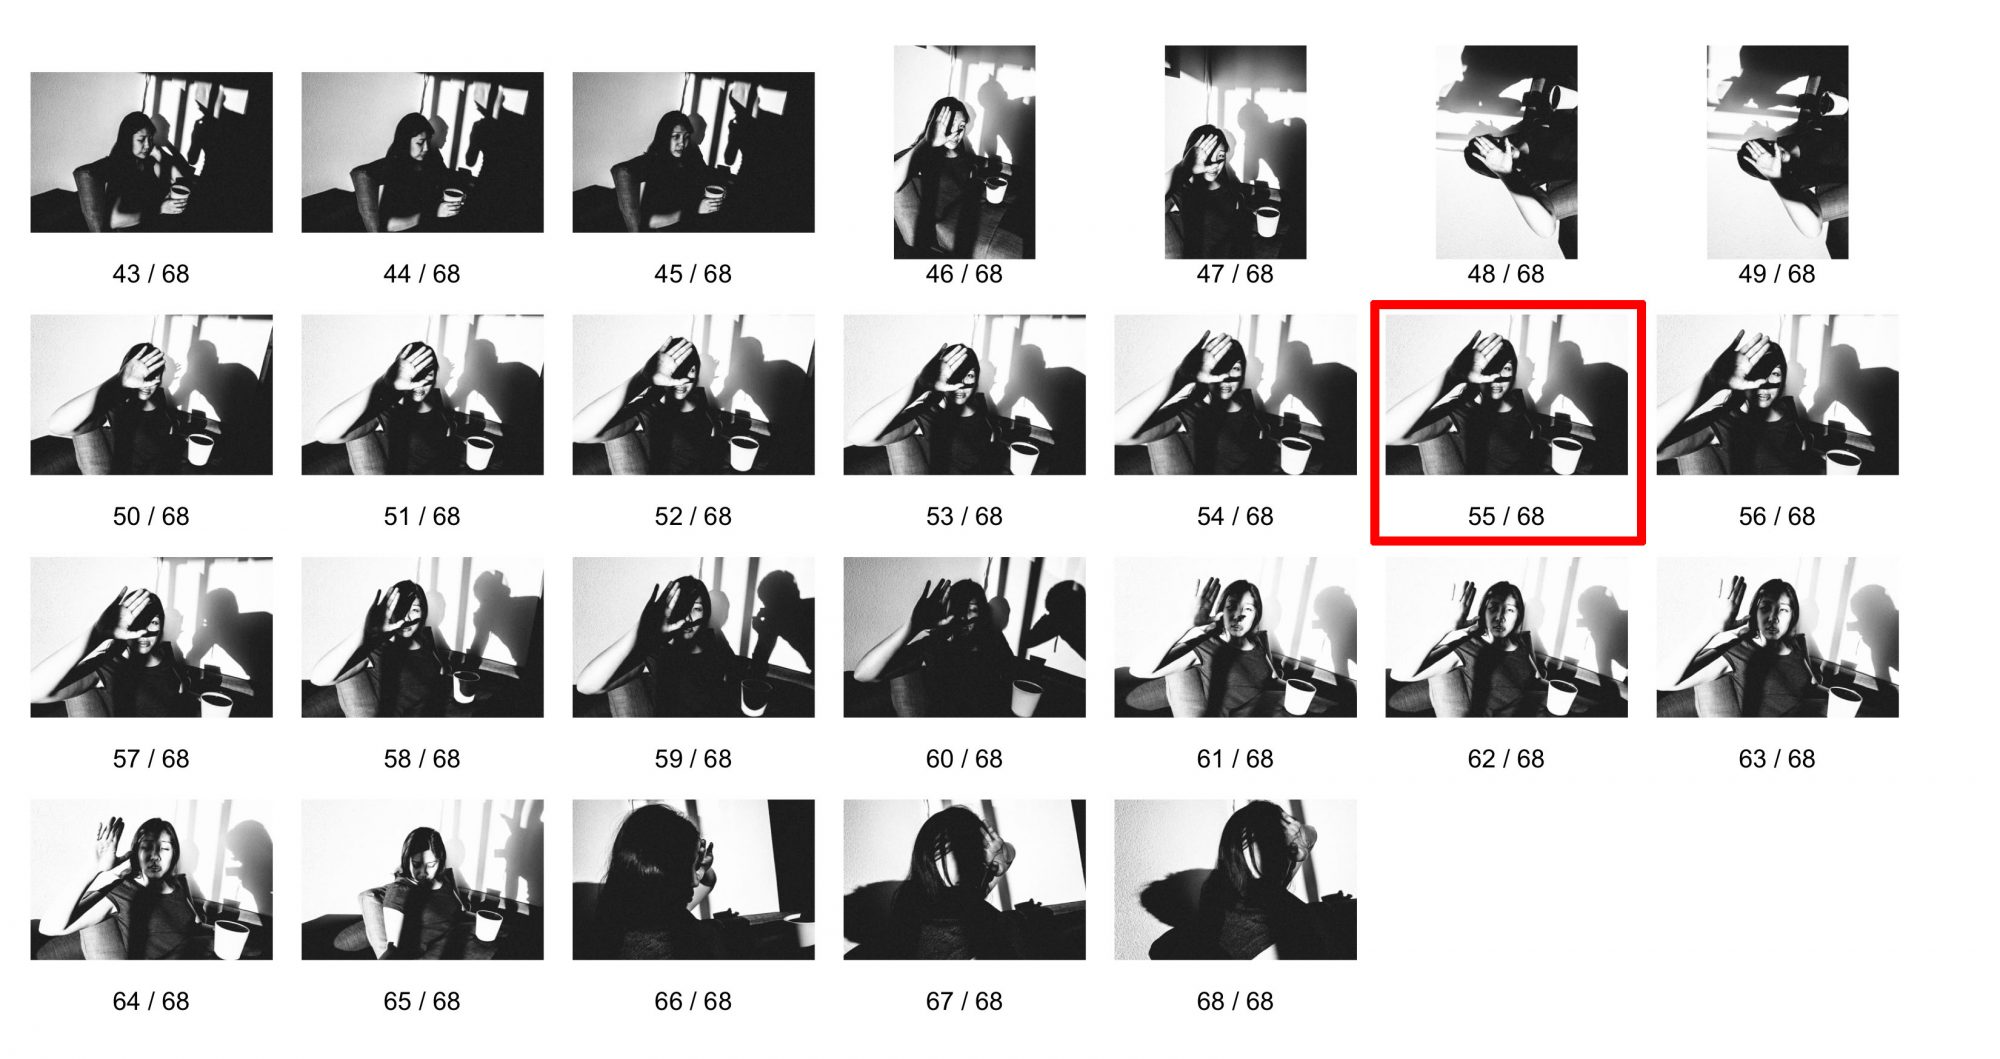
Editing: The art of choosing your best photos (not to be confused with post-processing).
Lightroom Tutorials
If you’re new to Lightroom, here are some tutorials that can help you:
- How to Edit a Photography Project in Lightroom
- How I Edit My Photos in Lightroom
- How to Use Lightroom in 10 Minutes For Beginners
- Eric Kim Lightroom Presets
Editing Articles
Learn how to choose your best photos:
- How to Choose Your Best Photos
- Be Your Own Harshest Critic
- Nobody Wants to Look at Your Photos
- 15 Tips How to Choose Your Best Photos
Also you can learn more on how to choose your best photos with Contact Sheets


