
To continue STREET PHOTOGRAPHY MANUAL, let’s talk some practical tips how to take your street photography composition to the next level:
1. Tension

A good street photograph has tension. Think of sexual pent up tension. Imagine the drama between two people, and the eager build up to their encounter.
In a good street photograph, consider what kind of drama, tension, and pent up energy you have.
Are you about to have two people or more people collide?

Or, do you have dynamic opposites; people moving away from a central point in the frame?
Is there movement, hand gestures, or glaring stares from eye contact?
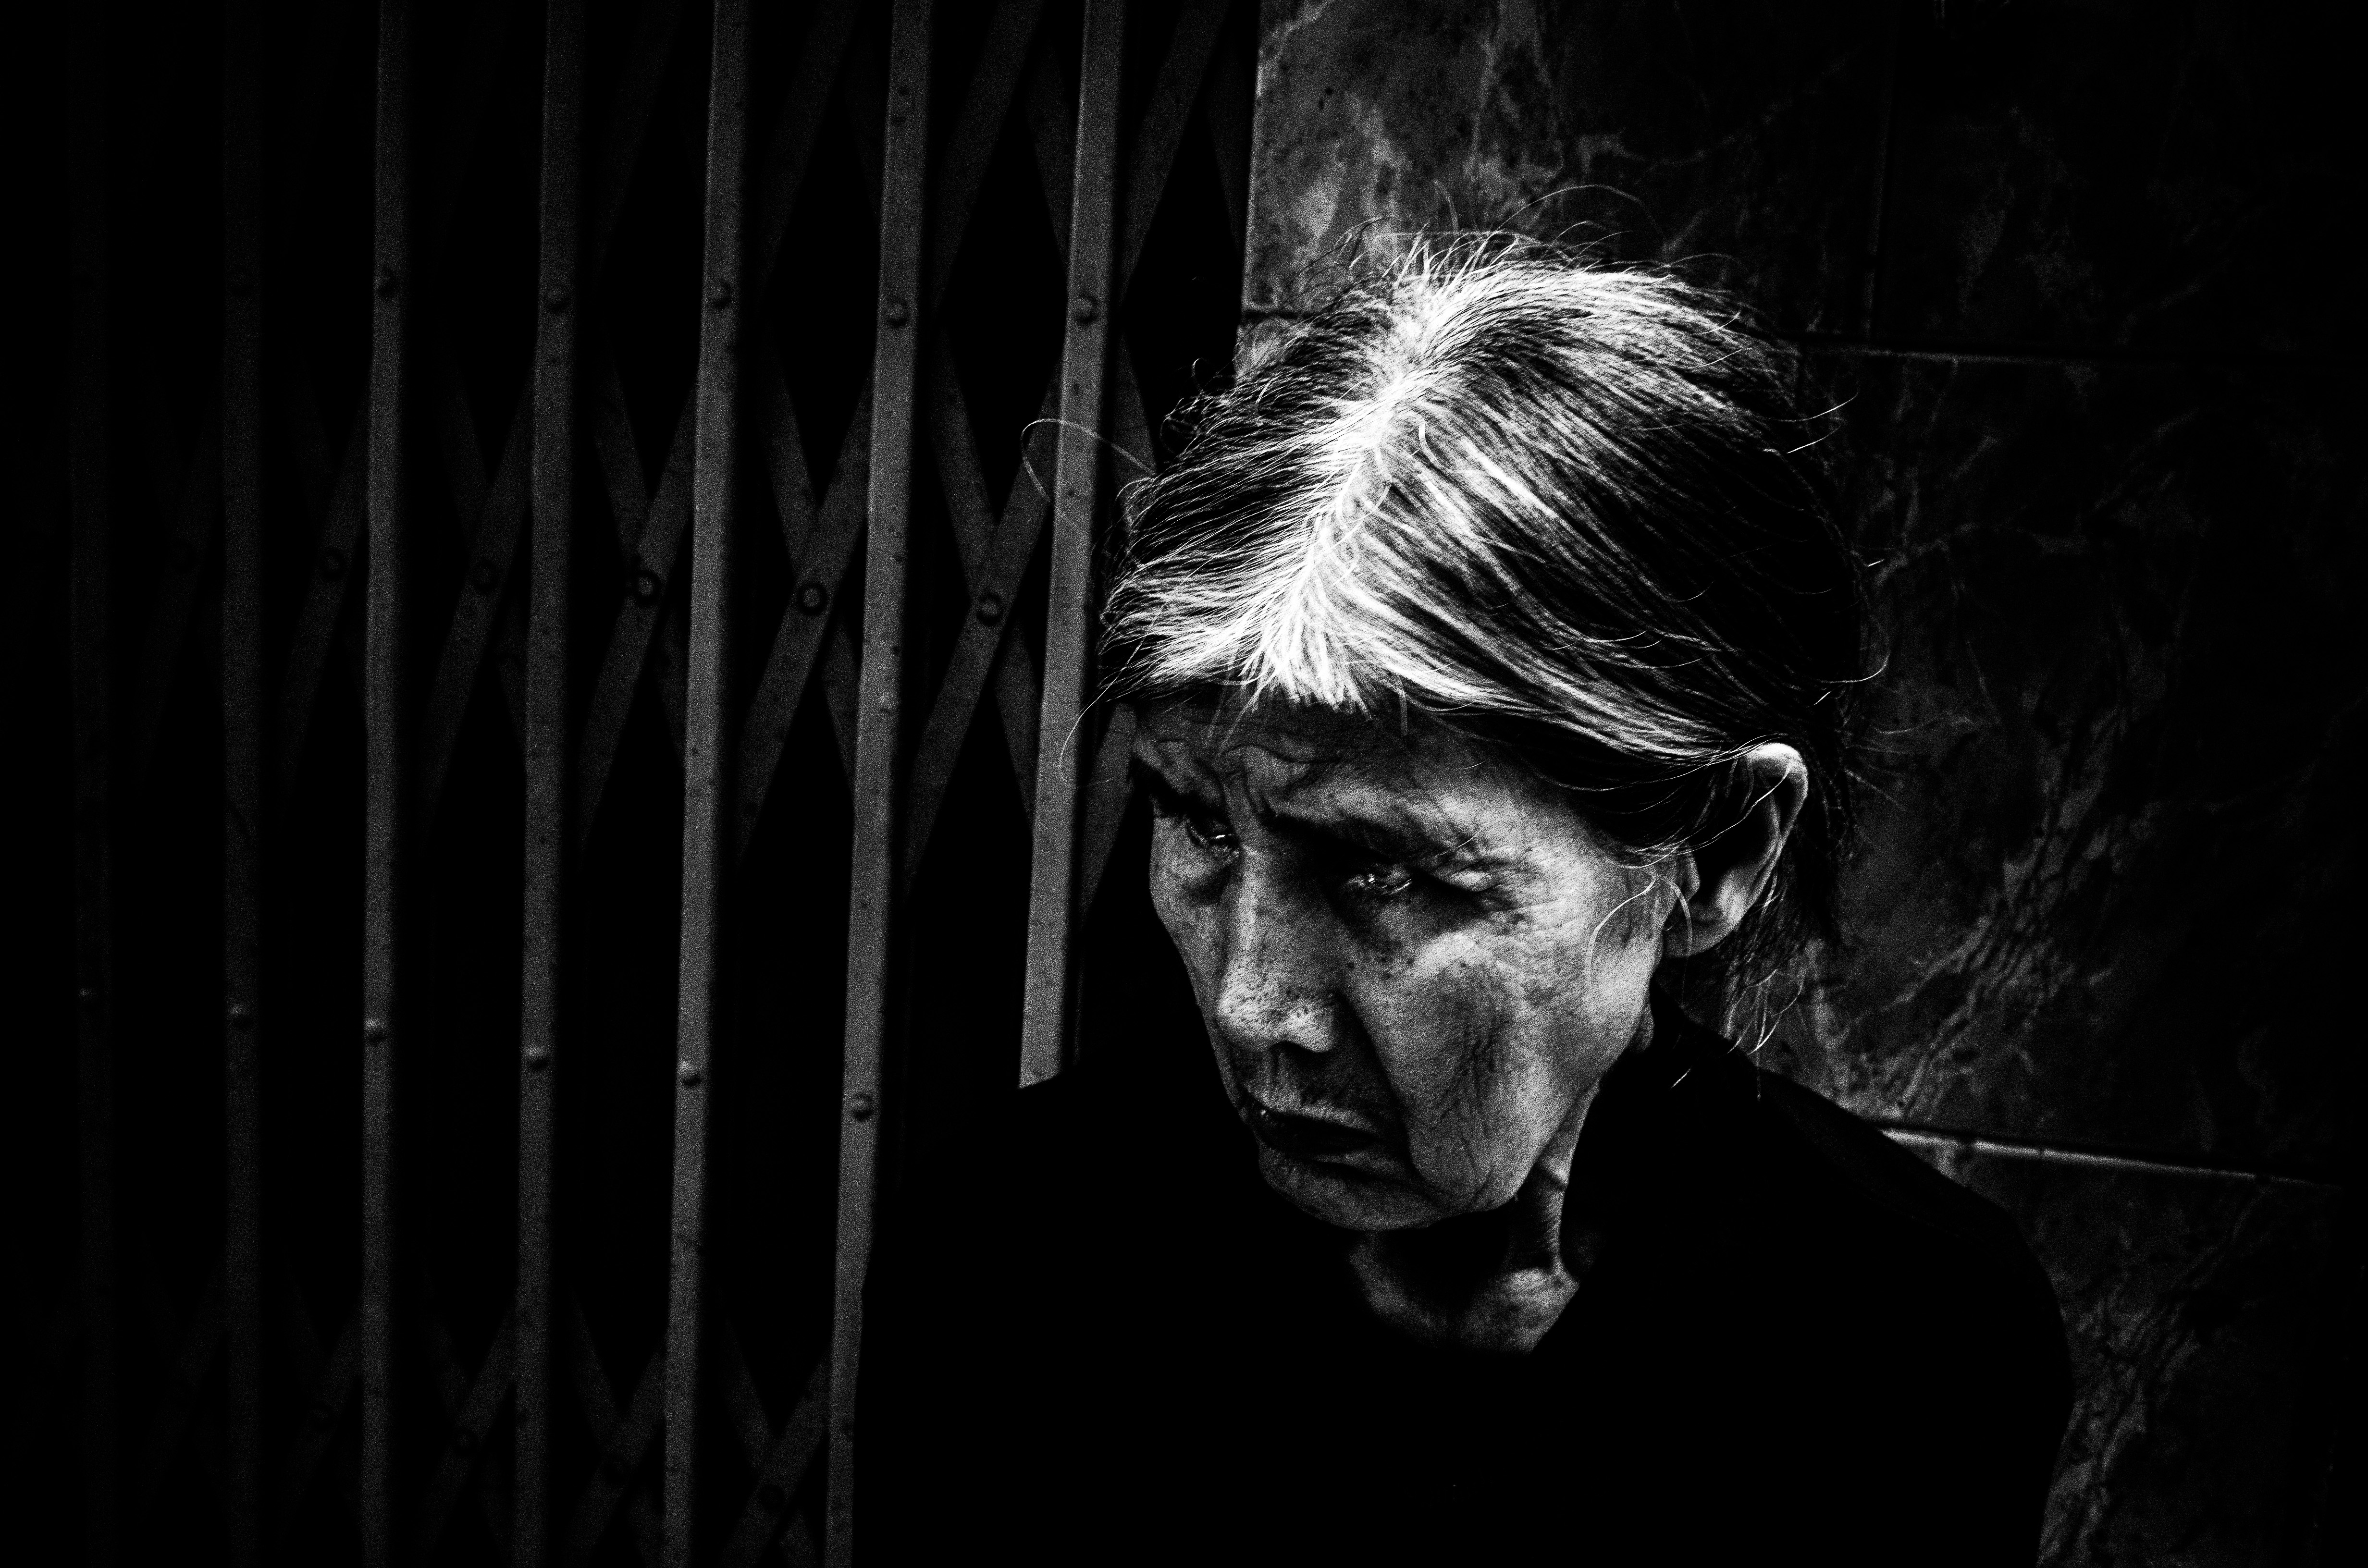
Does the photo make you feel uncomfortable by looking at it? If not, the photo is probably pretty boring.
The best way to ascertain whether your photograph has tension or not:
Does looking at your own photos make you feel nervous?
2. Clean edges

I’m kind of a perfectionist when it comes to street photography composition. A lesson I learned from my teacher Constantine Manos (Magnum Photographer) is: avoid tunnel vision in street photography. Which means, avoid focusing just in the center of the frame.
Rather while you’re shooting, make sure to focus on the edges of the frame.
The way I apply this compositional theory: I look at the edges of my frame when I’m shooting.
The benefit of using a camera with an electric viewfinder, lcd screen, or even using a DSLR – you can see the edges of your frame very clearly. Which means, when you’re shooting street photography, don’t look at the center of the frame. Just stick your subject somewhere in the middle of the frame, and focus on subtracting distracting elements from from the edges of your frame.
Another tip: try to get simple backgrounds in street photography. Avoid overlapping figures, and when in doubt, just start with a black canvas. Find a simple black wall, and wait until strangers walk by, and ask to make a portrait of them against the simple wall. If you get a “yesâ€, try to make at least 10 photos of them. And offer to email them your best photo.
3. Get closer

“If your photos aren’t good enough, your photos aren’t close enough.†– Robert Capa (co-founding member of Magnum Photos)
“You know you’re close enough in street photography when your lens no longer focuses.†– Thomas Leuthard
From my friend Thomas Leuthard, I learned how to shoot close. Uncomfortably close. Like .7 meters (one arm length close).
Now I get even closer. I’ll shoot photos from 30-50 centimeters away (around 2 feet). I can do this by using the “macro†or close-focus mode on my camera.
Why do close photos work?

My theory: it puts the viewer in your shoes, and makes the viewer feel like they’re “really there.â€
For example, if you have a photo where the subject of your photo is staring straight at you, the photographer, it makes the viewer feel like the subject is looking straight at them.
Eye contact is uncomfortable. With eye contact, we are not sure whether the stranger is a friend or a foe.
The easiest way to defuse a potentially angry subject: after making a photo of them, just smile at them, wave, and say “thank you.†It has worked for me in over 12 countries.
Another nice thing I learned about human nature through street photography: people are nicer than they seem, everywhere in the world. Even though we have cultural differences, we all enjoy coffee, tea, laughing, eating good food, and appreciating time with friends and family. We all also appreciate smiles, and human warmth.
The saying to remember is this:
When in doubt, smile. :)
:)
4. Layers, depth, and multiple subjects

A sign of a more advanced street photographer: having the skill and panache to move beyond single subject images, and to integrate more layers, depth, and multiple subjects to the frame.
The way to do this: focus on the subject furthest away from you, then then try to add a foreground subject, a middle-ground subject, and a background subject.

When shooting with a manual focusing lens, I usually prefocus to 5 meters, and try to fill the frame with close subjects. These subjects that are very close to your frame and out of focus are called foreground subjects.
The best way to integrate a subject into your foreground is to make their face or body parts obscure either the far left or the far right of the frame. They call this the “bookend†technique.
Bookend technique

For the “bookend†technique– make sure there is no negative space in the far left or far right of the frame. It is a bookend, because the elements on the far left and far right CENTER the energy into the middle of the frame, just like how two bookends on a shelf prevent the books from falling over. The two bookends (left and right) SQUEEZE the books together into the center. Try to do the same with your compositions.
And generally, when you think you’re close enough, you’re not. So get closer.

With bookend technique and layers I recommend using a relatively wide lens, like a 28mm or 35mm full frame equivalent. In my experience, most street photographers do best with a 35mm lens. 28mm is pretty damn hard, you have to be close enough to your subjects that you can see the color of their eyes.
I can shoot with a 28mm lens, and I find a 28mm lens works best on a point and shoot camera, like a digital Ricoh GR or even an iPhone (the default lens is roughly a 28mm “full frame†equivalent.
Don’t overlap subjects

Leave a little bit of white space between your subjects, and avoid overlapping figures. The best way to study this: look at Renaissance paintings and see how the subjects are usually very clearly separated from one another. Of course, separating subjects is far easier when painting, not making photos.
When trying to separate your subjects in your frame, do it consciously. You often have to shoot a lot to space your subjects apart. A lot of spacing in street photography is luck, especially when you have a lot of stuff going on in your scene.
So if you want to make a good multiple subject scene, my recommendation:
Try to shoot at least 300 photos of one scene, to get 1 half-decent layering, depth, and multiple subject street photo.
Conclusion
Of course there are a lot more street photography composition techniques, but these are my favorites, distilled over the 10 years of practicing in the streets.
Above all, just take more risks with your compositions.
Tilt your camera, shoot with your camera on the ground, lie on your stomach, move while shooting, use a flash, shoot from very high perspective looking down, and have fun– like a kid, exploring the world with their camera for the first time.
BE STRONG,
ERIC
STREET PHOTOGRAPHY MANUAL by ERIC KIM

Your personal guide to street photography, presented by your guide ERIC KIM:
- Chapter 1. The Fundamentals of Street Photography
- Chapter 2. How to Conquer Your Fears of Shooting Street Photography
- Chapter 3. How to Take More Risks in Street Photography
- Chapter 4. How to Make More Dynamic Street Photography Compositions – YOU ARE HERE
Composition
Take your composition to the next level:
- Juxtaposition
- Center Eye
- Low-Angle
- Dutch Angle
- Deep Depth
- Spacing
- Silhouette
- Leading Lines
- Figure to Ground
- Fibonacci Spiral
- Cropping
- Emotion
- Composition by Eric Kim
Street Photography Composition 101

For distilled lessons on composition, read the free ebook: “The Street Photography Composition Manual.”
Further articles to improve your compositions in photography:
- Composition Lesson #1: Triangles
- Composition Lesson #2: Figure-to-ground
- Composition Lesson #3: Diagonals
- Composition Lesson #4: Leading Lines
- Composition Lesson #5: Depth
- Composition Lesson #6: Framing
- Composition Lesson #7: Perspective
- Composition Lesson #8: Curves
- Composition Lesson #9: Self-Portraits
- Composition Lesson #10: Urban Landscapes
- Composition Lesson #11: “Spot the notâ€
- Composition Lesson #12: Color Theory
- Composition Lesson #13: Multiple-Subjects
- Composition Lesson #14: Square Format
Composition Theory

Learn compositional theory:
- Why is Composition Important?
- Don’t Think About Composition When You’re Shooting Street Photography
- How to Use Negative Space
- Street Photography Composition 101
- The Theory of Composition in Street Photography: 7 Lessons from Henri Cartier-Bresson
Compositional lessons from the masters of art
