I just shot the wedding of my sister-in-law Kim, and had tons of fun shooting it like a street photographer!
Video composition
Some basic ideas:
1. Decapitation technique and lots of hands
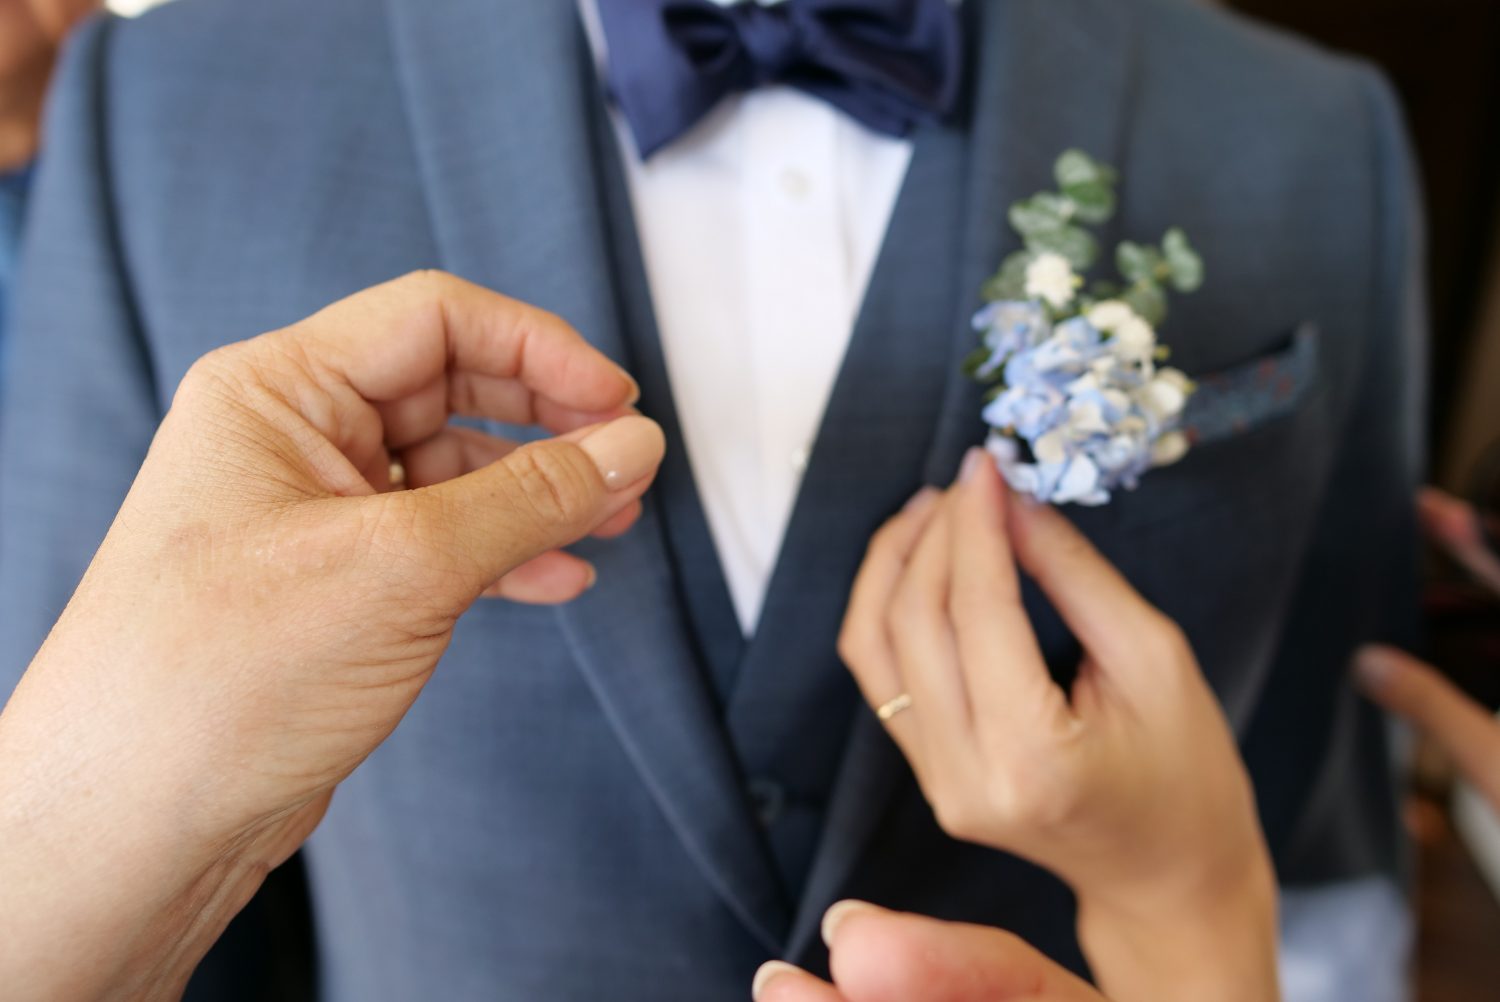
Don’t show the faces of your subjects, and get a lot of hands and arms in the photo!

This will make the photos more surreal. For fun, use a flash!
2. Balance the frame

Balance the frame by putting random legs and people on the edges of the frame (like the top-left, the center, the far-right, bottom-right):

3. Get close, use a wide-angle lens, and make it surreal!

For the wedding, I shot it all on a Lumix G9, Leica 12mm f/1.4 Lens (24mm full-frame equivalent), in iA (intelligent auto) mode. I just got close to the action, and shot a lot– trying to fill the frame with my subjects, and also engaging and interacting with them!

You can see in this photo, how I filled the frame with all these human body parts and elements.
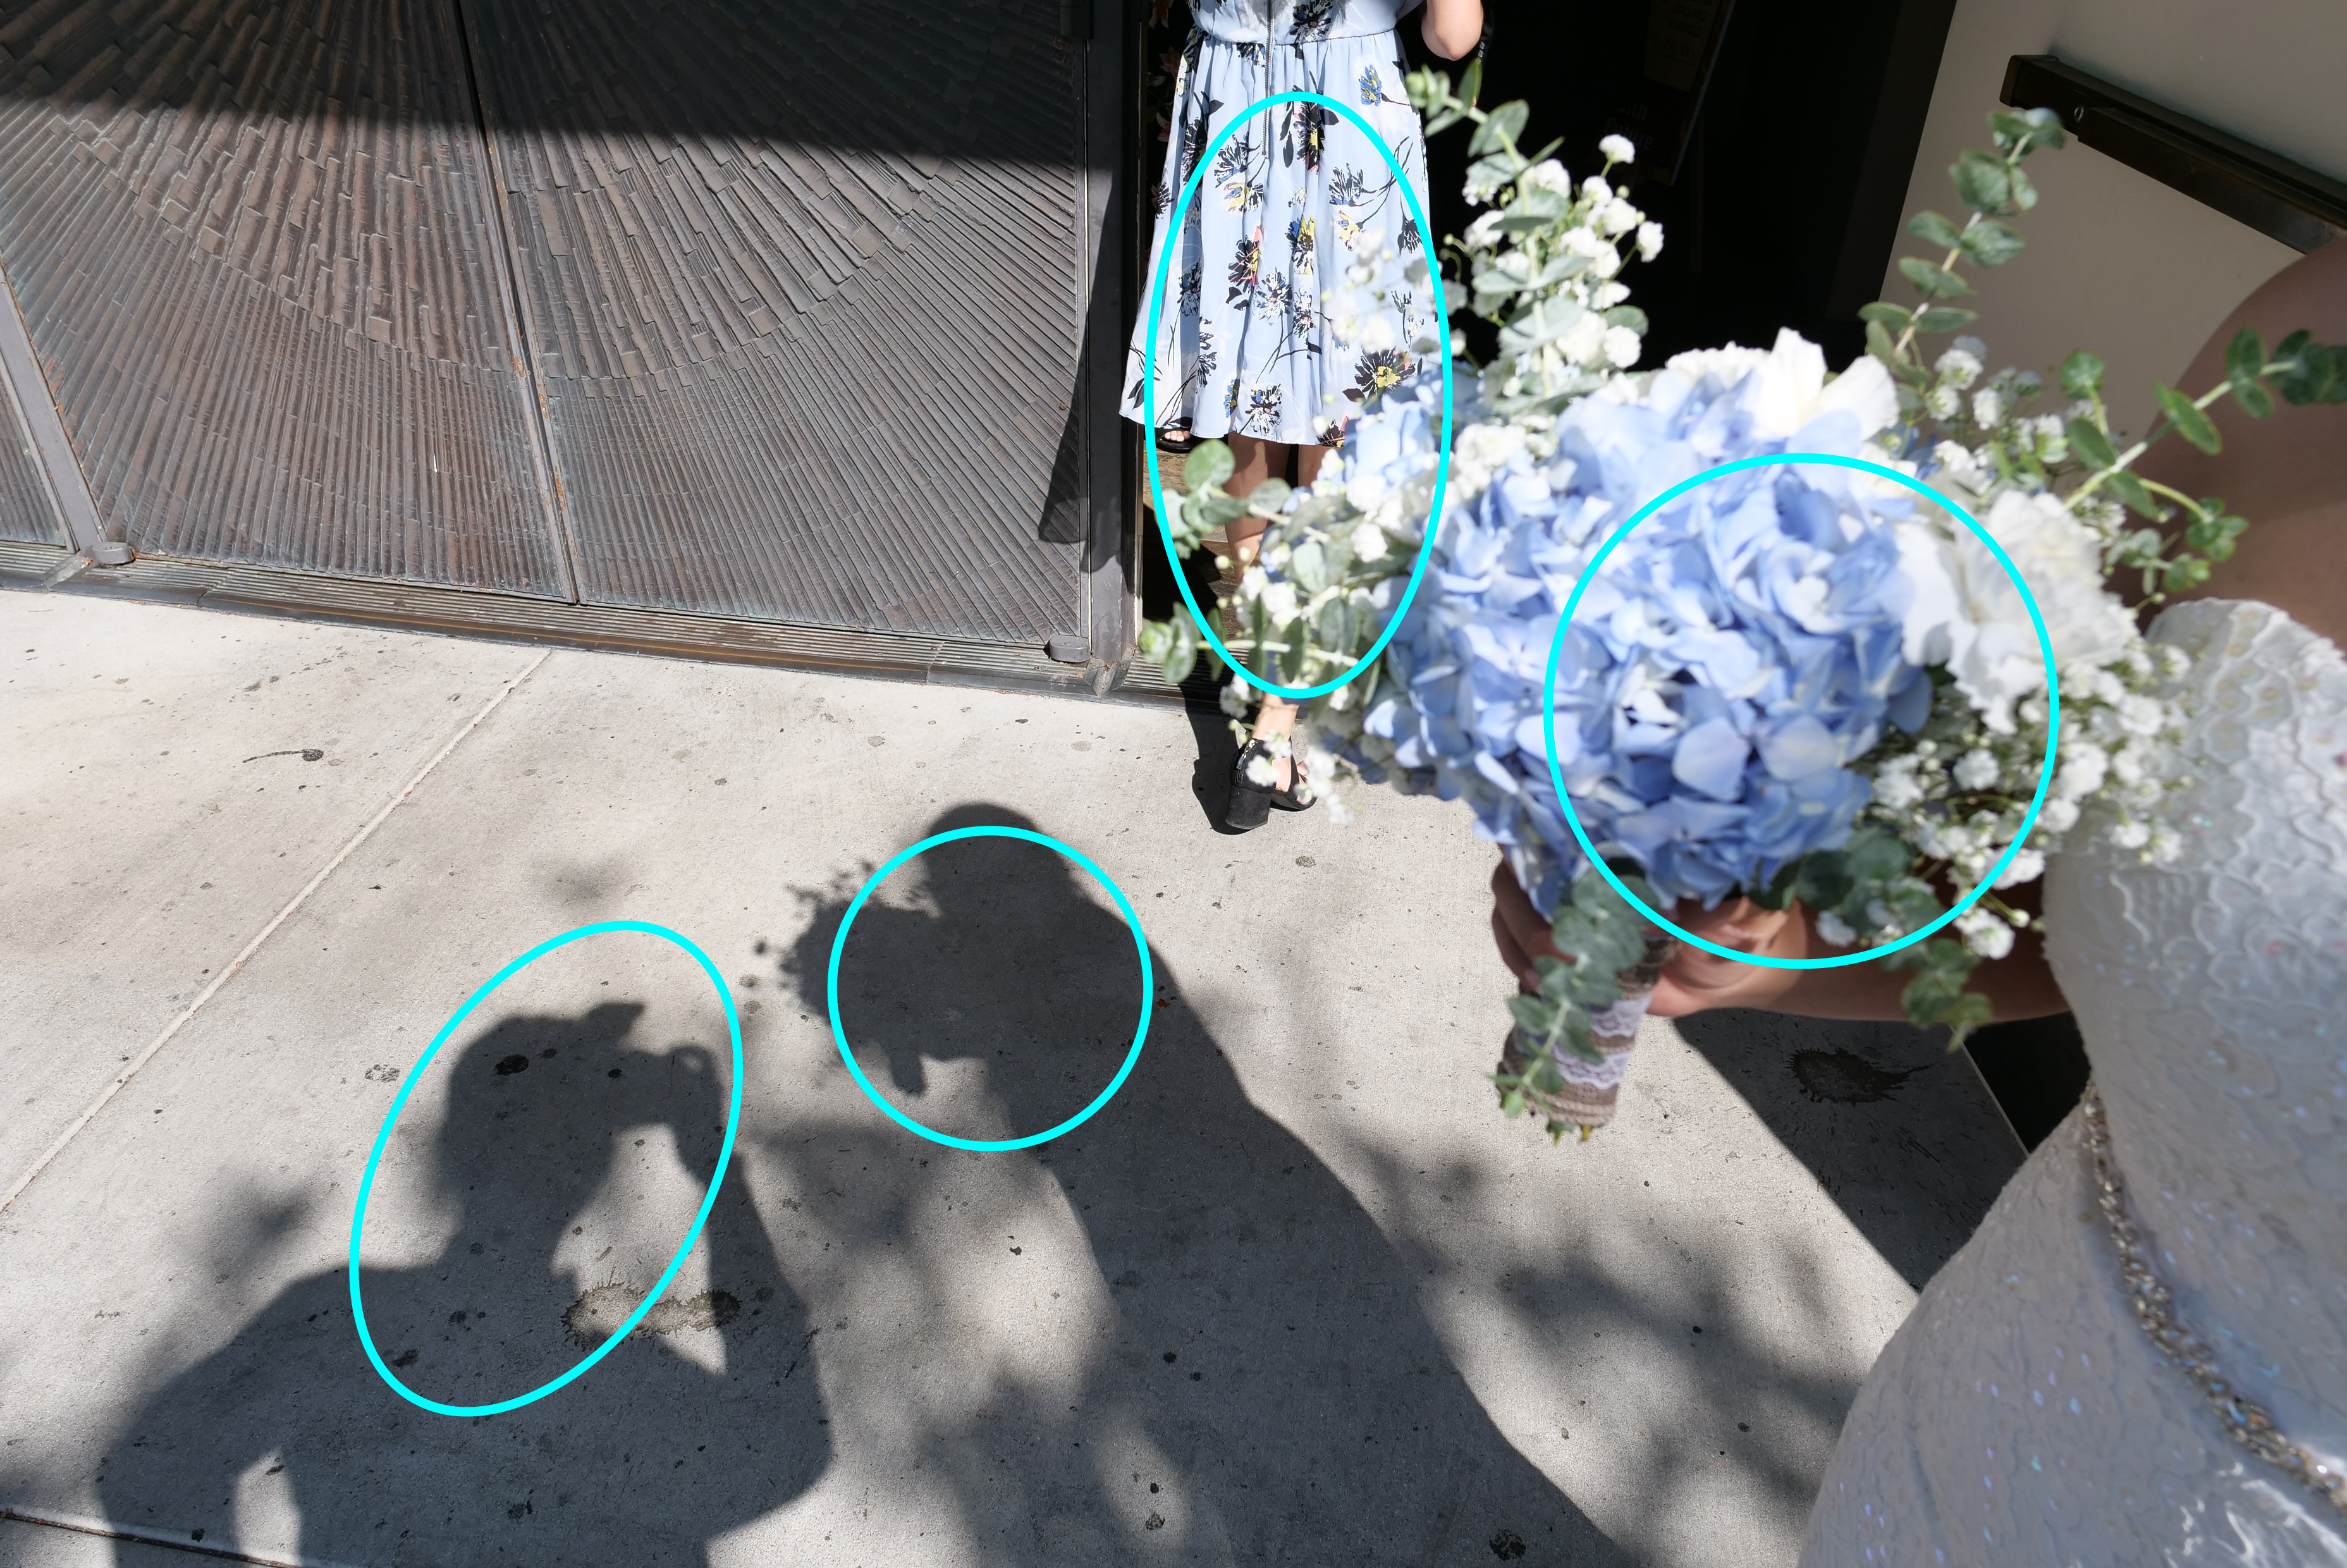
4. Shadow selfie and details

Shoot a selfie of yourself, and get a nice curve composition in the frame!

Another example– point your camera downwards! Don’t always feel you must show faces:

See how I spaced out all the elements:

5. Juxtapose with posters or billboards
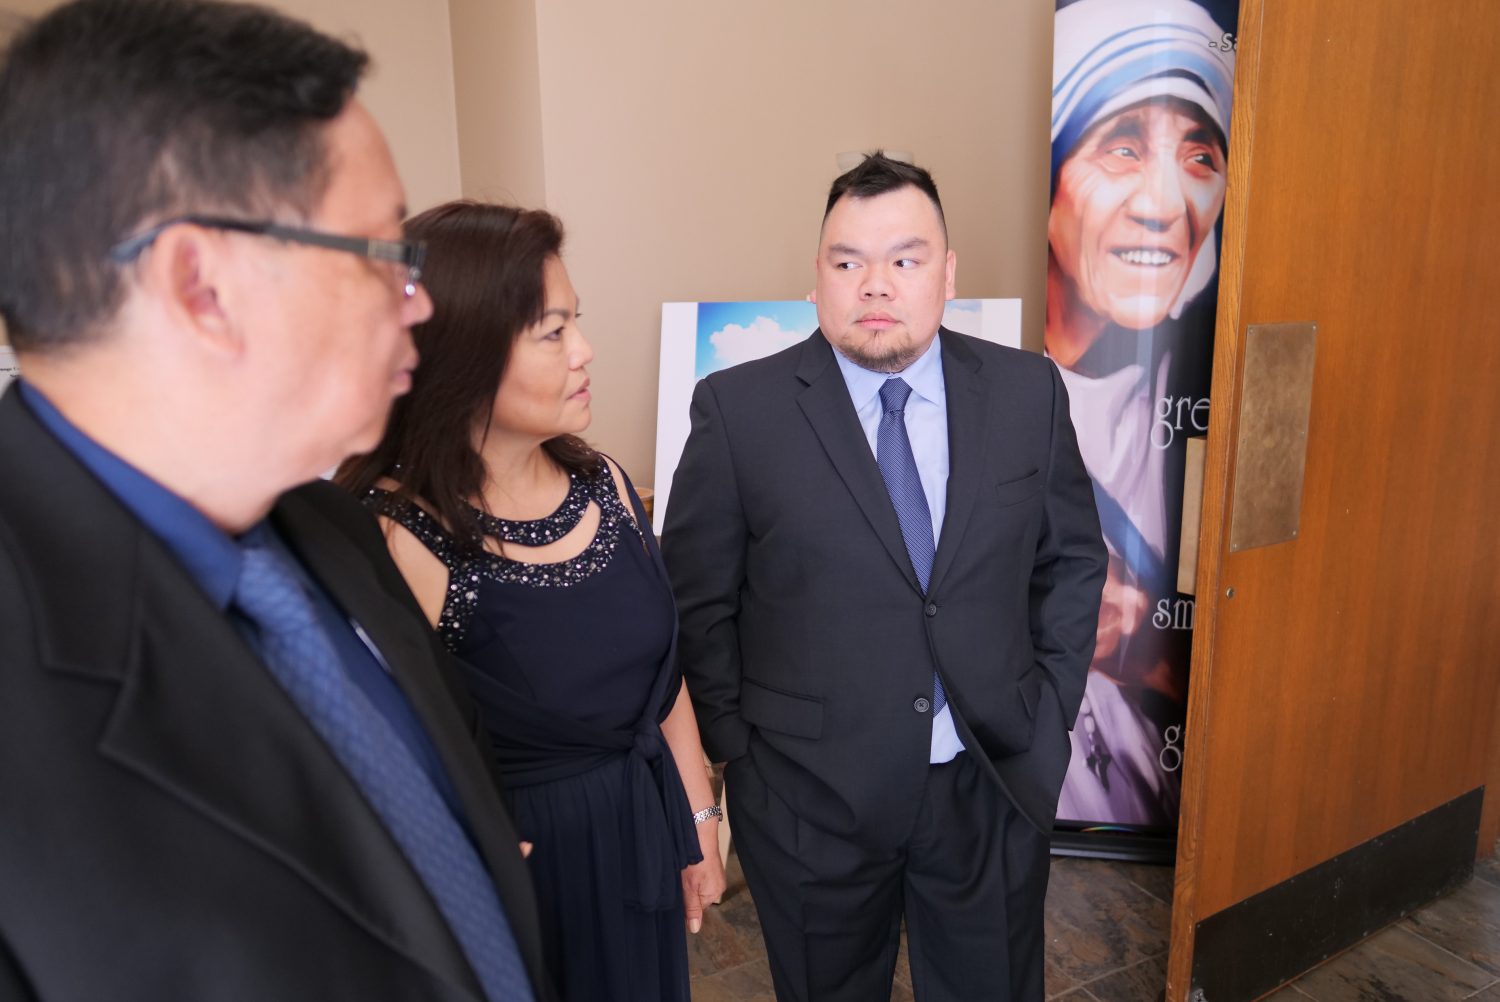
When I was inside the church, I saw this nice poster of Mother Theresa, and juxtaposed her against the groom’s (John’s) family:

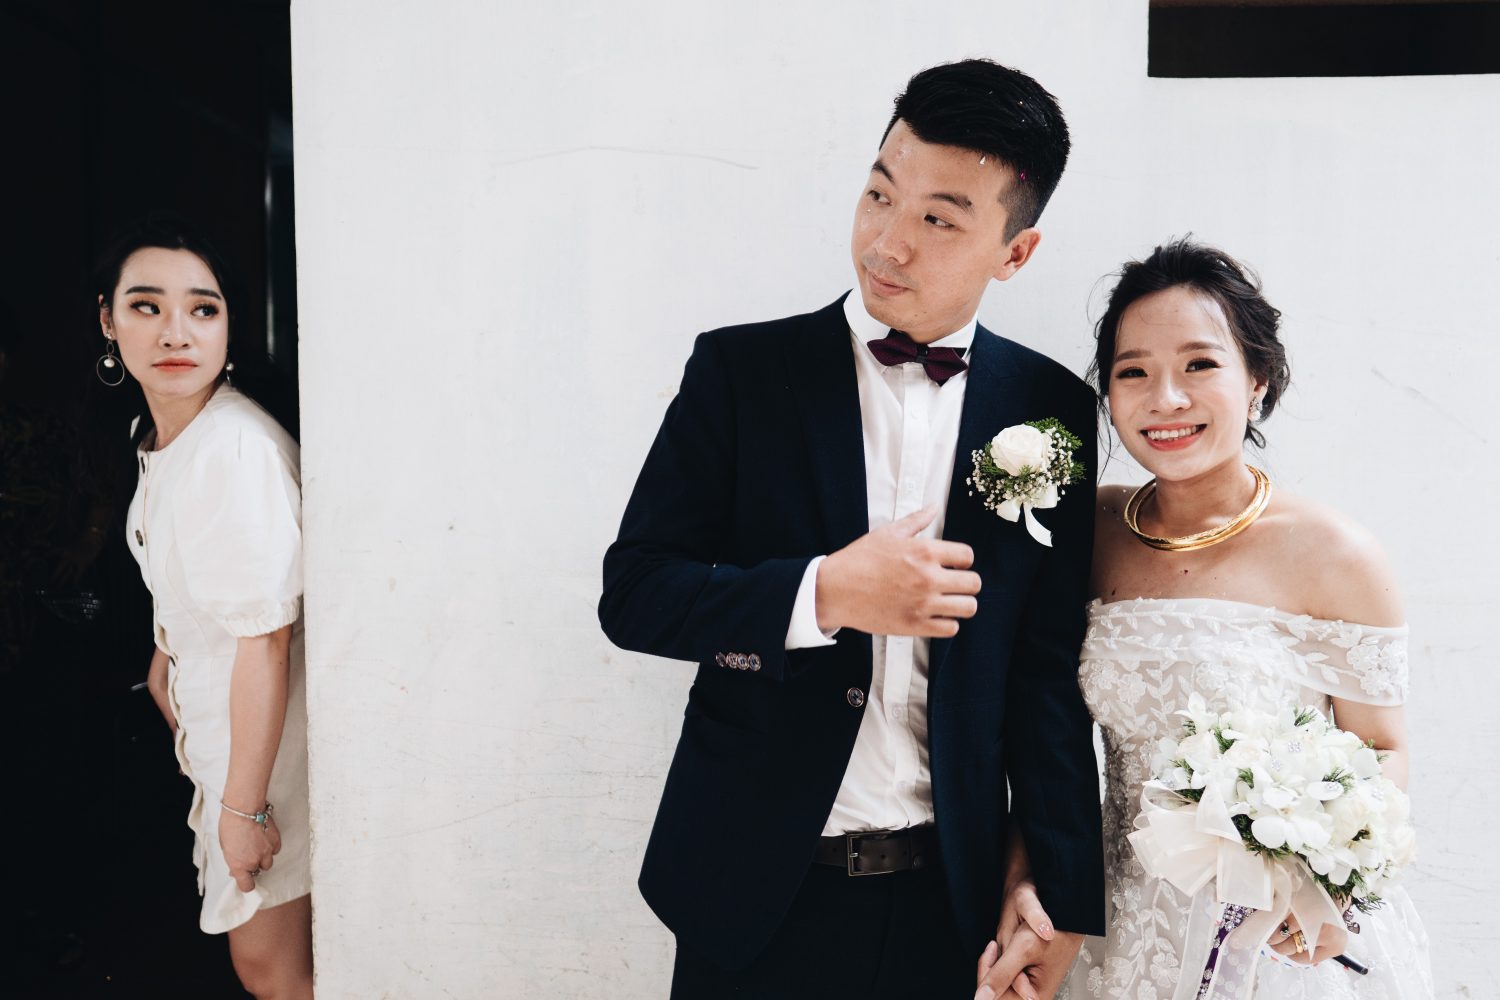
6. Blocking technique

The blocking technique (also known as the ‘bookend technique‘) is when you take a person’s body or some element and block out some of the frame — like I did with the person on the far right of the photo.

I shot the entire wedding on a 24mm full-frame equivalent lens, which meant I had to be more innovative and creative with my compositions.
And as a pro-tip: I shot the entire wedding on a 24mm prime lens (no zoom lens), and I think I actually got more interesting photos!
7. Layers

Add more layers to the photo, by putting your focus on the people furthest away in the background, and have someone in the foreground!

By adding depth to the photo, it feels more real, intimate, and it makes the viewer feel like they’re really there!
8. Simple and sweet moments

Don’t just shoot the ceremony or what is happening — look around, and capture the sweet and small simple moments which put a smile on your face!

9. Fill the frame!

Make your photos interesting for yourself to shoot.
For example, I volunteered to shoot Kim’s wedding for free. This was good for me, because it put no pressure on me to make super-pretty ‘traditional’ photos, and I am also lucky that Kim and John are both artistic and they’re down with creative/innovative compositions.
Thus, I wanted to make the wedding fun for me to shoot! I wanted to make photos that pleased myself!

Therefore, I had fun with my compositions when shooting the wedding, to keep it interesting for me too! Because the more fun you have as a wedding photographer, the better your photos will be!
As a simple composition tip: fill the frame with all the elements.
10. Dutch angle (tilt your camera)

I love to tilt the photo to shoot dutch angles (channeling my inner-Garry Winogrand) — which makes the photos more dramatic!

Also as a pro-tip, if you have people walking in the background, have the subjects’ legs in a “V” shape!
11. Get close!

Our best friend Robert Capa once told us,
“If your photos aren’t good enough, you’re not close enough!”
He was right. The closer we get, the more intimate our photos are. And the more the viewer feels emotionally attached and engaged to your photos!
So when in doubt, take two steps closer!
12. Dance with your subjects!

My favorite part of the wedding: the dancing!
I suggest to take better dance wedding photos; dance with your subjects while your shooting!

For the wedding, I used a simple Lumix flash, shot in TTL mode, and used the ‘slow sync’ flash mode, which made the photos blurry!

For some of the photos, I also shot without flash, which added a lovely blur as well!

When you’re shooting dance photos; honestly there’s no way you know whether you will make a good photo or not. So just shoot a lot, and select your best photos after you go home and look at your photos in Lightroom!
Apply your street photography aesthetic to anything you shoot!

- I shot the entire wedding in IA (intelligent auto mode) on the Lumix G9, and in medium-size JPEG. The photos look fantastic; there was no post-processing done here. This was great, because I was able to look through the photos super-fast, and share them instantly with the family! I remember my friend Gavin Holt told me when he shot wedding photography, he didn’t bother with RAW. This seems like a good strategy, because shooting JPEG will greatly speed up your workflow!
- I looked through all the photos in Lightroom Classic CC on my laptop, and just used a thumbnail view. I picked (hotkey “P) the photos that jumped out at me. This also was much faster than looking at each photo, one-by-one.
- I really enjoy shooting weddings; it is a good opportunity to practice street photography techniques!
Conclusion
More street photographers should shoot weddings. Let us strive to make more non-boring photos, and have fun while shooting (flexing our street photography muscles!)
- 5 Reasons Why Wedding Photographers Should Learn Street Photography
- My Experience Shooting my Friend’s Wedding on Digital Medium Format
- What I Learned Photographing My Own Wedding
When I shot my own wedding on RICOH GR II:


