I am proud to announce that I did the cinematography for Cindy’s new film: “MISS STEP”. I wrote some of my personal lessons creating the film for her (in terms of doing the filming), but now I want to analyze some of the compositional techniques I learned (while shooting), and I have some practical video-shooting techniques I want to share with you (if you are a photographer who is interested in doing more video/cinema-work):
Say hello to MISS STEP
Learn more about Cindy’s film here >
1. Hold the shot longer than you think you should!
A tip I learned from my friend Todd Hata: hold the shot longer than you think you should (at least 30 seconds-1 minute).
This is essential because as photographers, we tend to snap a photo very quickly, then move on.

My suggestion: once you have your composition and framing established, try to shoot it for at least 30 seconds to 1 minute. You can always edit it down afterwards.
2. Frame like a photo

When you are composing a scene or framing a scene, compose it like a still photograph, then hold it longer than you think you should.

I think the compositional language of photography and cinema is the same/similar. The biggest differences with cinematography is the panning, and movement.
3. Have fun with your actors!
I think it is essential to have fun with your actors. Chat with them, communicate with them. If your actor is having fun, it will be more enjoyable for the viewer to watch the footage.

4. Autofocus mostly works best

I shot all my footage for MISS STEP on a Panasonic Lumix G9 Pro, 12mm f/1.4 Leica lens (24mm full-frame equivalent), and shot it all on iA mode (intelligent auto), with 24fps, and 4k.

I did autofocus for almost everything, and it seemed to work the best, except for some particular scenes (like a super close-up macro photo of Cindy’s lips, which was manually-focused).
5. 24FPS gives you that ‘cinema’ feel

This is essential: if an option, try to shoot 24fps or 25fps. It seems this slightly slower frame rate is more “cinema-like”. The newer films shot on 30 fps-60fps don’t look aesthetically pleasing– they almost look like they were shot on Sony Hand-Camera-Videos (like cheap home-made footage). This is why I prefer watching old-school cinema shot on film.
I personally don’t think shooting 4k is essential (4k means that the video size files are 4000 pixels wide). Most people will watch your videos on a laptop or a phone (1080p I think is fine, and 1080p means that your videos are around 1000 pixels wide). But if your laptop is fast enough to process the files, and you have fast upload speeds, just shoot 4k.
6. When you’re starting off, don’t worry about RAW or any other fancy video-post processing stuff
If you’re a newbie to video like me, don’t bother with all the RAW video processing stuff. Too much time spent on processing, less time to shoot, and quickly edit/publish.

I recommend using a simple editing software like iMovie when starting off, and if you’re more ambitious (like Cindy), I would recommend using Final Cut Pro.
7. Editing and post-processing

Cindy did all the editing/post-production/video/sound/music/poetry for the film (I just did the camera work). This is a preview of her Final Cut Pro layering stacks.
8. Layering effects

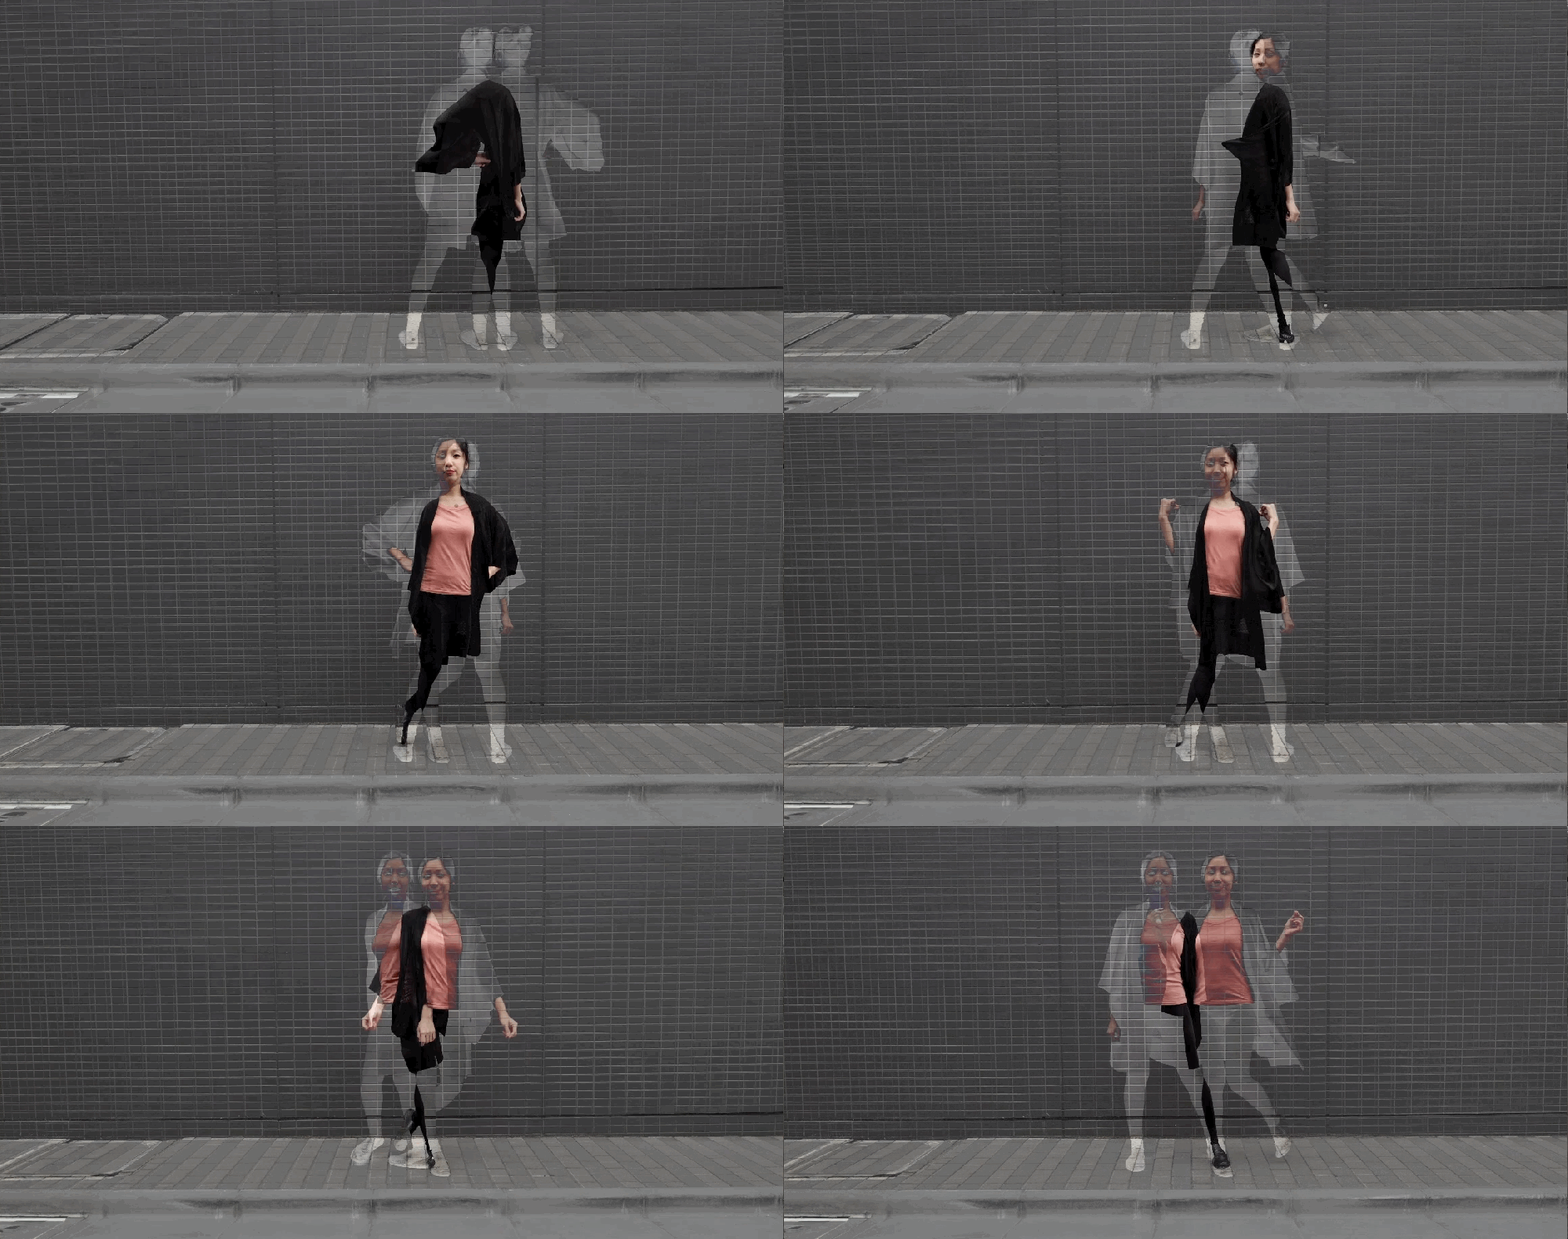
I initially shot all these still photos trying to integrate diagonal/triangle compositions. Later Cindy layered the videos.
Lessons I’ve learned watching Cindy work

Some technical details I found interesting from watching Cindy work:
- She first wrote the poem, “a two-step misstep to the clackety clacks of computer keys” and then later she decided to make it to a film. You can see Cindy explaining more of her poem MISSSTEP here.
- Cindy made the first beat (EZRA’s PAD) in GarageBand // the second beat was an instrumental remake off “PYNK” from Janelle Monae.
- She then recorded her voice with generic Samsung smartphone headphones in her laptop, using Garageband.
- She took all the footage I recorded on the Lumix G9, and then figured out what footage she wanted to use (done in Final Cut Pro).
- She kept listening to the music, the beats, and decided which order to put the video footage. It seems she figured out how to edit the sequence and flow of the music video by her intuition and feeling.
- Her layering effect was done in Final Cut Pro, using the ‘subtraction’ and ‘difference’ layers. She used to craft a lot as a kid, so I think she understands layers pretty intuitively.
- She kept working on the editing/post-processing for her music video, trying to time the beats of the music to the snapping of her fingers in the videos. When Cindy was about 80% happy with her footage, she published it.
Still Photos for Composition


Learn CINEMA
Cinematography and life lessons:
- Rashomon (1950)
- Ran (Chaos) by Akira Kurosawa
- FIGHT CLUB
- FURY (2014)
- THE MATRIX
- AKIRA PART I / AKIRA PART II
- Batman: The Dark Knight
- Dr. Strange
- Suicide Squad
- Kendrick Lamar: HUMBLE.
More Animated GIF


