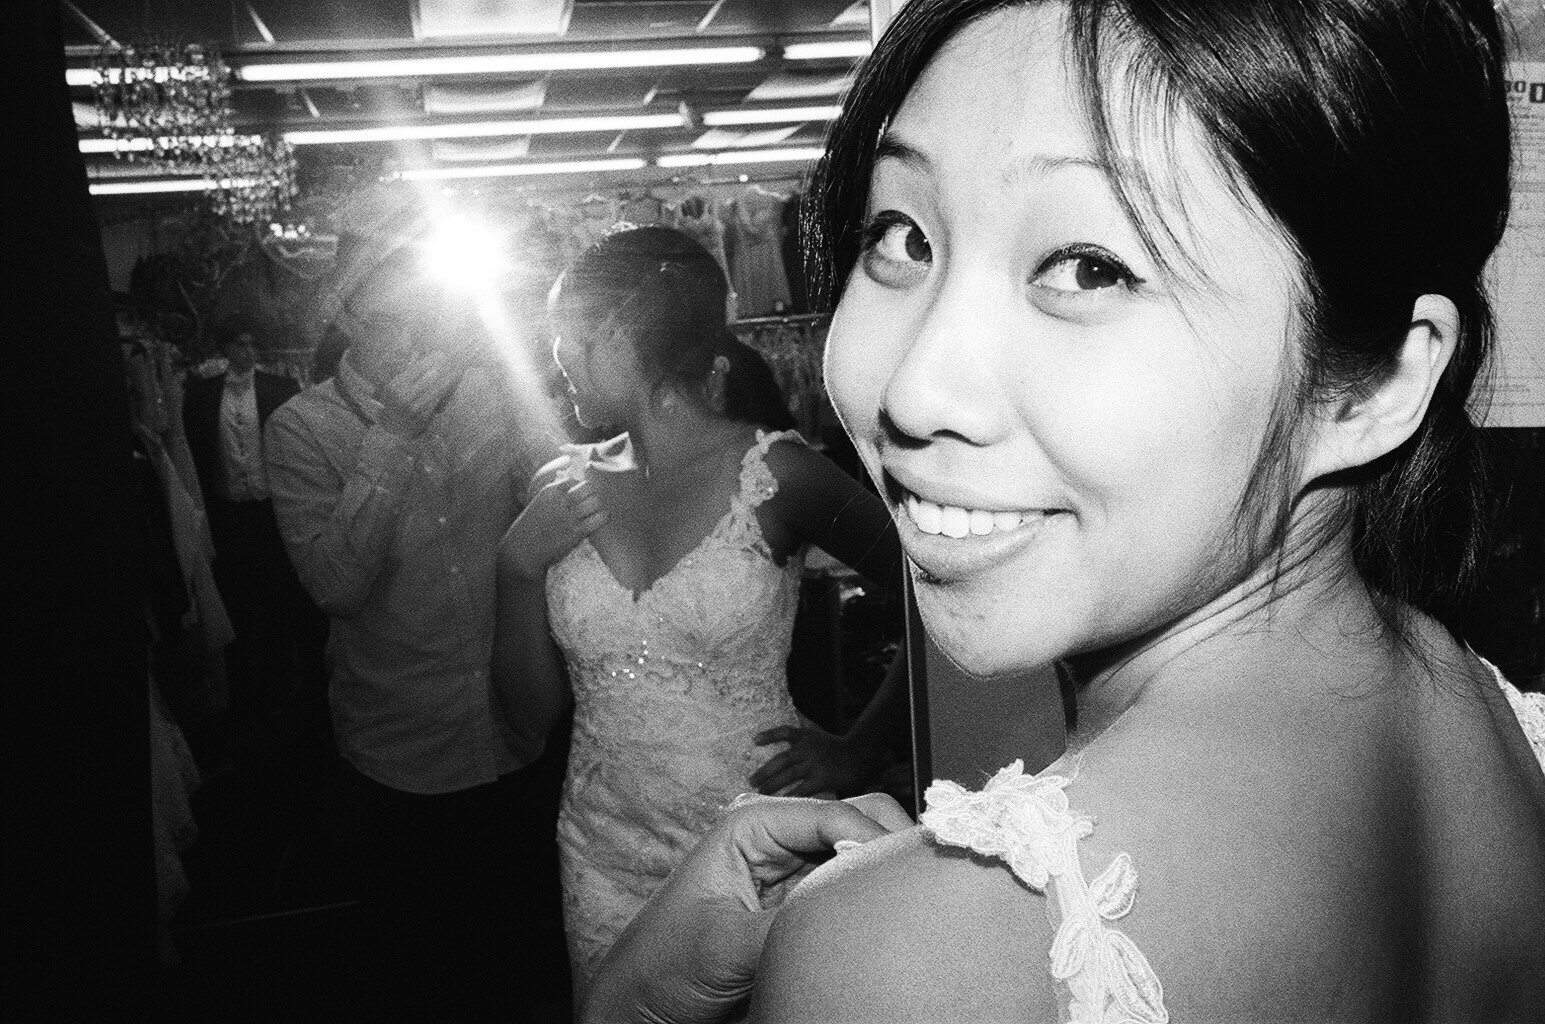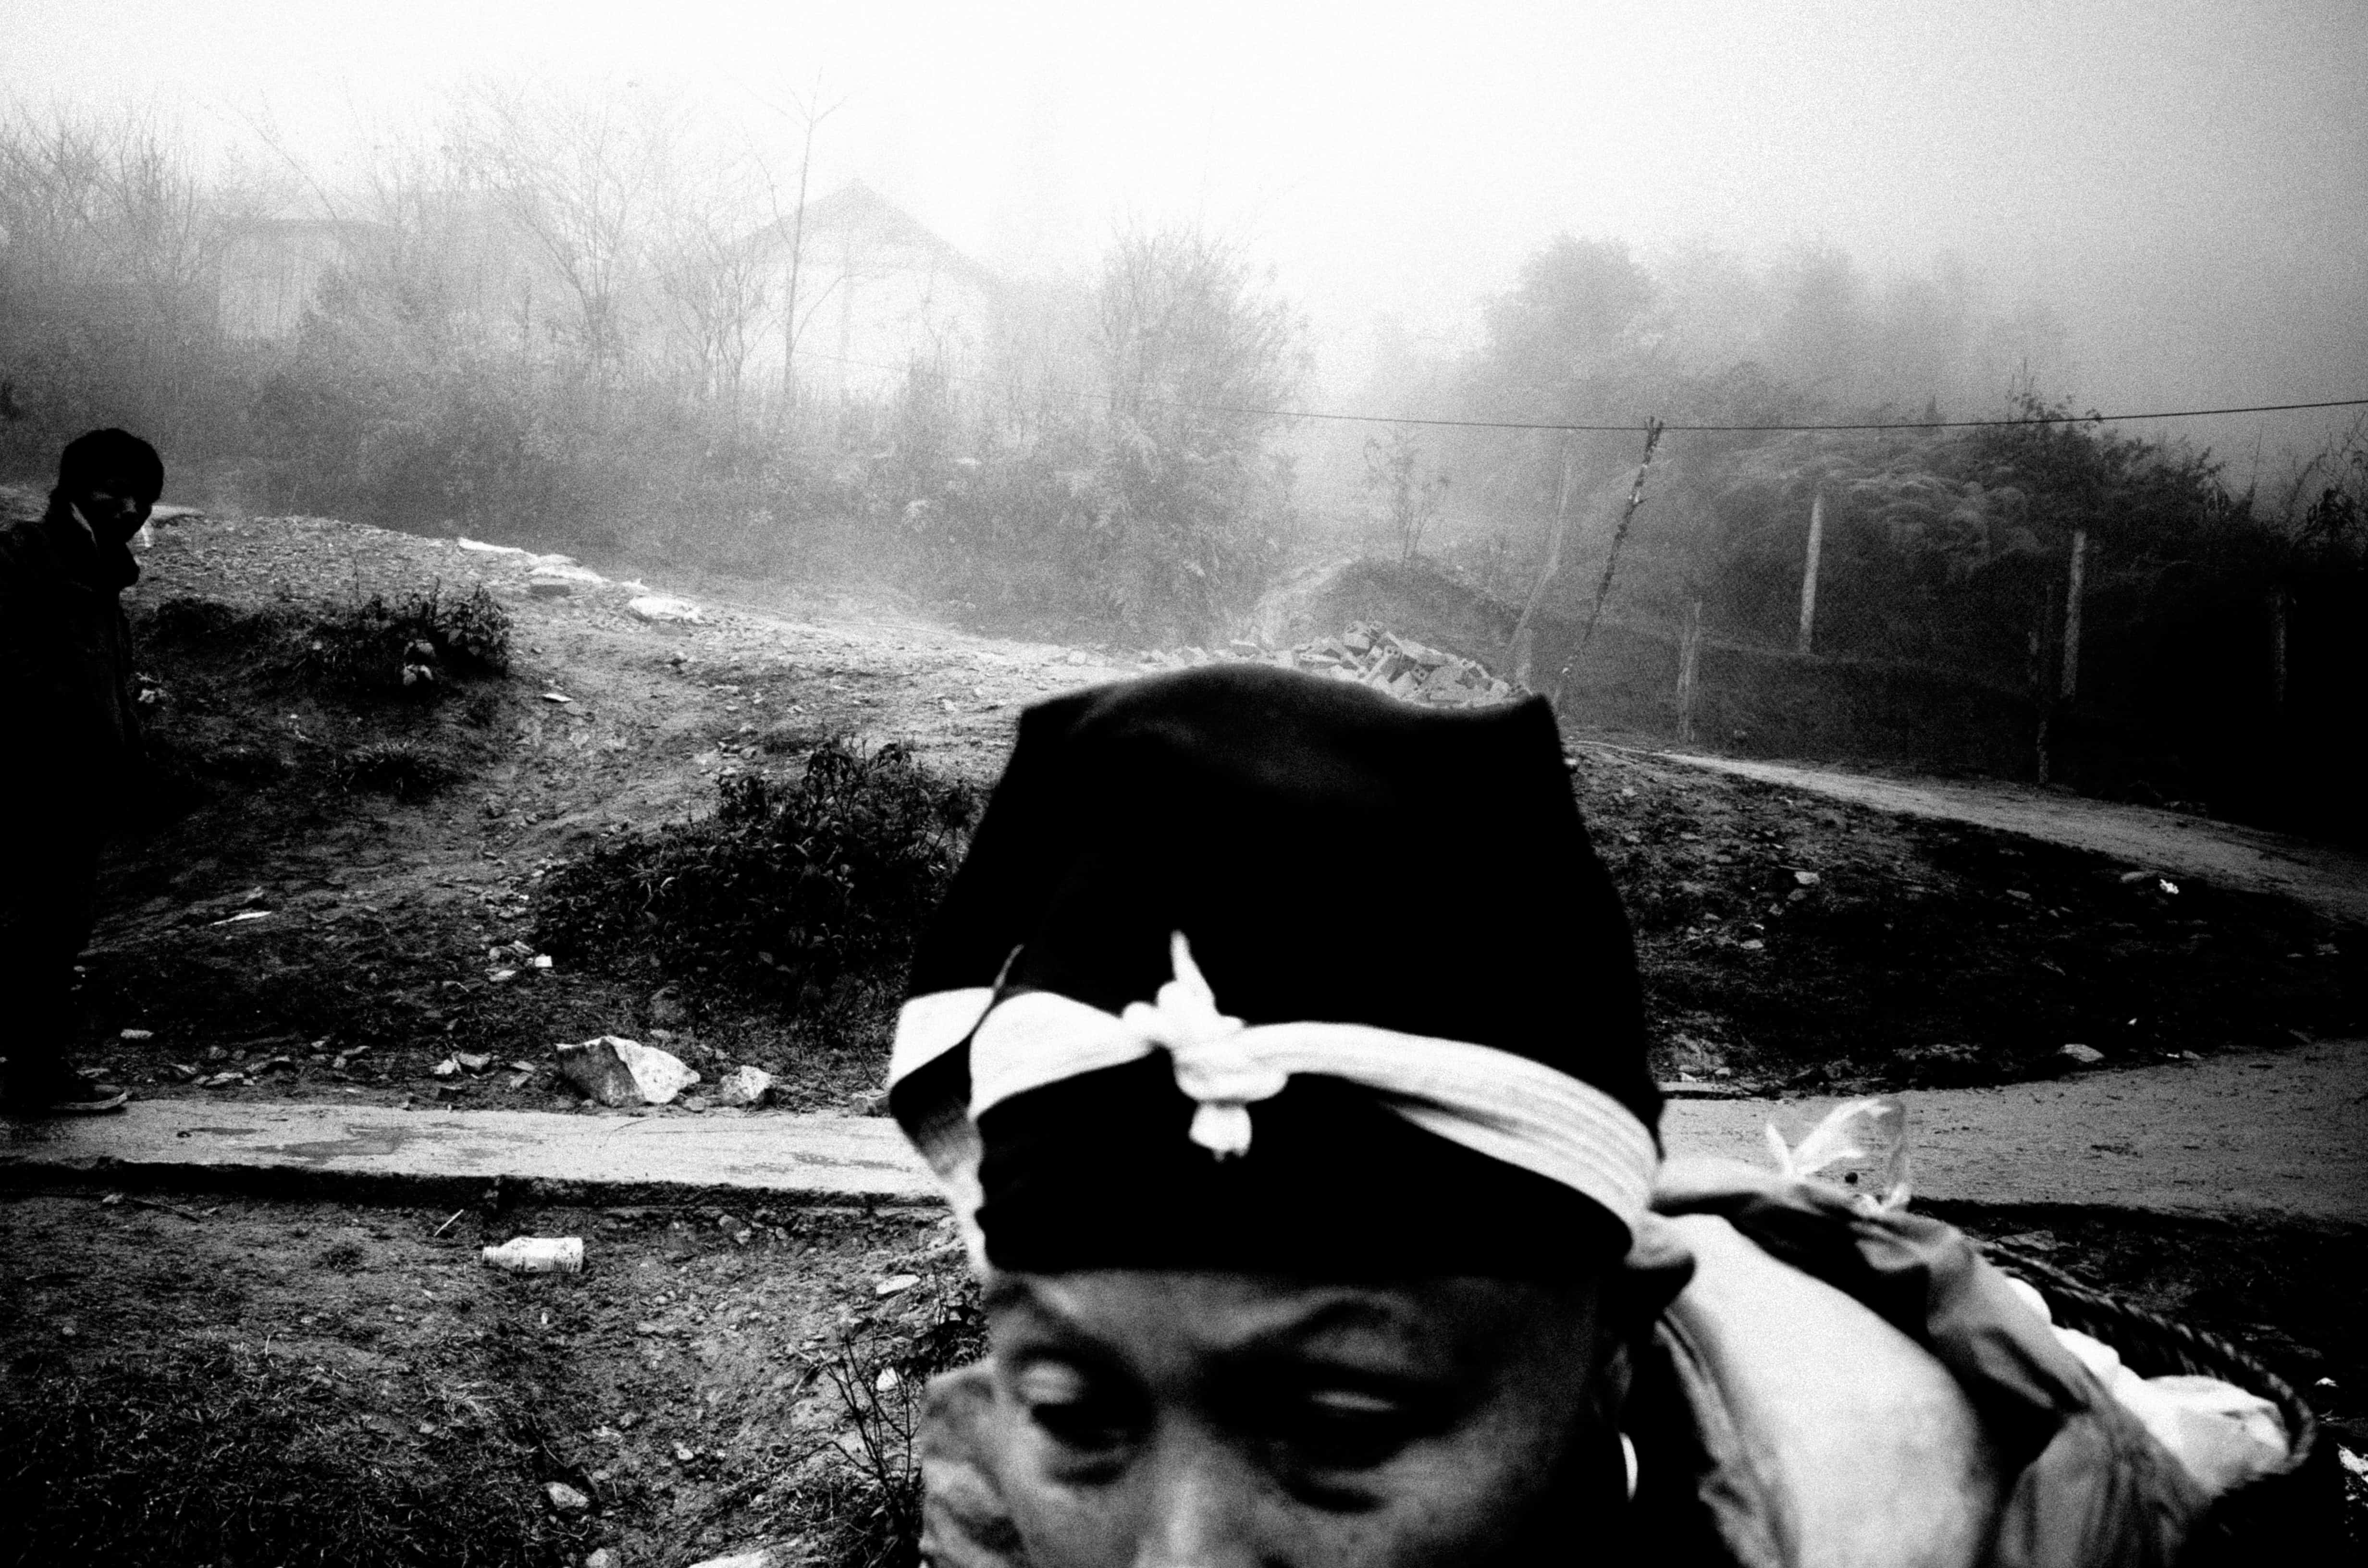
Recently I’ve been trying to add more complexity to my work— to shoot more layers. Shooting in layers is more challenging than single-subjects, and requires more visual gymnastics, and luck.
Below is a brief guide on how to shoot layers in street photography — and why you might want to try it out:
Why layers?

The reason why you should try to shoot layers in your street photography is because you want to take your work to the next level. I think it is a fun challenge, where you can create images that are more complex and interesting.
I personally am drawn to single-subjects in photos. I like minimalist photos, but being here in Vietnam at the moment— I want to capture more layers to show more of the chaos of the streets.
Some of the best street photographers to study for layers include Constantine Manos and Alex Webb (for color).
Find the right background

First of all, you need to find the right setup. Meaning— you need to be in an environment where there is a decent amount of foot traffic— that will allow you to create layers in your street photography.
If you’re shooting in a downtown area, try to stand on the far edge of the curb, and shoot towards the storefronts. Find a sidewalk with enough space and depth— so you can practice shooting layers.
As shown above, bus-stops are also a good place to shoot layers (people aren’t moving, and you can get very close).
Layers, deconstructed

A basic example of layers in street photography:
- Foreground
- Middle-ground
- Background
The foreground is what is closest to you.
The middle-ground is what is a little further away from you.
The background is what is furthest away from you.
To make an effective layered street photograph, you want something interesting to be happening in each of these layers.
Also to note, you can create layers in street photography with 2 layers, or even 4-5 layers.
Also by adding negative space around the subjects and objects in your frame, you will add more depth. You want to try to avoid over-lapping figures.
Example technical settings for layers

In terms of technical settings, I recommend to focus on the subject the furthest away, which will give your photos a deeper illusion of depth.
Here is an example setup:
- Aperture-priority
- f/8
- ISO 1600
- Manual-focus (pre-focused to 5 meters)
This setup works well with manual-focusing lenses, especially rangefinders. Or with Fujifilm cameras, or any other camera that has a poor autofocusing system.
By focusing to 5 meters (pretty far), you can have more depth in your photos.
Or you can always just keep your camera in “P” mode, ISO 1600, and center-point autofocus (what I usually recommend for micro 4/3rds cameras, because the autofocus is really fast. I also use these settings on my Ricoh GR II). And when you’re using autofocus, just try to focus on whats furthest away in the background.
Find “anchor” subjects

When you’re shooting on the streets, you want to find “anchor subjects” — subjects that aren’t moving.
For example, in the background you can see a guy smoking a cigarette. That person is your first “anchor” (because they probably aren’t moving around much).
Then you want to identify a second anchor (another person a bit closer to you in the foreground). This second anchor might be someone checking their phone.
Lastly, you want to add someone to the foreground (closest to you). In my experience, it is hard to find 3 subjects that are anchor subjects and aren’t moving. Therefore the subject in the extreme foreground tends to be someone walking into and out of the frame.
For the person in the foreground, you want them to be out-of-focus. Why? This gives you an illusion of depth.
Newbies tend to always focus on whats closest to them in the frame (in the foreground). But the more advanced you become as a photographer, you spend more time focusing on things in the background (furthest away from you).
Color or black and white?

You can of course shoot layers in color or black and white.
Color tends to be easier for layers, because it helps separate your subjects.
Black and white is harder for layers, because the elements blend in more together.
But of course, it is personal preference at the end of the day. Try both, and see what works better for you.
Shoot in good light

Also if you want very effective layers, you want to shoot in good light (sunrise, sunset, or ‘golden hour’).
This is because you can create more black shadows, dramatic contrast, and the light really brings your images to life.
So either try to wake up early and shoot sunrise, or shoot at sunset.
Another thing you can experiment with is shooting with a flash. This works especially well when you are shooting during the day, and the light is harsh and flat. The flash creates more contrast in your images, and more separation between your subjects (especially when you are shooting in the shade).
Fill the frame

As you get more advanced and experienced with shooting layers, you will try to fill the frame (and avoid over-lapping subjects).
As a fun assignment, try to fill the frame to the brim without it becoming too chaotic. Always play that line between having enough people in the frame and not being too busy.
Also as a tip, try to focus on filling the edges of the frame. As photographers, we tend to tunnel-vision too much in the center of the frame. If you focus on the edges, you will get cleaner compositions, better framing, and more interest.
Book-ends

Another thing to consider when creating layers is to add “book-ends” to your frame.
What is a “bookend” in the context of street photography?
Well, it is to have a subject or element in the extreme left or right of the frame, which draws the energy of the frame closer together.
For example, you can have someone’s face extremely close to you, which will fill up the entire 30% of the left or the right side of the frame. The good thing about this technique is that it removes distractions from the background.
Shoot a lot

Lastly, shooting layers is hard. A lot of capturing the right layers in a street photograph is luck.
So you need to shoot a lot. Alex Webb says street photography is 99.9% failure. I agree with him, especially when it comes to shooting layers.
You might shoot 1,000 photos and still get no good layered photographs.
But the more photos you shoot, the more likely you are to hit a home run.
Things to avoid when shooting layers

When shooting layers, try to avoid the following:
- Overlapping figures: You want to have a little separation between the subjects and elements of your photograph. For example, it isn’t appealing to have a hand or a limb growing out of someone’s head in the background.
- Extremely bright objects: Avoid white cars, white plastic bags, and other distractions in the background. They tend to draw attention away from the subjects in your frame.
- Not shooting close enough: If you want good layers, you need to be pretty close to your subjects (in the 1.2-3 meters zone). If you feel that your layers aren’t edgy, dynamic, or interesting enough — get closer. Also as a note, if you’re starting shooting layers— a 35mm lens (full-frame equivalent) is a nice balance of being wide enough, yet not too wide.
Layers for layer’s sake?

When it comes to street photography, adding layers will add more interest to your photographs.
Yet remember— don’t shoot layers for layer’s sake. Anyone can add multiple subjects in a frame and not have them overlapping.
But ultimately you want a photograph with depth of emotion. Try to capture multiple-subjects where you have multiple gestures, body-languages, and emotions. See if you can create a layered street photograph with some people who are happy, and some who are sad. Try to photograph in one frame— both old and the young. Big and small.
Juxtapose different elements in a layered photograph (both compositionally and emotionally) — and you will make a great street photograph.
More street photography composition lessons

For a quick primer, watch my presentation: YouTube: Introduction to Composition in Street Photography
Also download my free book: “The Street Photography Composition Manual.”
In-depth composition articles below:
- Composition Lesson #1: Triangles
- Composition Lesson #2: Figure-to-ground
- Composition Lesson #3: Diagonals
- Composition Lesson #4: Leading Lines
- Composition Lesson #5: Depth
- Composition Lesson #6: Framing
- Composition Lesson #7: Perspective
- Composition Lesson #8: Curves
- Composition Lesson #9: Self-Portraits
- Composition Lesson #10: Urban Landscapes
- Composition Lesson #11: “Spot the not”
- Composition Lesson #12: Color Theory
- Composition Lesson #13: Multiple-Subjects
- Composition Lesson #14: Square Format
Also to learn more, check out Street Photography 101 >

