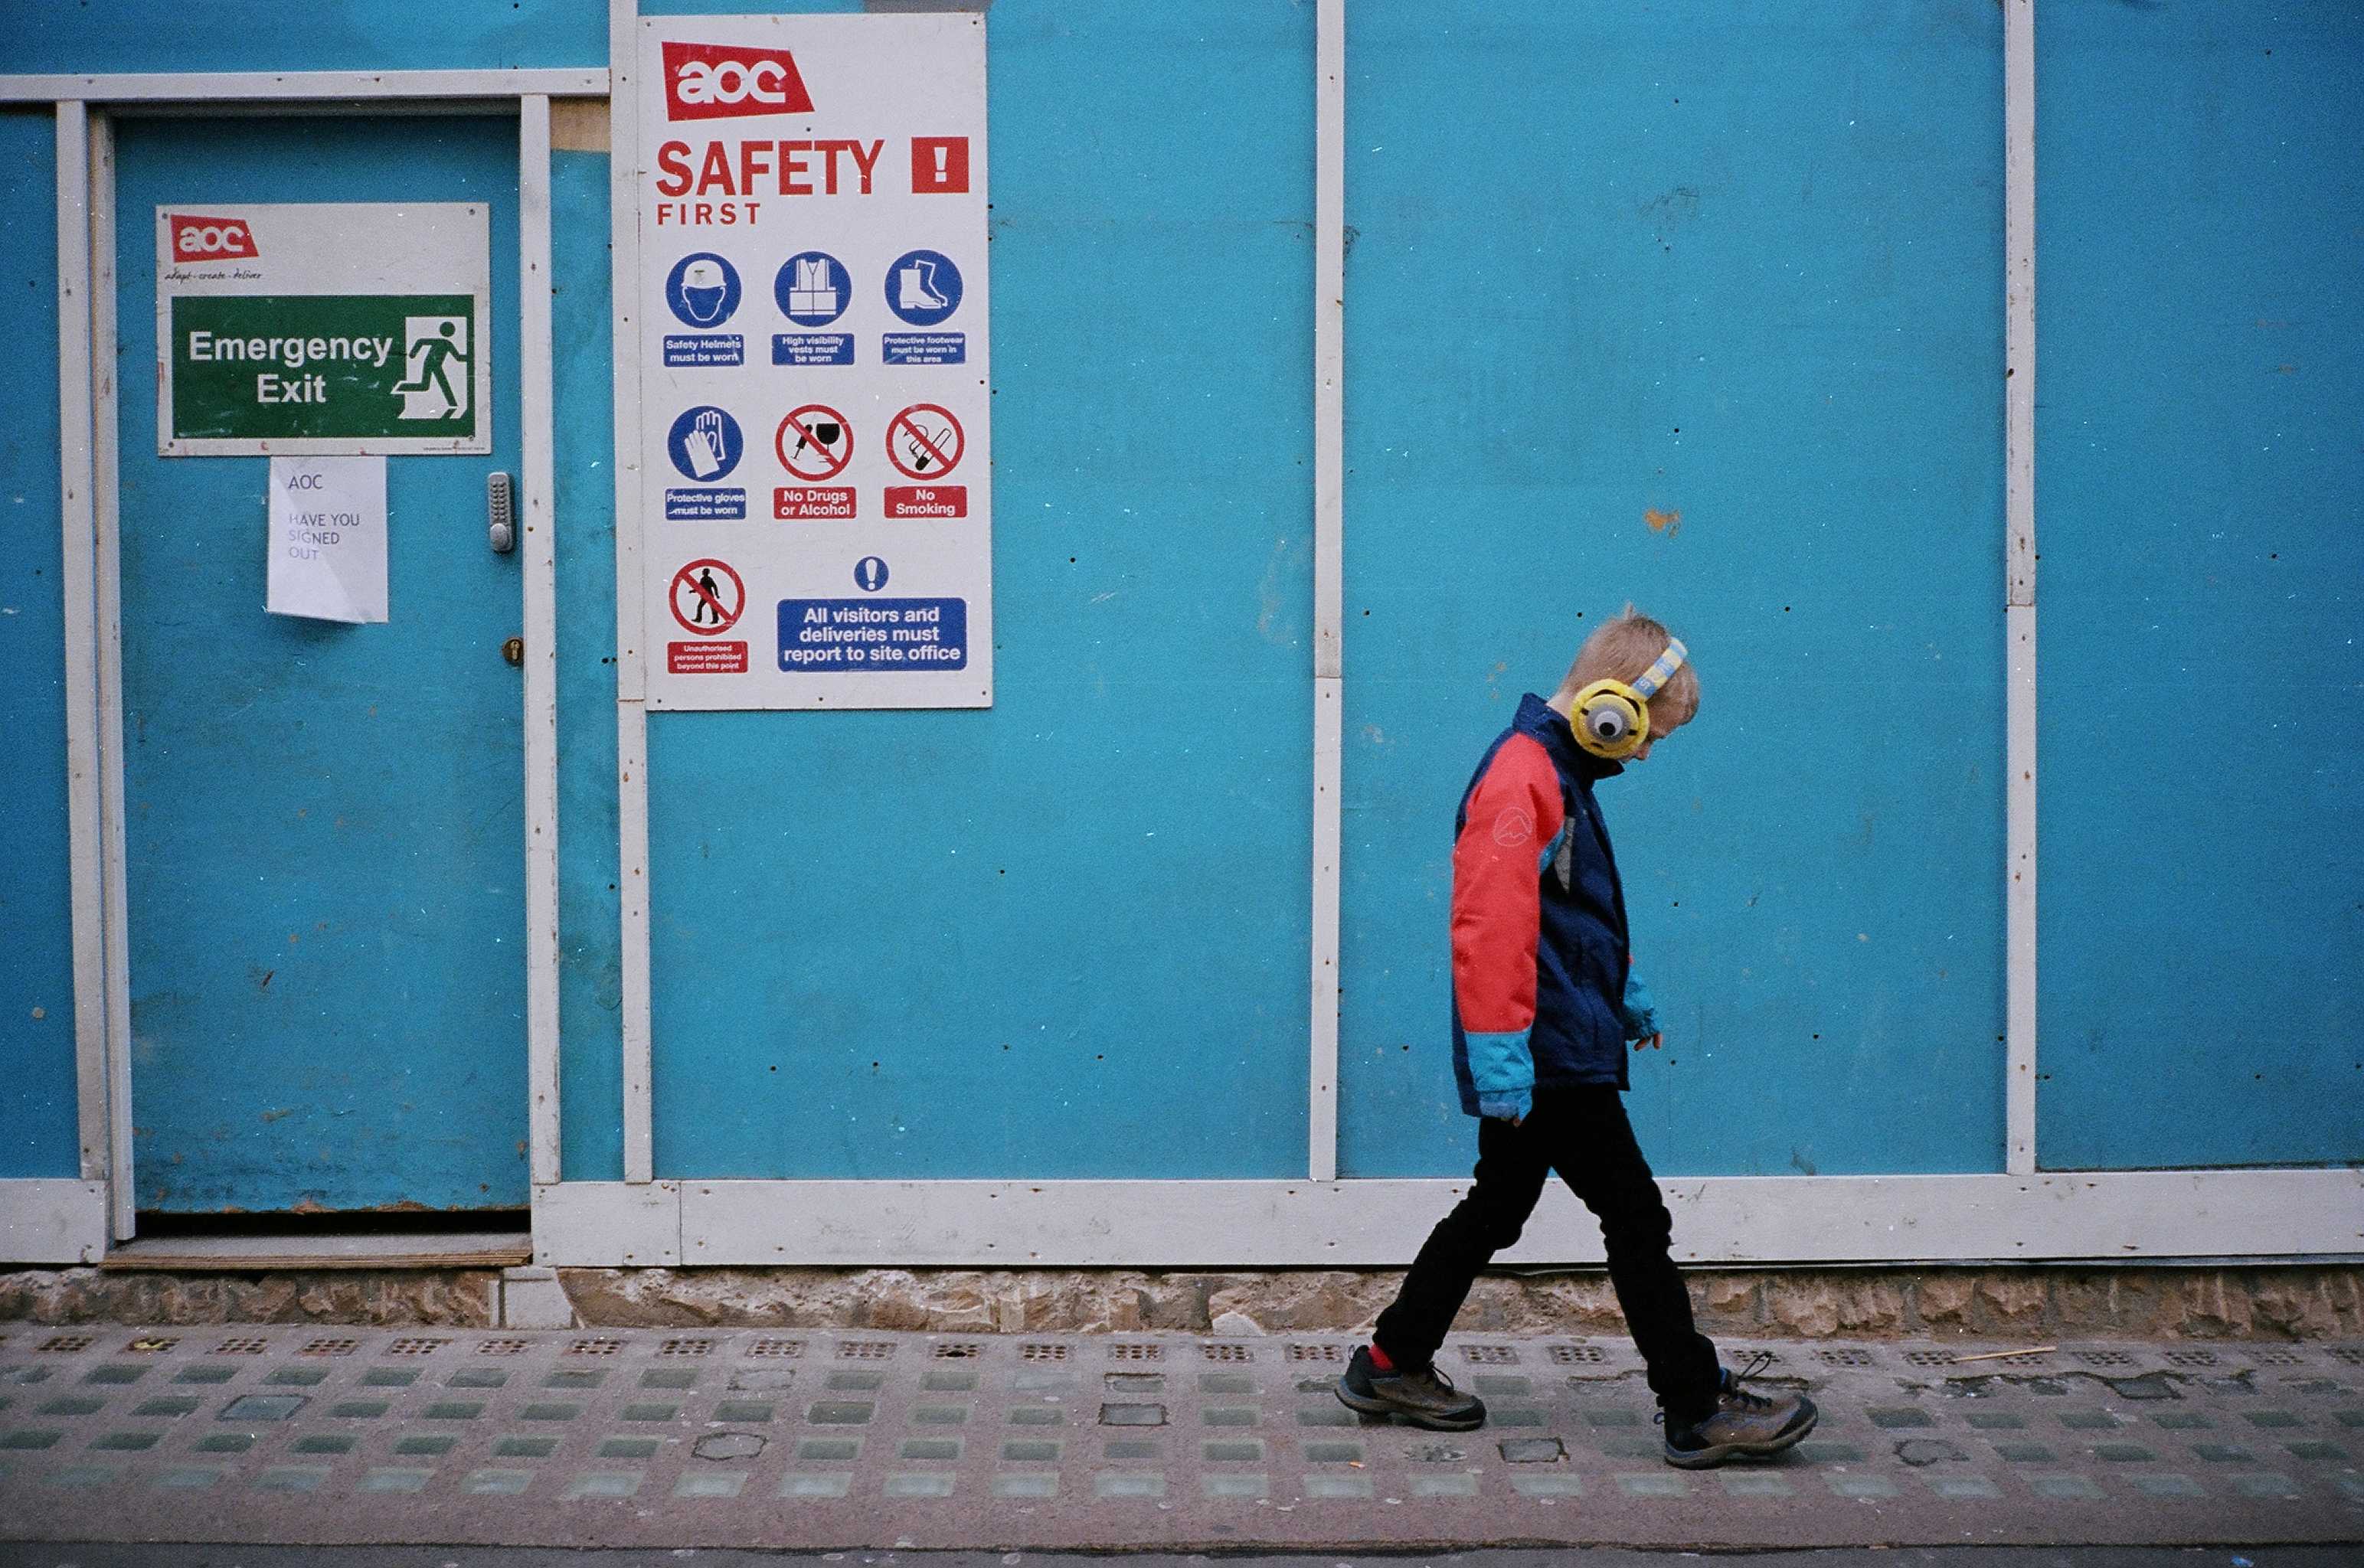

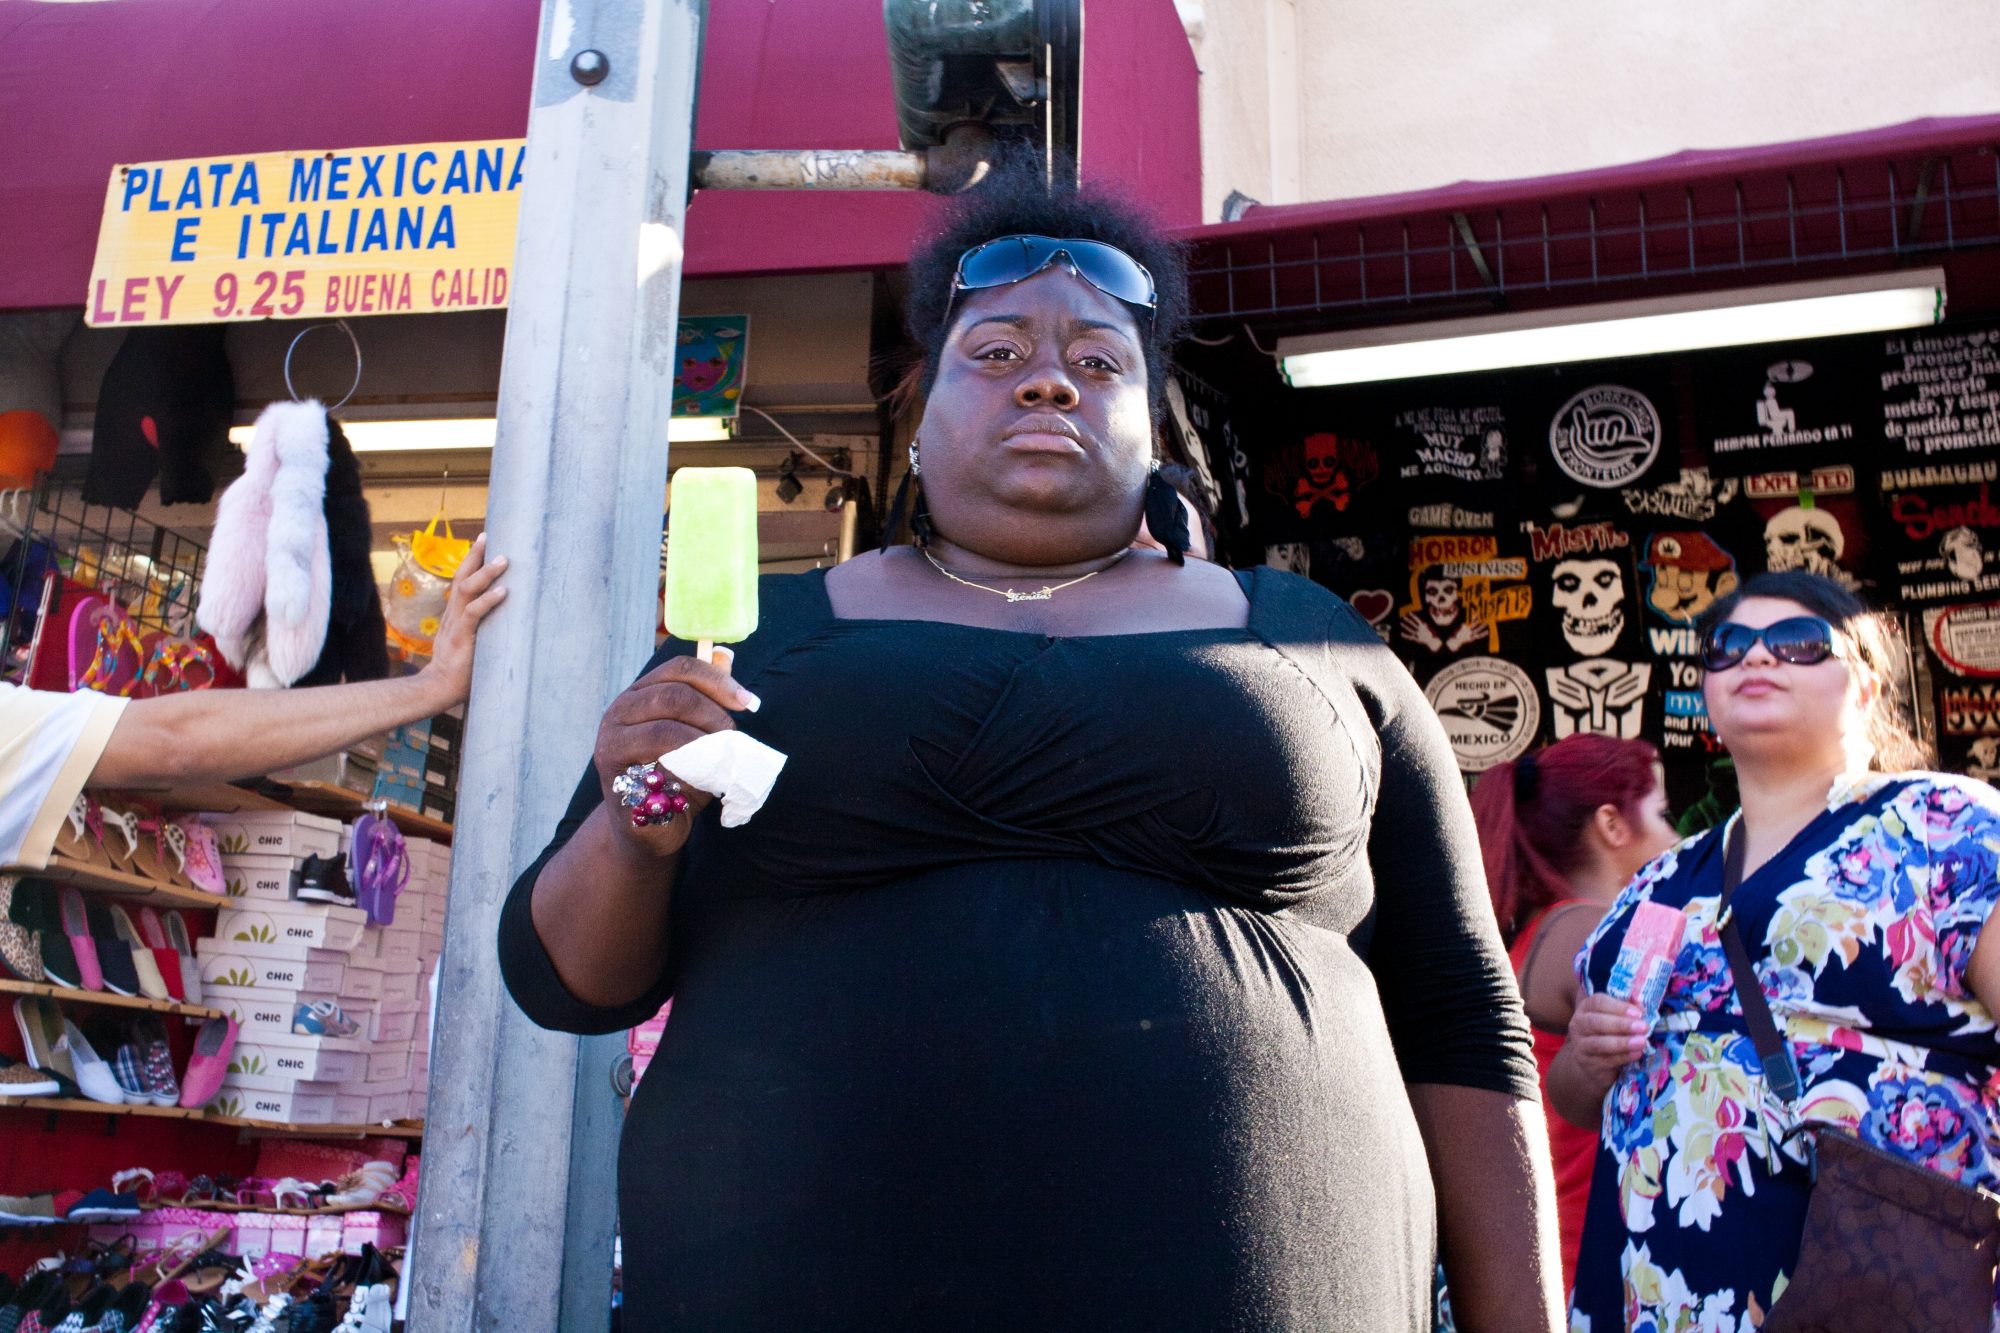
I think in street photography, there are many different “sub-genres.†For example, you have the traditional candid street photography, you have “street portraits†(taking photos of strangers, primarily of their faces), you have photos of urban landscapes, and of just random stuff you might find on the streets.
For this article, I will give some practical tips I have in shooting candid street photography:
1. No sudden movements

The biggest thing that gives us away in street photography when we’re shooting candidly is that we make sudden movements.
For example, if you want to take a photograph of someone, by moving your camera too quickly to your face, you will give yourself away.
Assignment: Keep your camera close to your eye
A solution: try to have your camera really close to your face. This way, when you want to make a photograph, the distance between moving your camera to your eye will be very short.
If you have a camera neck strap, tighten it very close to your chin. Then you can quickly bring up your camera to take a photograph, without attracting too much attention.
If you use a wrist-strap, walk with your camera close to your face. Then when you want to take a photograph, you can just move your camera very subtly to your eye, and click a photo.
2. Use your LCD screen

If your camera has an LCD screen, it can be less obvious that you are taking photos.
It is more “stealthy†to shoot with an LCD screen instead of a viewfinder. Because with an LCD screen, we look more like a tourist. Not only that, but it is less obvious who we are taking a photo of.
Assignment: Don’t use your viewfinder
I am not a big fan of “shooting from the hipâ€â€” taking photos with your camera at waist-level (without looking at the LCD screen). I used to do it a lot, but the problem if you can never frame accurately.
Rather, try to shoot without your viewfinder, but just use the LCD screen (if you have one).
3. Don’t make eye contact
Another practical tip: when you’re shooting candid street photography, don’t make eye contact. When you make eye contact, that is when you’re automatically given away that you’re taking a photo of someone.
The funny thing is that you can stand really close to someone, and still take candid photos of them not really noticing. Just look at your subject through your viewfinder or LCD screen— avoid making eye contact.
Assignment: Look behind someone while you’re taking a photo of them
Get close to your subject, and pretend like you’re taking a photo of something behind them. See their reaction.
4. Shoot in a crowded area

If you shoot candid street photography in a very quiet area of town, with few people walking, it will be a lot more awkward and obvious that you’re making photos of them.
Rather— try to go to the most crowded area of town. That might be in the downtown area. Or perhaps at a mall. Or maybe at the city next-door.
The benefit of shooting in a crowded or touristy area is that you disappear into the crowd. People pay less attention to you — because you’re just a part of the mob.
Assignment: Look like a tourist
Another assignment you can do is to look as much of a tourist as possible. Buy a “I love [name of your city]†shirt. Wear a bright-yellow fanny-pack. Don’t look like a local. Generally I find more people will ignore you, or not really give you any flak for shooting in the streets.
5. The “video camera†technique
A good technique you can try to be more candid when shooting street photography is the “video camera†technique.
The concept is that you walk around the streets with your camera glued to your eye, or your eyes glued to your LCD screen. You walk around slowly, and point your camera all around you, like you’re shooting a video. Except while you’re doing this, make photos.
Assignment: 360 degree video
Try to go to a busy area, and stand in the center. Then hold your camera to your eye or LCD screen up, and turn around (360 degrees) and slowly take photos all around you. Do this while you’re close to others, and pretend like you’re just shooting a panoramic video. See how others react to you.
6. The “fishing†technique

If you look at a lot of photographs by the “In-Public†collective— you can see many of them have employed the “fishing technique†— looking for a good background, and waiting for the right person to enter into the scene.
This is often how Henri Cartier-Bresson got a lot of his famous shots (the bicycle shot comes to mind). He would pre-visualize his composition, setup his framing and camera, then just wait for someone to enter the scene, to complete the image.
If you’ve ever been fishing — you know the secret to the game is patience. The more patient you are, the more likely you are to catch a good fish.
But at the same time, there are days you will catch no fish (no matter how good of a fisherman you are). Therefore I’ve found that the biggest benefit of fishing is just enjoying the peace, solitude, and having the chance to relax.
Assignment: Fish for 30 minutes
Find an interesting scene, background, or wall, and wait there for 30 minutes. Try to wait for the right person to walk by the wall, to create some sort of interesting juxtaposition or scene.
Take a lot of photos, and then when you go home, choose the best one.
Also as a tip, if you take photos of people walking by a wall, try to get their legs in a “V†shape (which is much more engaging, and dynamic).
7. Capture hand-gestures

When you’re shooting candid street photos, the biggest problem we make is that we take photos of people, just walking — and these photos are boring.
Rather, try to capture hand-gestures. When you’re walking on the streets, look for people sneezing, stretching their arm to hail a cab, itching their head, or trying to shield the sun from their eyes.
By capturing hand-gestures, you will have more dynamic images. Not only that, but your photos will have more emotion.
Assignment: Hand-gestures
Simple: only photograph hand gestures for an entire day. Don’t take any photos of people not making any hand gestures. See how many different hand gestures you can observe and capture.
8. Zone focus

One of the problems of candid street photography (especially when we’re moving quickly, and our subjects are moving quickly) is that it is hard to capture the “decisive moment†of subjects (without having blurry photos).
The solution (especially if your camera has slow autofocus) is this: use zone-focusing.
The concept of zone-focusing is this: you manually pre-focus your lens to a certain distance (I like 1.2 meters) and keep it on manual, you set your ISO relatively high to have a fast shutter speed (I recommend at least ISO 1600), you set your camera to aperture-priority mode (A/Av mode), you set your aperture to f/8-f/16 (to have a deep depth-of-field), and you have a relatively wide-angle lens (to get more things in focus, I recommend a 28mm or 35mm lens).
Then when you go out and shoot, only take photos of people 1.2 meters away (about 2-arm lengths away). By having a high ISO (1600) your shutter-speed will be relatively fast. If you want sharp photos of your subjects, try to have your shutter-speed at least 1/250th of a second, or better yet, 1/500th of a second (and faster).
The reason they call it “zone focusing†is that when you pre-focus to a certain “zone†or distance — your subjects will be in-focus (a little further and closer to that zone). For example, with a 35mm lens, if you pre-focus to 1.2 meters, at f8, everything between around .9 meters to 1.5 meters will be in focus.
So if your camera’s autofocus sucks, try out zone focusing.
Assignment: Don’t use autofocus
For a week, try out zone-focusing. Don’t use autofocus. See if you can capture more “decisive moments†in your candid street photography. If you don’t like zone-focusing, just go back to using autofocus.
9. Focus on the subject furthest-away from you

If you want to add more depth and layers to your candid street photos, focus on the subject furthest away from you in the frame.
When we start off in photography, the beginner technique is to always focus on what is closest to us. But by focusing on what is furthest away from us (and having a subject in the foreground), you will have more depth, layers, and intrigue in the frame.
Assignment: Pre-focus to 5 meters
For a day, pre-focus your lens to 5 meters, and try to add more elements in your foreground, to add more layers and depth.
10. When in doubt, click

Whenever you see a street scene that you think might be a good photo, just click. Don’t think too much. Just take the photo. Don’t hesitate.
I always wonder, if we always took a photo of a scene that interested us, and never “chickened out†(because of some nervousness or fear) — how many more good photos might we have made?
Personally, I have hesitated too much in my street photography, and as a result, have missed thousands of potentially good shots.
Assignment: When in doubt, click
Keep this mantra in your mind when you’re shooting:
When in doubt, click.
Not only that, but if you see a good scene, take many photos. Learn how to “work the sceneâ€, and don’t doubt yourself. Make many different versions of a potentially good scene, and the more likely you are to get a good shot.
Conclusion

These are 10 brief tips for candid street photography.
I feel the best thing about candid street photography is the sense of thrill, excitement, and spontaneity that comes around. Not only that, but candid street photos tend to look less “posey†— and more “real†in a way.
I don’t necessarily think that candid street photos are “better†than street photos shot with permission. They’re just different. Shooting without permission is just another tool you can add to your “street photography toolbox.â€
To learn more about street photography, check out Street Photography 101 >