

Hi everyone, my name is Michael, I am a street photographer, I shoot with an iPhone.
The iPhone offers me three things that a big camera doesn’t – it is discreet, it is always with me and it is easy to use.
I have been using the iPhone since I moved to Melbourne, Australia in February this year. The iPhone lets me concentrate on scene and structure instead of dials and lenses. I feel more connected to the process because there is no glass in the way.
Eric has asked me to share some hints to help make the most of the iPhone when shooting the street. So here we go.
1. Always be ready

As street photography requires quick reflexes I try to improve me odds by holding the phone in my hand when going for a photo walk. Because I use the iPhone 4 I have placed the camera app in the bottom corner of the dock. This lets me launch the app easily, knowing where to touch. I do, however, miss the double click, quick launch option that is available on older iPhones. It helped preserve battery and was by far the easiest way to launch the camera.
2. Use a soft rubber case

As I walk around clutching the iPhone I have found that a soft rubber case helps improve grip. This is particularly useful when you’re shooting from the hip, trying to shoot over a fence or anywhere near a river! I use the Case Mate Vroom, it has a nice tyre tread that grips well.
3. Expose for the highlights
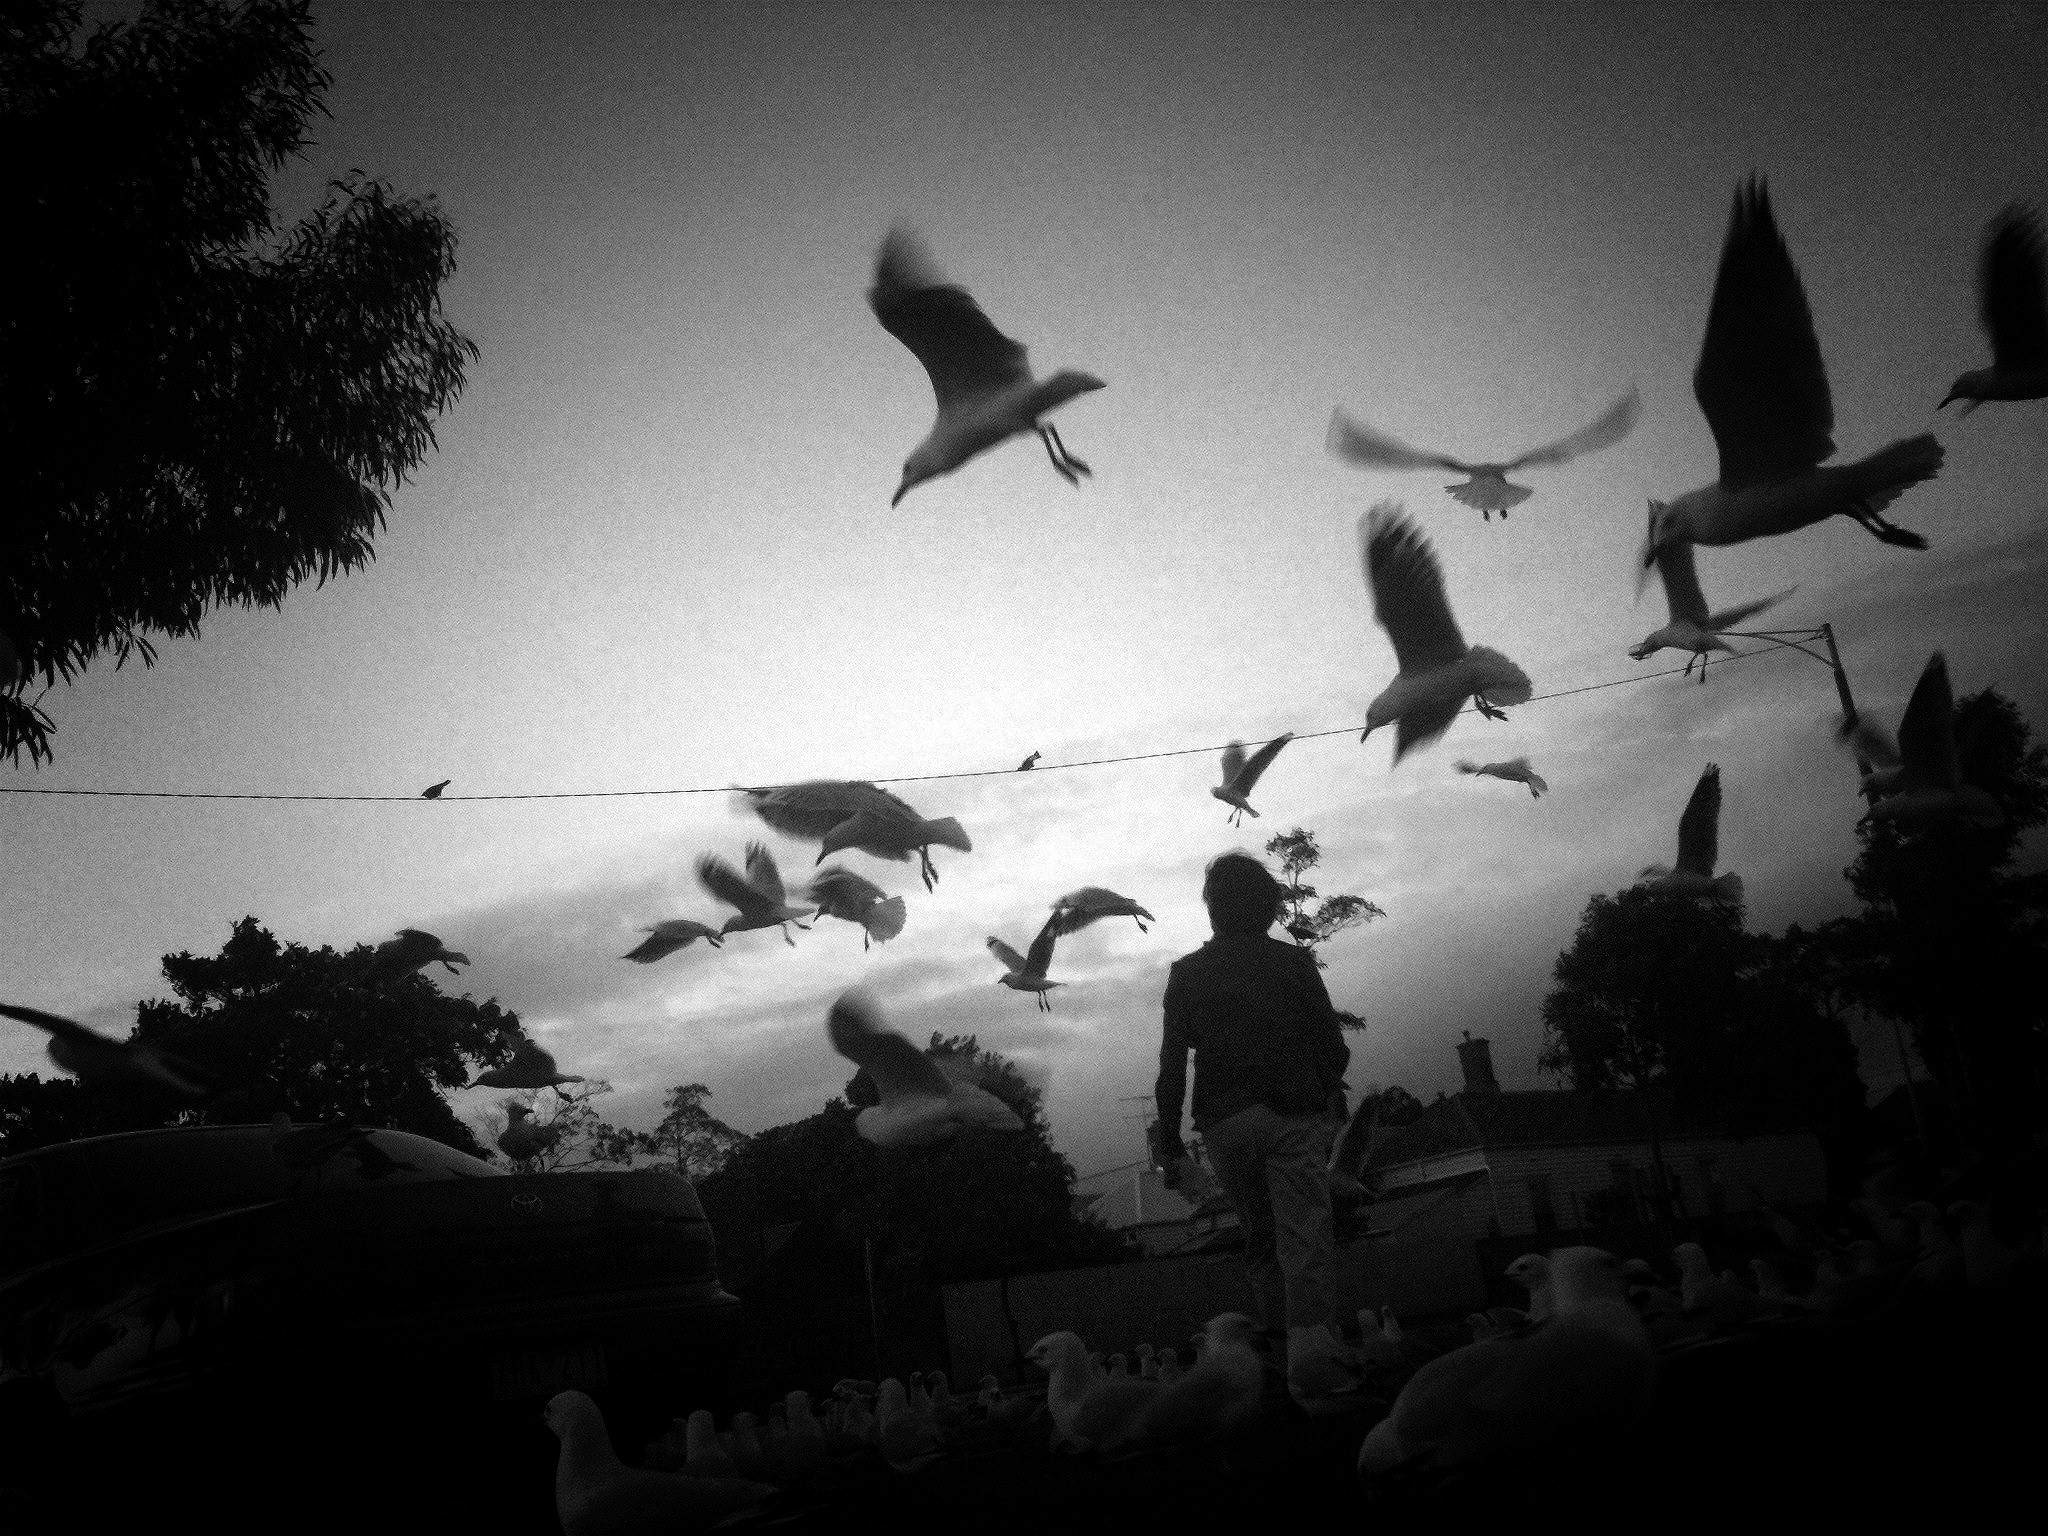
When I shoot I mostly expose for the highlights, touch exposing for the brightest spot on the screen. It is always easier to recover shadows than highlights. Again, it is about finding interesting light and playing with the camera exposure till it looks right on screen.
Here are a few shots that have used this technique…


4. Watch your exposure
One of the downsides of the standard issue camera on the iPhone is the lack of exposure lock. I often find the exposure thrown out when someone walks through the scene and the camera tries to compensate. Recent apps include exposure lock in the feature list, overcoming the problem. One such app is almost DSLR, I have been using it for the past few weeks and am loving the ability to set the exposure (particularly going into a bright Aussie summer). The below photo used this setting to keep the bright white wall from blowing out as people passed through the scene.

5. Keep your camera still
When shooting with my iPhone, I try to tap the shutter button as softly as possible. I know others keep the button depressed and shoot on the release. This is a great way of making sure you’re not bumping the phone – but I personally can’t get used to it. Some apps, including Camera+ have anti-shake functions but this does not lend itself to shooting on the fly.

6. Fully charge your batteries beforehand

Make sure you have fully charged the phone! The battery on the iPhone 4 lasts about 2-3 hours when shooting nonstop. This is halved for the 3Gs.
7. Keep the lens clean

Use a microfiber cloth and keep your fingers off of it.
8. Turn off the shutter sound
You don’t want the fake camera sound giving you away when chasing an interesting scene.

9. Never hesitate

Take photos of everything you find interesting. It is all about confidence, the more you do it the easier it gets.
10. Relax

Lastly, try to relax when walking around, look don’t search, I find that if I start forcing images, more often than not I fall back on clichéd compositions.
Conclusion
Feel free share some of your own suggestions (iPhone or not) or ask questions below.
More of my work is available on my blog (mishobaranovic.tumblr.com). You can also follow me on twitter (@mishobaranovic).
Cheers,
Misho