
I’m a huge fan of processing and editing photos on iPad. Here are some simple tips which work well for me:
1. Only import photos that look good as small thumbnails

Generally speaking, photos that work well as small thumbnails are strong photos, because you can quickly determine whether a composition of a certain photo is good or not (if you see it as a small thumbnail).


Thus when you’re importing photos into iPad, only select photos which jump out at you as small thumbnails. Also, I recommend importing photos via the Lightning Apple SE card adapter.
2. Experiment processing photos with the default Photos app

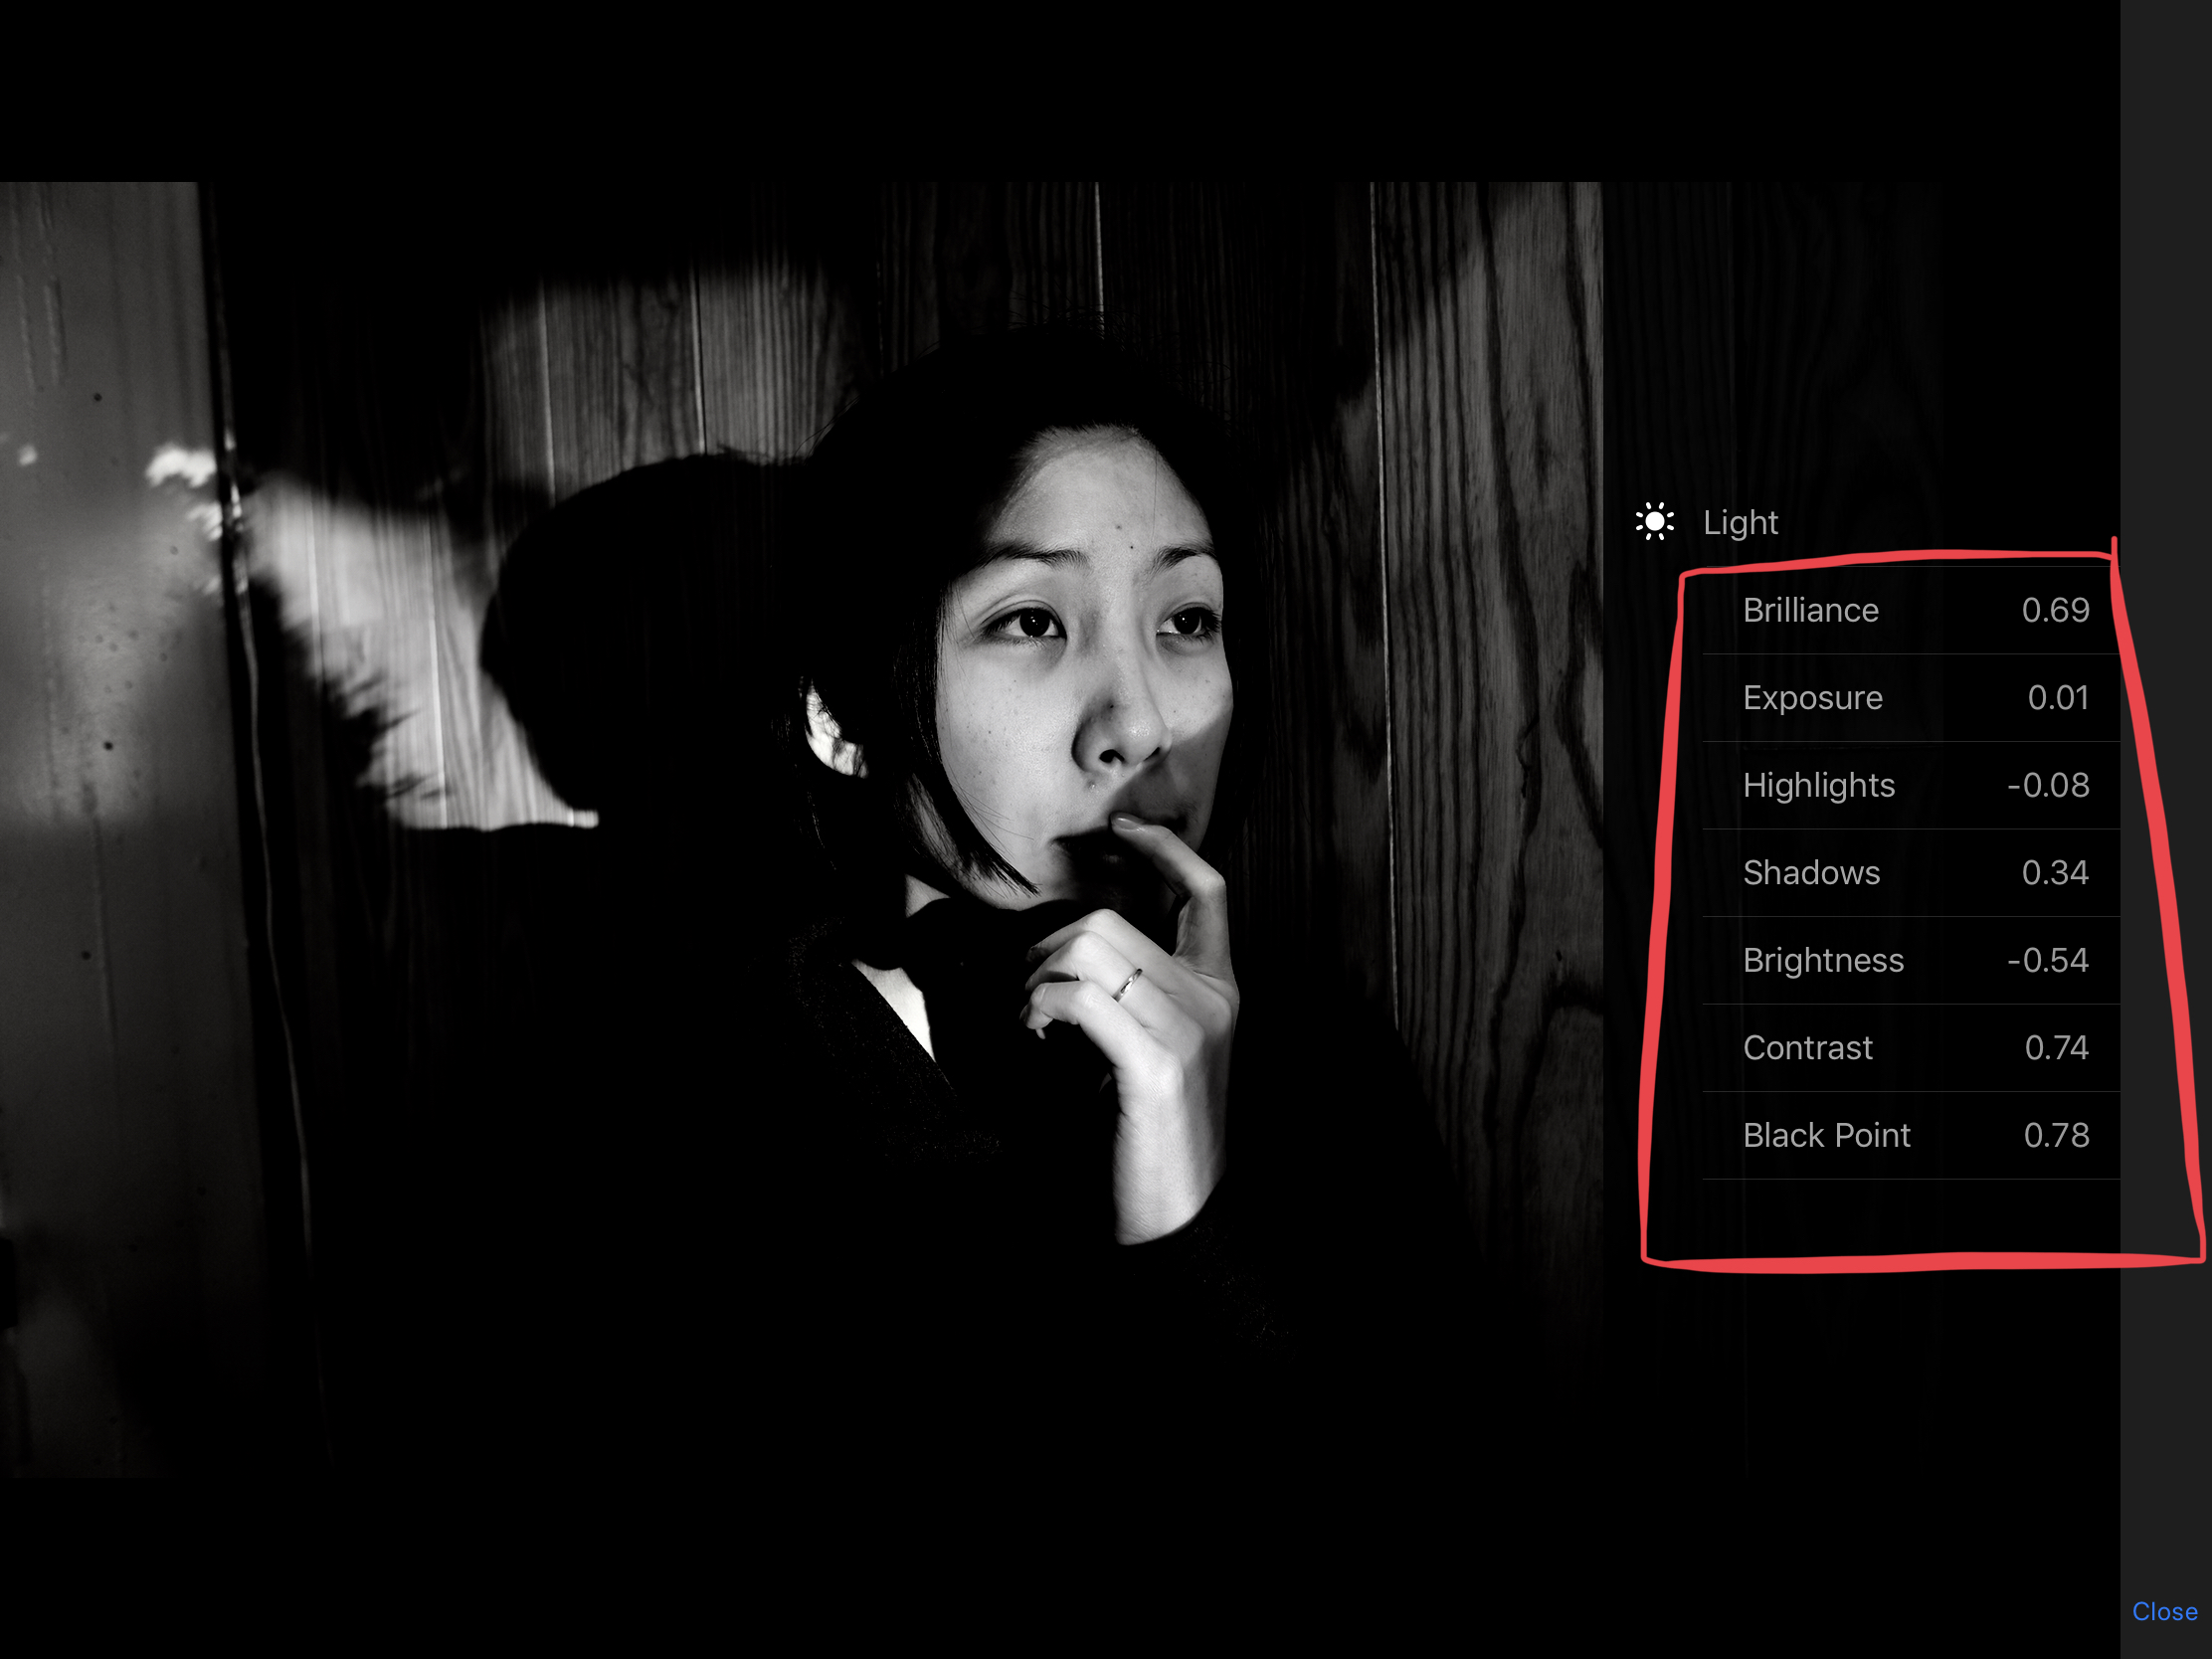
I’ve been experimenting more with the default Photos app on the iPad, and the more I use it, the more I love it! It is very simple on the outside, yet you can dive deep in processing with more fine-tuned details.

By default a good adjustment tool in Photos is the “light” slider. Just drag it left and right to experiment! If you want to dig deeper, you can click the “more” icon, to see more in-depth processing features.

My simple suggestion is this:
With all of the settings, just experiment by sliding them left and right. Process your photos according to what looks good to your eyes!
There is no ultimately “perfect” aesthetic with a photograph. Just try to process photos that look beautiful to your own eyes!
3. Filters are not cheating!

Whoever says that filters are “cheating” in photography is an idiot. All photos are filtered; filtered through your digital sensor, your film, or the processing settings in your camera.
Generally with filters, some tips:
- VSCO has the best presets. I love the A6 and N1 for color, X1 and B5 for monochrome. Also the “Distoria” filters are a ton of fun!
- For Apple Photos app, I like the noir, vivid, and dramatic filters the most. But just experiment with all of them.
There is no such thing as a good or bad filter. Don’t even worry whether you process your photos extreme; just keep experimenting with your processing until you like the look.
Furthermore, I recommend experimenting with different processing tools, until you find a look you like.
4. Make it look 80% “good enough”

Generally with processing, this is the simple tip is this:
Get your photos to look 80% “good enough”, and just publish it.
I don’t recommend trying to process your photos until it looks “perfect”. Why? It will never look perfect! I think this “maximizing” mindset isn’t good.
5. Shoot JPEG

If you shoot with a “standalone” digital camera like RICOH GR II or Fujifilm XF10, just shoot with JPEG. The files will import quicker, process quicker, and waste less space on your iPad or mobile device.


I honestly think that RAW is overrated. Keep it simple with JPEG.
6. “Favorite” photos you like

The best simple way to choose your photos is to “favorite” photos you like in your camera roll. It is the little heart icon.


7. Also upload your photos to Dropbox


I have a Dropbox Pro account, and I still recommend using it on iPad to backup your photos. It will keep your files more organized than Apple Photos, which often get cluttered. Also, Dropbox works very well on your desktop or laptop.
Conclusion: Brave new world of photography

I think the iPad can be the ultimate productivity tool. But iOS on iPad is still a bit clunky compared to using a laptop, so I encourage you to keep experimenting with it, and remember, the point is to SIMPLIFY and improve our photographic workflow. Only use an iPad if you feel like it will make your photo workflow more simple; avoid complicating your workflow.
More iPad thoughts to come.
iPad articles
-

ERIC KIM WALLET
$ 499 Add to cart -

MUSE BY KIM
$ 1,535 Add to cart -
Sale!

ERIC KIM NECK STRAP MARK II
Original price was: $ 770.$ 149Current price is: $ 149. Add to cart -
Sale!

HENRI NECK STRAP MARK IV
$ 499 Select options -
Sale!

ERIC KIM WRIST STRAP MARK II
Original price was: $ 850.$ 99Current price is: $ 99. Add to cart -
Sale!

HENRI WRIST STRAP (PRO)
Original price was: $ 350.$ 99Current price is: $ 99. Select options -
Sale!

ERIC KIM PORTFOLIO BAG
Original price was: $ 400.$ 199Current price is: $ 199. Read more -
Sale!

HENRI SHOULDER STRAP
$ 399 – $ 799 Select options -
Sale!

Henri Wrist Strap CHROMA LIMITED EDITION
$ 69 – $ 290 Select options -
Sale!

HENRI WRIST STRAP (CREMA BROWN)
Original price was: $ 350.$ 69Current price is: $ 69. Add to cart