How to Make Better Compositions in Your Pictures

Saigon composition, reconstructed into 3 boxes.

Composition: how you arrange visual elements in a picture.

I love composition, especially unorthodox composition.

I have studied a lot of the work of Richard Avedon, who breaks all the compositional rules in portraiture.

I have also been deconstructing my picture compositions, to better understand why they work.

There is no real “right” or wrong way to compose a picture. You can arrange all the visual elements in your frame as you please.

But some basic compositional ideas and techniques:

1. Have some negative space between the elements inside your picture.

For example, have space between any forms in your photo. Don’t overlap the figures:

Happy shapes. Negative space in between the circle and triangle.
Sad shapes. Over lap between circle and triangle.

2. Divide your frame into one vertical rectangle, and two smaller horizontal rectangles.

Divide your frame into three parts. 1 (vertical on left of the frame), 2 and 3 as other sub-divisions.

This is a nice compositional technique. Won’t always fit perfectly, but keep it in mind:
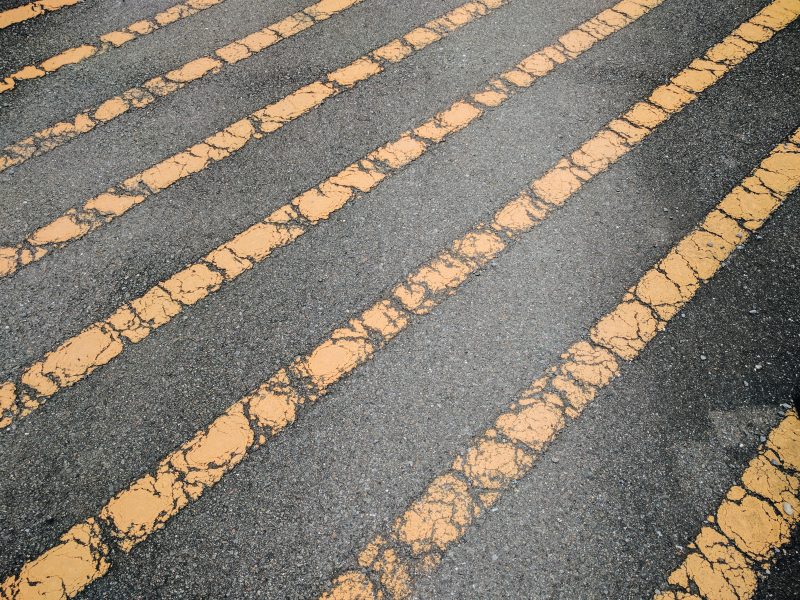
3. Diagonals

Processed with VSCO with a6 preset

Integrate more diagonals coming from the edges of your frame, for more dynamism, energy, and “edginess” (pun intended):

Processed with VSCO with a6 preset

4. Shoot with a grid in mind.

Here are some composition grids you can try to integrate into your photography while you’re shooting:

a. Horizontal (landscape pictures)

The golden rectangle (or triangle). Place your subject at the intersection of the red lines, with the white circle.
X Marks the spot. Place your subject at the intersection of the red lines, with the white circle, directly in the center of the frame.

b. Vertical (portrait pictures)

The golden rectangle (or triangle). Place your subject at the intersection of the red lines, with the white circle.
Imagine the white box as a vanishing point, or a window. Try to get leading lines like the red lines.

5. Shoot from low perspectives

Processed with VSCO with a6 preset

Shoot low, looking up. Put the camera on the ground. If you shoot with a phone, hold your camera upside down while shooting.

Processed with VSCO with a6 preset

You can also shoot with a wide angle lens (28mm or 35mm):

Japanese man. Kyoto street portrait, 2017.
Japanese man. Kyoto street portrait, 2017. Shot with Ricoh GR II and 28mm

One photographer to study is Alexander Rodchenko, who experimented a lot with low angles:

Rodchenko low angle.
Rodchenko low angle composition.
Rodchenko trumpet low angle.
IPhoto by Rodchenko. Note his low angle of the girl, makes her look more powerful.
Photo by Rodchenko. Note his low angle of the girl, makes her look more powerful.

6. Tilt your camera (Dutch angle)

Alexander Rodchenko integrates many “Dutch angles”, which is tilting your camera to add drama:

Tilted Dutch angle photo by Alexander Rodchenko.
Tilted frame by Rodchenko.

7. Circular motion

Here is a photo where I saw a good background, and shot a lot. I got lucky to get some circular motion:

Processed with VSCO with a6 preset

The master example from Henri Cartier-Bresson:

JAPAN. Tokyo. A farewell service for the late actor Danjuro held on November 13th 1965 at the Aoyama Funeral Hall (according to Shinto rites). 1965. Copyright: Henri Cartier-Bresson / Magnum Photos.

Conclusion

There are no right or wrong ways to compose a picture.

Just have fun, experiment, and follow your gut.

For me, I first learned photography composition via trial and error, and THEN much later I started to learn photo composition theory.

Therefore,

  1. Experiment with photography composition and figure out what feels like a good composition to you.
  2. Learn photography composition afterwards.

And the best way to study composition isn’t reading theoretical articles on composition. Just study the work of the masters whose work you admire, and try to imitate their work, then kill them.


PHOTO COMPOSITION 101